How To Put An Air Compressor Together?
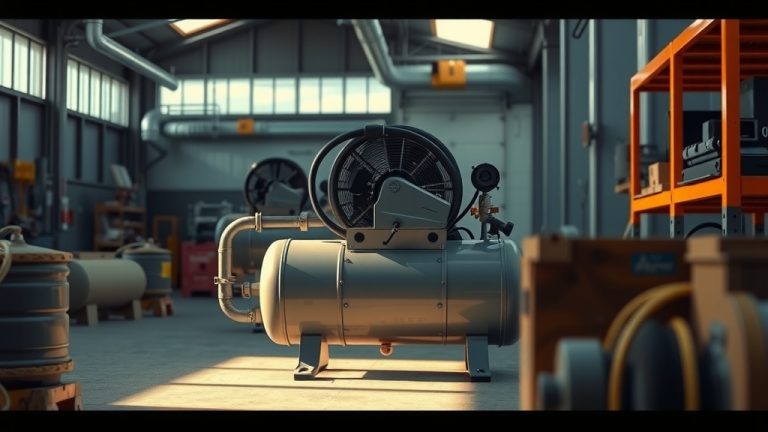
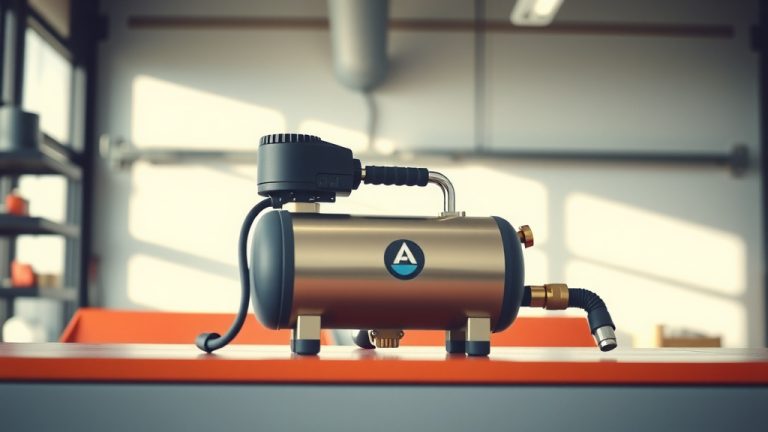
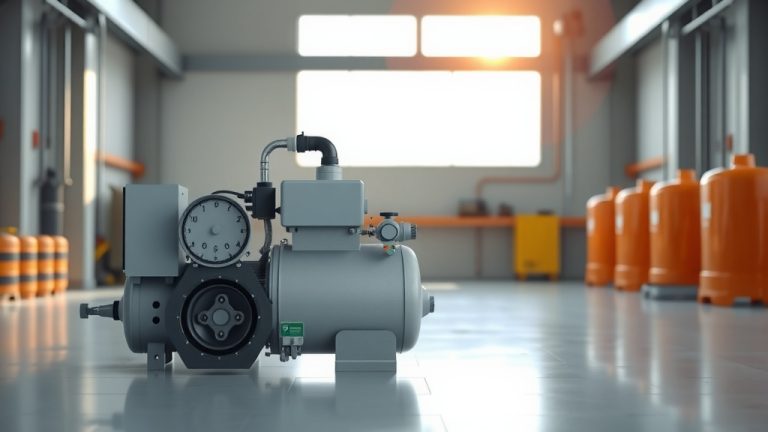
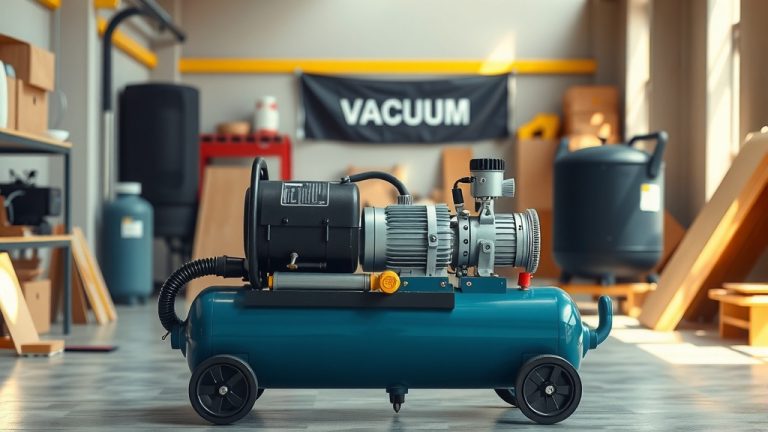
Putting an air compressor together typically involves attaching wheels, handles, and air filters, then connecting pressure gauges and hoses to its main tank and motor unit.
Most models require you to secure these components with basic hand tools, ensuring all connections are tight before initial startup for a safe and functional unit.
Here’s a quick rundown of what you’ll learn about putting your air compressor together:
- Discover the essential tools needed for assembly.
- Walk through step-by-step instructions for attaching parts like wheels and handles.
- Understand how to install critical components such as air filters and gauges.
- Learn about important safety checks before you power up your new machine.
- Get tips for the first startup and maintaining your compressor.
How To Put An Air Compressor Together?
Assembling an air compressor might seem daunting, but it’s often a straightforward process. You are essentially connecting several pre-fabricated parts to form a cohesive, working unit.
Unboxing Your New Compressor
The journey begins the moment your new air compressor arrives. Carefully open the packaging, paying attention to any “this side up” arrows. We found that many compressors have foam or cardboard inserts protecting sensitive parts during shipping.
Take a moment to check your packing slip against the contents. Are all parts present? Look for the main unit, wheels, handle, air filter, and any included accessories. It’s always good to confirm everything is there before you begin.
Safety First: Before You Start
Before you even grab a wrench, let’s talk safety. You’re dealing with a powerful machine that generates high pressure. Always wear safety glasses to protect your eyes (OSHA guidelines suggest this for power tools). We also recommend gloves to keep your hands clean and protected.
Read your compressor’s instruction manual thoroughly. It contains specific details for your model. Skipping this step could lead to frustration or, worse, safety hazards. Many experts stress the importance of the manufacturer’s guide.
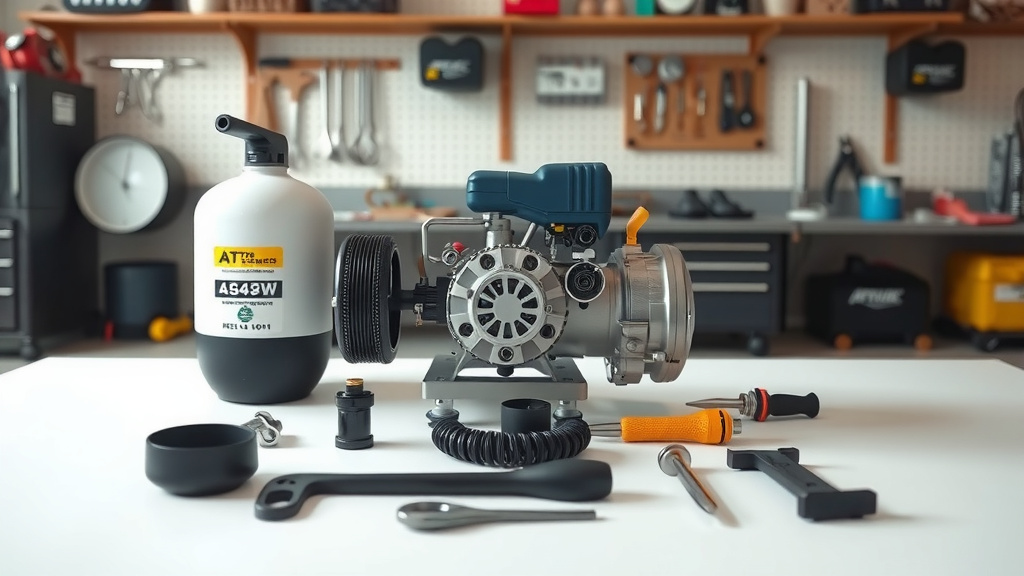
Essential Tools for Assembly
You won’t need a massive toolbox for this task. Most compressors come with everything you need, sometimes even a small wrench. Still, having these on hand is good:
- Adjustable wrench or a set of open-ended wrenches
- Phillips head screwdriver
- Flathead screwdriver
- Pliers
- Thread sealant tape (often called PTFE tape)
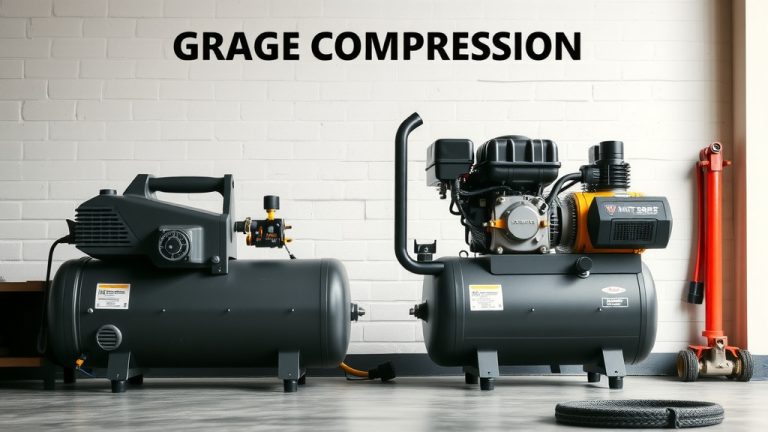
Attaching the Wheels and Feet
Most portable air compressors have wheels. This makes moving the heavy unit much easier. Look for axles, washers, and cotter pins in your hardware bag. You’ll typically slide the wheels onto the axles, securing them with washers and pins. Ensure the wheels spin freely.
Some models also have rubber feet on the non-wheeled end. These help to reduce vibration and keep the unit stable. Bolt them into place according to your manual. It’s about providing a stable base for the compressor.
Connecting the Handle Assembly
The handle is often a separate piece that attaches to the main tank or frame. This is usually a simple bolt-on operation. Line up the holes, insert the bolts, and tighten them securely with your wrench. Don’t overtighten, but make sure there’s no wobble in the handle.
A good, sturdy handle means you can easily move your compressor around your workshop or garage. Think of it as your compressor’s personal steering wheel; you want it firmly attached.
Installing the Air Filter
The air filter is vital for the compressor’s longevity. It keeps dust and debris out of the pump. Typically, it screws directly into an intake port on the pump head. Sometimes it’s a simple push-and-twist. Make sure it’s snug and secure.
Without a proper air filter, dust can get into the pump, causing premature wear. We found that clean air keeps your compressor happy for many years.
Adding Gauges and Regulators
Your compressor will likely have at least two gauges: one for tank pressure and one for regulated output pressure. These often thread directly into ports on the manifold. This is where your thread sealant tape comes in handy. Wrap it clockwise around the threads before tightening. This prevents air leaks.
The regulator allows you to adjust the output pressure for your tools. It’s usually a knob you turn. Make sure it’s properly seated and connected to the output gauge. Setting your regulator correctly means safer and more efficient tool operation.
Thread Sealant Tape: A Little Trick
Using thread sealant tape (PTFE tape) is a tiny but mighty step. Wrap it around the threads of any connections where air pressure is involved. Go clockwise about 3-4 times. This creates an airtight seal. Many professionals use it for this very reason.
Hooking Up Hoses and Couplers
While not part of the compressor assembly itself, connecting your air hose is the next logical step. Most compressors use quick-connect couplers. You simply push the fitting of your hose into the coupler until it clicks. Test the connection to ensure it holds securely. A good connection prevents pressure loss and frustration.
Electrical Connections: A Quick Check
Before you plug anything in, inspect the power cord. Is it free from nicks or damage? Is the plug intact? Ensure your electrical outlet can handle the compressor’s power requirements. Many home compressors require a standard 120V outlet, but some larger units need 240V. Always consult your manual.
Never use extension cords unless they are specifically rated for the compressor’s amperage and length (NFPA guidelines). An undersized cord can cause voltage drop and overheat the motor.
First Startup: The Break-In Period
Yes, your compressor needs a break-in period! This often involves running it with the drain valve open for a specific time (check your manual for exact details). This allows the moving parts to seat properly without pressure build-up. It’s like gently introducing a new car engine to the road; you don’t push it hard at first.
During this period, listen for unusual noises or vibrations. This is your chance to catch any assembly errors. After the break-in, close the drain valve, and let the tank build pressure. The compressor should shut off automatically when it reaches maximum pressure. This confirms the pressure switch is working.
First Startup Checklist:
- Read the manual one last time for break-in specifics.
- Ensure all bolts and connections are tight.
- Confirm the air filter is properly installed.
- Check the oil level if your model is oil-lubricated.
- Open the tank drain valve for the break-in run.
- Plug into a suitable electrical outlet.
- Listen for unusual sounds during operation.
Troubleshooting Common Assembly Issues
Sometimes, things don’t go perfectly. If your compressor isn’t building pressure, check for loose connections or improperly seated gauges. Air leaks are often heard as a hiss. If the motor hums but doesn’t start, verify your power supply. Research often shows that most issues are simple fixes (tool manufacturer forums).
If you’re unsure, don’t guess. Refer to your manual’s troubleshooting section or contact the manufacturer. Your safety, and the life of your compressor, are a top priority. It’s like any good detective work; start with the obvious.
Maintenance Tips for Longevity
Putting your compressor together is just the start. Regular maintenance keeps it running smoothly. Drain condensation from the tank after each use. Check and replace the air filter periodically. For oil-lubricated models, change the oil regularly. These simple steps significantly extend your compressor’s lifespan.
| Component | Typical Connection Method | Key Check |
|---|---|---|
| Wheels | Axle & Cotter Pin / Bolts | Spins freely, secure |
| Handle | Bolts & Nuts | No wobble, tight |
| Air Filter | Screw-on / Push-and-twist | Snug fit, sealed |
| Gauges/Regulator | Threaded ports | PTFE tape, no leaks |
Conclusion
Putting an air compressor together is a rewarding task that gives you a deeper understanding of your tool. By following your manual and these practical steps, you’ll have your unit ready for action safely and efficiently. Remember, patience and attention to detail are your best friends here. Enjoy the power of compressed air!
Can I use an air compressor right out of the box?
No, you generally cannot use an air compressor right out of the box. Most require some basic assembly, such as attaching wheels and handles, and installing the air filter. They also typically need a break-in period where the motor runs without building pressure, which is detailed in your manual.
How do I know if my air compressor is leaking air?
You can usually identify an air leak by listening for a distinct hissing sound around connections, valves, or the tank itself. For smaller leaks, applying a soapy water solution to suspected areas will reveal bubbles forming where air is escaping. It’s a simple and effective diagnostic trick.
What kind of maintenance does a new air compressor need?
After assembly and initial use, new air compressors need regular maintenance like draining moisture from the tank after each use to prevent rust. You should also periodically check and clean or replace the air filter. For oil-lubricated models, keeping an eye on the oil level and changing it as recommended by the manufacturer is also important.
Is it normal for an air compressor to get hot?
Yes, it is normal for the pump and motor of an air compressor to get warm, or even hot, during operation. Compressing air generates heat, and the motor works hard. However, extreme overheating accompanied by smoke or burning smells could indicate a problem, and you should shut it off immediately.
What does the “break-in period” mean for an air compressor?
The break-in period for an air compressor refers to the initial time you run the unit with the tank drain valve open, preventing pressure buildup. This allows the internal moving parts of the pump to seat correctly and lubricate properly without the stress of compression, helping to ensure a longer lifespan for the machine.