How To Remove Air Suspension Compressor?
To remove an air suspension compressor, you must first prioritize safety by disconnecting your vehicle’s battery and safely bleeding all air from the suspension system. After these crucial initial steps, you can then proceed to disconnect electrical connectors, air lines, and mounting bolts to carefully take out the air suspension compressor.
Remember that dealing with air suspension components requires a careful approach; always wear appropriate safety gear and consult your vehicle’s service manual for specific instructions unique to your car model. Taking your time ensures a smooth and safe removal process for the air suspension compressor.
- The first step involves disconnecting the battery and safely deflating your air suspension system.
- You will need basic hand tools, including wrenches, sockets, and screwdrivers, for this task.
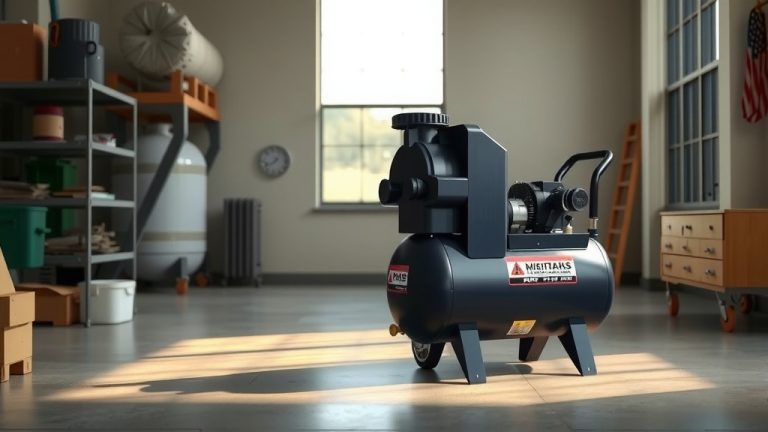
- Locate the compressor, which is often found under the vehicle, in the trunk, or under the hood.
- Carefully disconnect all electrical connections and air supply lines before unbolting the unit.
- Always dispose of old components responsibly and consider professional help if you feel unsure.
How To Remove Air Suspension Compressor?
Removing an air suspension compressor involves a series of careful steps that prioritize your safety and the vehicle’s integrity. You will first depressurize the air system and disconnect power before physically unbolting the component.
This process might seem daunting at first, but with the right tools and a methodical approach, you can complete it successfully. Think of it like defusing a small, air-filled puzzle under your car.
Why Do You Need to Remove It?
People often remove their air suspension compressor for a few key reasons. Most commonly, it’s due to a malfunctioning or failed unit that no longer maintains proper air pressure.
Sometimes, owners decide to convert their air suspension system to a traditional coil spring setup. This choice typically happens when repair costs for air components become too high, making a conversion a more economical alternative.
Identifying a Faulty Compressor
How do you know if your compressor is giving up? You might notice your vehicle sagging, especially after sitting overnight. Unusual noises like grinding or excessive vibration from the compressor area are also big red flags.
Many vehicle diagnostics will also throw up warning lights on your dashboard related to the suspension system. We found that these indicators are often the clearest signs that your compressor needs attention (Automotive Service Guides).
Safety First: Your Top Priority
Before you touch anything under the hood or chassis, your safety comes first. Working with vehicle suspension systems, especially air, carries certain risks if you are not careful. Eye protection and gloves are your best friends here.
Always work on a level surface, and use jack stands to properly support the vehicle. Never rely solely on a jack, as it can fail, leading to dangerous situations.
Disconnecting the Battery
This is a non-negotiable step. Anytime you work on electrical components in your vehicle, you must disconnect the negative terminal of the battery. This prevents accidental shorts and electrical shocks.
It is like turning off the main power switch before fixing a light fixture. This simple action safeguards both you and the vehicle’s sensitive electronics.
Deflating the Air Suspension System
This step is absolutely critical. You are working with a pressurized system, and releasing this pressure safely is paramount. Many vehicles have a manual bleed valve or a diagnostic procedure to release all air from the airbags and lines.
Consult your vehicle’s service manual for the exact method for your specific model. Some compressors have a direct release valve, while others require a scan tool (Vehicle Manufacturer Guidelines).
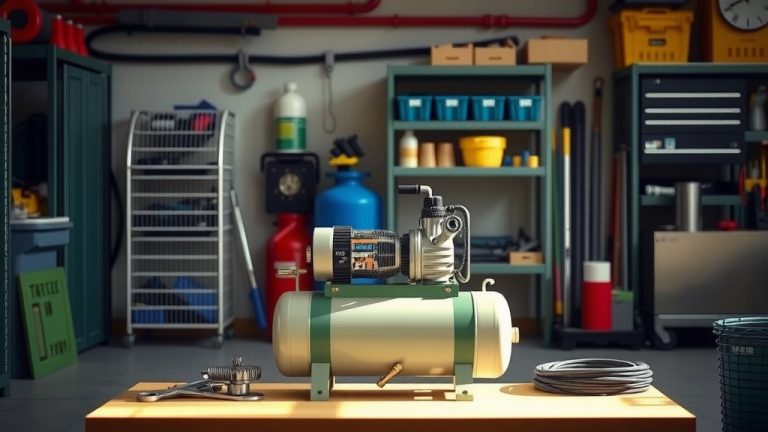
Gathering Your Tools
Having the right tools ready makes the job much smoother and prevents frustrating interruptions. Think of it like a chef preparing ingredients before cooking; everything is laid out and ready to go.
You will need a basic mechanic’s toolkit. Make sure everything is within arm’s reach before you start.
Essential Tools Checklist:
- Socket Set (metric and/or imperial, depending on your vehicle)
- Wrench Set
- Screwdrivers (flathead and Phillips)
- Pliers (needle-nose and standard)
- Torque Wrench (for reassembly, if applicable)
- Jack and Jack Stands
- Wheel Chocks
- Safety Glasses and Gloves
- Wire Cutters/Strippers (if wiring needs replacement)
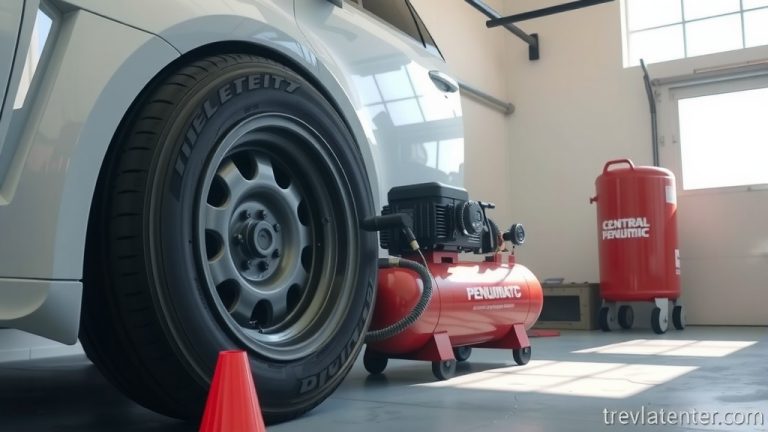
Locating the Air Compressor
The air suspension compressor’s location varies significantly between vehicle makes and models. Some manufacturers place it for easy access, while others tuck it away. Knowing where to look saves a lot of time.
Many experts say it is often found under the vehicle, near the rear axle, or tucked into a fender well. Other common spots include the trunk or under the hood (Professional Auto Repair Sources).
| Common Compressor Locations | Typical Accessibility |
|---|---|
| Under vehicle (often near rear wheel) | Can be tight, requires lifting vehicle |
| Trunk or cargo area | Usually good access, might need panel removal |
| Under the hood (engine bay) | Varies, sometimes visible, sometimes hidden |
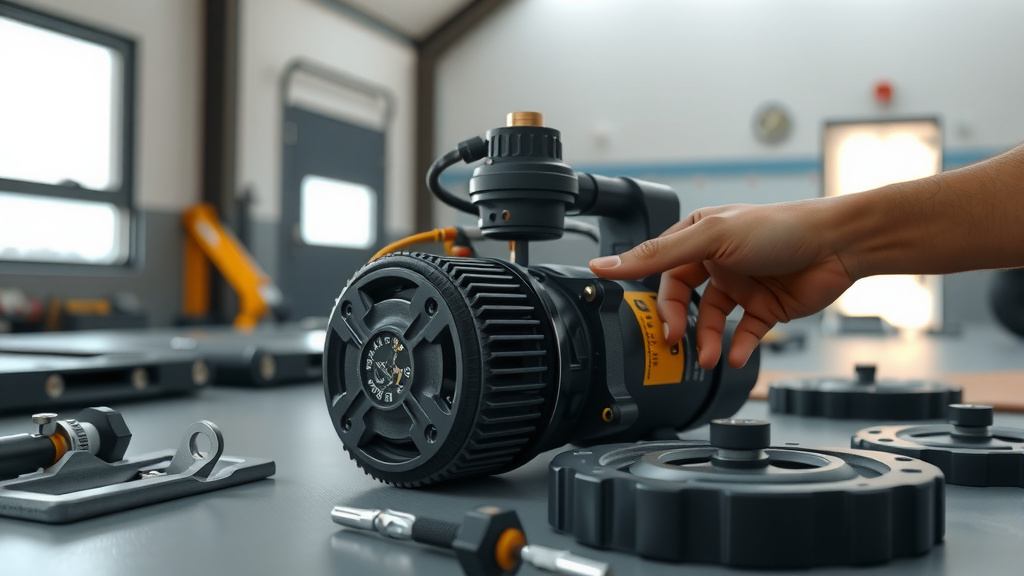
Disconnecting Components from the Compressor
With the vehicle safely supported and the air system deflated, you can now start disconnecting the compressor itself. This typically involves both electrical connections and the air lines.
Take pictures with your phone before you disconnect anything. This visual record is a fantastic helper during reassembly, ensuring every wire and hose goes back to its rightful place.
Handling Electrical Connectors
You will usually find one or more electrical connectors plugged into the compressor. These supply power and receive signals from the vehicle’s computer. They often have locking tabs or clips.
Carefully press the tab and pull the connector straight off. Avoid yanking on the wires, as this can damage the harness or the connector itself.
Detaching Air Lines
Air lines connect the compressor to the air suspension bags or reservoir. These are typically plastic hoses secured with quick-connect fittings or clamps. Be gentle, as these plastic lines can become brittle over time.
Some fittings require a special tool to release, while others simply push a collar in to detach. Again, referring to your vehicle’s specific repair manual will clarify the exact method (OEM Service Manuals).
Removing the Mounting Bolts
Once all the lines and wires are free, the compressor is held in place by several mounting bolts or nuts. These bolts secure it to the vehicle’s frame or a dedicated mounting bracket.
Use the appropriate sized socket or wrench to loosen and remove these fasteners. Keep track of all bolts, as they might be different sizes or lengths. A small container is perfect for this.
Carefully Extracting the Compressor
With the bolts removed, the compressor should now be free. It might be somewhat heavy or awkwardly shaped, so be ready to support its weight as you maneuver it out. Sometimes a little wiggling helps.
Ensure no wires or hoses are still snagged before you fully remove the unit. You have successfully freed the compressor from its automotive duties!
After Removal: What’s Next?
So, the old compressor is out. Now what? Your next steps depend on why you removed it in the first place. Are you replacing it, or converting the system?
If you are replacing it, clean the mounting area before installing the new unit. If converting, you will follow the instructions for your conversion kit.
Proper Disposal of the Old Compressor
Old car parts often contain fluids or materials that require special disposal. Your old compressor might have residual oil or other substances. Do not just throw it in the regular trash.
Many auto parts stores or local recycling centers accept old automotive components. We found that most communities have specific guidelines for electronic waste and mechanical parts, so checking with your local waste management facility is a good idea (Environmental Protection Agency guidelines).
Conclusion
Removing an air suspension compressor is a task that requires careful attention to detail and, most importantly, a strong commitment to safety. By following the steps outlined, from disconnecting the battery and depressurizing the system to unbolting the unit, you can navigate this process with confidence.
Always remember that your vehicle’s specific make and model might have unique nuances, making your service manual an invaluable guide. Take your time, stay safe, and you will achieve a successful compressor removal.
How long does it typically take to remove an air suspension compressor?
The time it takes to remove an air suspension compressor can vary significantly based on your vehicle’s make, model, and your experience level. For a seasoned DIYer, it might take 1 to 3 hours. If you are new to this, expect it to take longer, perhaps 3 to 5 hours, as you will likely consult manuals and proceed more cautiously.
Do I need special diagnostic tools to remove the compressor?
While you don’t always need special diagnostic tools for the physical removal, some vehicles require a scan tool to properly deflate the air suspension system before you start. This ensures all pressure is released safely. Always check your car’s service manual to confirm if this step is necessary for your specific model.
Can I replace the air compressor with a standard suspension system?
Yes, many people convert their air suspension to a traditional coil spring suspension system. This is a common solution, especially when the cost of repairing or replacing air suspension components becomes prohibitive. Conversion kits are available for many vehicle models, but this is a more involved process than just swapping the compressor.
What should I do if the air lines are stuck or difficult to disconnect?
If air lines are stuck, avoid forcing them, as they can break or damage the fitting. Often, a small amount of penetrating oil or gentle heat (from a heat gun, not an open flame) can help loosen stubborn connections. Make sure to consult your manual for the specific type of fitting your vehicle uses, as some require a unique release tool or technique.
Is it possible to remove the compressor without lifting the car?
In most cases, it is highly recommended to lift the car using a jack and secure it with jack stands for safety and accessibility. While some compressors might be reachable from a fender well or trunk without lifting, working underneath a vehicle always requires proper support. Attempting to remove it without lifting could be unsafe and make the job much harder.