How To Remove Air Compressor On N14 Cummins?
Removing an air compressor from your N14 Cummins engine involves a series of careful steps, primarily disconnecting air, oil, and coolant lines, then unbolting the unit from its mounting flange.
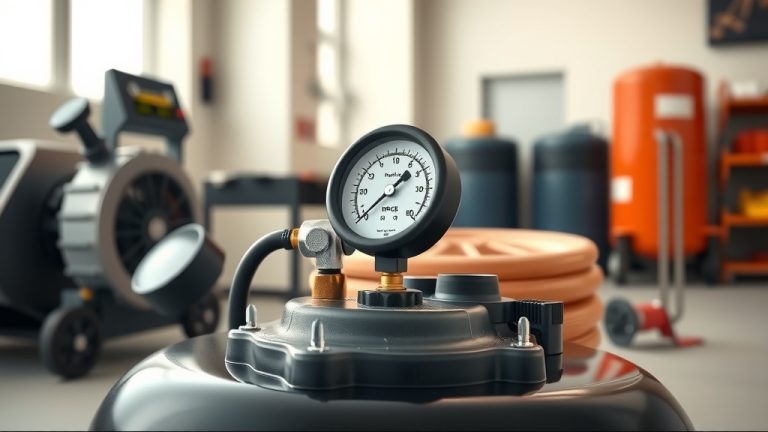
You will typically need basic mechanic’s tools, including wrenches, sockets, and a drain pan, and must ensure the air system is completely depressurized before starting.
Here’s a quick overview of what you’ll find in this guide:
- Understand the crucial safety steps before you even touch a wrench.
- Learn how to locate and prepare the compressor for removal.
- Get a clear, step-by-step breakdown of disconnecting all lines and bolts.
- Discover what to do once the compressor is out and how to prep for a new one.
- Find answers to common questions about this repair task.
How To Remove Air Compressor On N14 Cummins?
To remove the air compressor on an N14 Cummins, you first need to depressurize the air system and disconnect the battery. Then, unhook all air, oil, and coolant lines before carefully removing the mounting bolts.
Taking out the air compressor from your N14 Cummins might seem like a big job, but don’t worry. With the right guidance and a bit of patience, you can get it done. We’re here to walk you through each step, making sure you feel confident and safe.
Why Would You Remove It?
Sometimes, your air compressor starts acting up. You might notice air leaks or strange noises. Other times, it simply stops building air pressure altogether. These are clear signs it might be time for a replacement or a thorough inspection.
Think of your air compressor like a trusty heart for your truck’s air system. When it falters, everything from your brakes to your air ride suspension can be affected. Keeping it healthy is key to a smooth, safe ride.
Safety First: Your Most Important Step
Before you even think about grabbing a tool, safety is absolutely vital. Working with compressed air and heavy engine parts can be risky if you’re not careful. Your safety really matters here.
Essential Safety Precautions
- Disconnect the battery: Always disconnect the negative battery terminal first. This prevents any accidental starts or electrical shorts while you work.
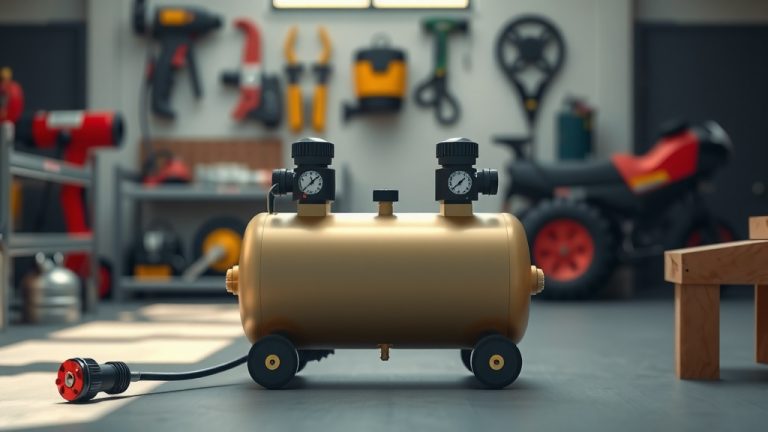
- Depressurize the air system: Release all air pressure from the truck’s tanks. You can usually do this by pulling the drain lanyards or opening a service valve.
- Wear proper PPE: Safety glasses, gloves, and sturdy footwear are your best friends. They protect against spills, hot surfaces, and falling objects.
- Let the engine cool: The engine components, including the compressor and its lines, can get very hot. Give it plenty of time to cool down before you start.
Tools You’ll Need for the Job
Having the right tools ready makes a huge difference. You don’t want to be halfway through and realize you’re missing something. We found that a well-stocked toolbox speeds things up greatly.
| Tool Type | Why You Need It |
|---|---|
| Wrench Set (Metric/Standard) | For various line fittings and mounting bolts. |
| Socket Set with Ratchet | For easier access to tight bolts. |
| Drain Pan | To catch oil and coolant when disconnecting lines. |
| Pliers (various types) | For hose clamps or small connectors. |
| Scraper/Gasket Remover | To clean mounting surfaces. |
| Clean Rags | For wiping up spills and general cleanup. |
Locating and Preparing the Compressor
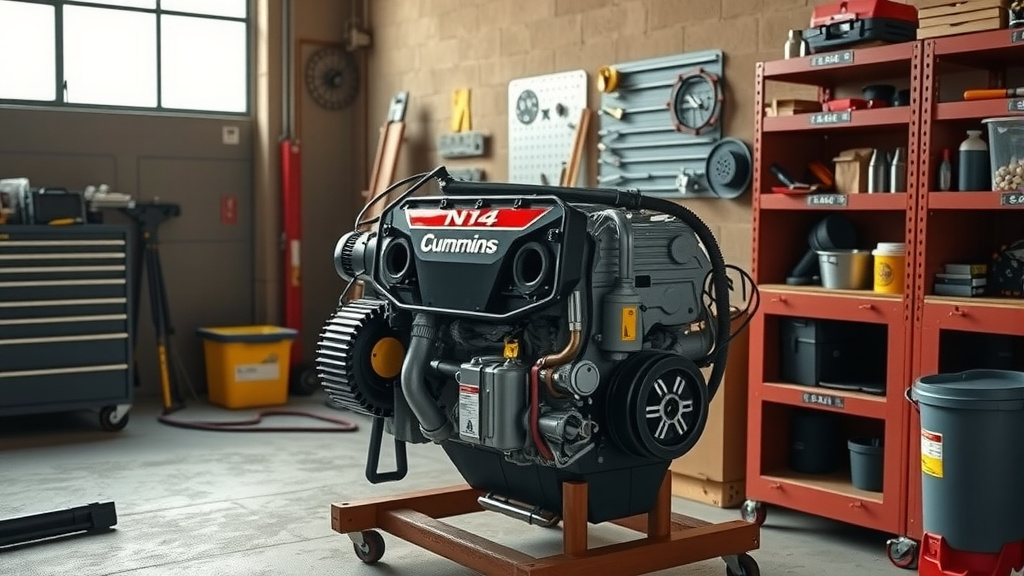
Your N14 Cummins air compressor is typically mounted on the left side of the engine, often towards the front. It’s usually a fairly visible, bulky component. Take a moment to familiarize yourself with its position and the various lines connected to it.
Once located, give the area a quick visual inspection. Look for any obvious leaks or damaged lines. This quick check can sometimes tell you more about why you’re doing this job in the first place.
Step-by-Step Removal Process
Okay, let’s get down to business. We’ll guide you through each part, just like a friend explaining it over coffee. Remember, take your time and don’t rush any steps.
1. Disconnect Air Lines
You’ll usually have two main air lines: a large discharge line going to the air dryer and a smaller supply line from the intake manifold. Many mechanics suggest labeling these lines if you’re worried about mixing them up later (Cummins Service Manuals).
Carefully loosen the fittings with your wrenches. Be ready for a slight hiss of residual air, even after depressurizing. Some residual air is common.
2. Disconnect Oil Lines
The air compressor uses engine oil for lubrication. You’ll find an oil supply line and an oil return line. Place your drain pan directly underneath these connections before loosening them. You’ll likely encounter some oil, so be prepared for a small mess.
Once disconnected, cap the open lines on the engine side to prevent dirt from entering. This is a small step that really helps keep your engine clean.
3. Disconnect Coolant Lines (If Applicable)
Some N14 air compressors are liquid-cooled. If yours has coolant lines, disconnect them now. Again, have your drain pan ready, as coolant will spill out. These lines are usually smaller and might have hose clamps you’ll need to loosen with pliers.
Research indicates that not all N14 Cummins compressors are liquid-cooled, so don’t worry if you don’t find these lines (Cummins Engine Diagnostics).
4. Remove Mounting Bolts
Now for the main event! The compressor is held to the engine by several mounting bolts. These are typically robust and can be tight. Use your socket set and ratchet for better leverage. Sometimes, a breaker bar helps if they’re really stubborn.
As you remove the bolts, keep them organized. Knowing which bolt goes where makes reinstallation much smoother. Many experts say a little magnetic tray works wonders here.
5. Carefully Remove the Compressor
With all lines disconnected and bolts removed, the compressor is now free. It’s a heavy component, so be careful. Lift it straight out and away from the engine. You might need a helper for this part; two heads (and sets of hands) are often better than one.
Do you remember that analogy about the heart? Well, you’re essentially performing open-heart surgery, so take your time and be gentle.
After Removal: What’s Next?
Once the old compressor is out, you’re not quite done. There are a few more steps to ensure everything is ready for a new unit or reassembly.
Clean the Mounting Surface
Scrape off any old gasket material or debris from the mounting flange on the engine. A clean surface ensures a proper seal with the new gasket. We found that a razor scraper or gasket remover works well here.
This attention to detail prevents future leaks and helps the new compressor seat correctly. It’s a small effort with a big payoff.
Inspect Lines and Fittings
While the compressor is off, take a moment to inspect all the air, oil, and coolant lines you disconnected. Look for cracks, wear, or corrosion. If anything looks questionable, it’s the perfect time to replace it. Better now than later, right?
Reinstallation Checklist
When you’re ready to put things back together, here’s a quick list to guide you:
- Have a new gasket ready for the compressor mounting.
- Ensure all line fittings are clean and in good condition.
- Torque mounting bolts to manufacturer specifications (check your N14 Cummins service manual).
- Refill any drained fluids (oil, coolant).
- Bleed the air system and check for leaks after starting.
Conclusion
Removing the air compressor on your N14 Cummins might seem like a complex task, but by breaking it down into manageable steps, it becomes much more approachable. Remember to prioritize safety, have the right tools, and take your time with each connection and bolt. You’ve got this! By following these guidelines, you ensure a smooth process and prepare your truck for its next adventure, knowing the job was done right.
What are the common signs of an N14 Cummins air compressor failing?
Common signs include the air tanks not building pressure, excessive oil consumption, unusual noises like grinding or knocking, and visible air or oil leaks around the compressor itself. These symptoms often point to internal wear or gasket failure.
Do I need to drain all the air tanks before removing the compressor?
Yes, it’s absolutely crucial to fully depressurize all air tanks before beginning any work on the air compressor. This eliminates the risk of sudden air release and injury when disconnecting lines.
Can I just replace the air compressor head, or do I need a whole new unit?
It depends on the specific issue. If only the compressor head or unloader assembly is faulty and the main body/crankshaft is in good condition, you might be able to replace just those components. However, for severe internal wear or catastrophic failure, many technicians recommend a complete replacement for reliability.
What torque specifications should I use for the mounting bolts?
Always refer to the official N14 Cummins service manual for the exact torque specifications for your air compressor’s mounting bolts. Over-tightening can strip threads, while under-tightening can lead to leaks or loosening, so precision is key.
How long does it typically take to remove an N14 Cummins air compressor?
For an experienced mechanic, removing an N14 Cummins air compressor might take 2-4 hours. If you’re tackling this yourself for the first time, allow yourself at least 4-6 hours, or even more, to ensure you can proceed cautiously and safely without rushing.