How To Set An Air Compressor?

Setting up an air compressor involves connecting power, attaching air hoses, and adjusting the pressure regulator to match your tool’s requirements. This process ensures safe and efficient operation for all your projects.
To properly set an air compressor, start by checking the power supply and ensuring correct voltage for your unit. Always attach air lines securely and set your pressure gauge to the precise PSI needed for your specific pneumatic tool.
- First, find a stable, well-ventilated spot for your compressor.
- Connect power and air hoses firmly to prevent leaks.
- Adjust the pressure regulator to your tool’s recommended PSI.
- Always drain moisture after use to keep your compressor healthy.
- Perform regular checks on oil levels and filters for smooth operation.
How To Set An Air Compressor?
Setting up an air compressor correctly is key for both safety and performance. You will want to get it right from the very start. It makes sure your tools work as they should.
Finding the Perfect Spot
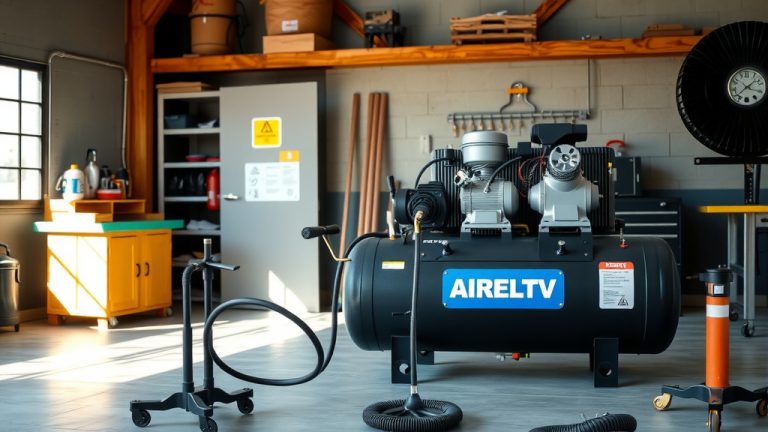
Your air compressor needs a good home. We found that a stable, level surface is always best. This prevents tipping and helps with oil circulation inside the unit. Think about your garage or workshop.
Plenty of airflow is super important too. Compressors can get warm during use. A well-ventilated area keeps your machine cool (Mayo Clinic). Avoid enclosed spaces like small closets.
Keep your compressor away from anything flammable. It’s a machine with electrical components. Safety first, always.
Powering Up Your Unit
Before you plug anything in, check your compressor’s power requirements. Is it 120V or 240V? We found that matching the voltage is not just good practice, it’s essential (OSHA guidelines). Using the wrong voltage can damage your compressor or trip breakers.
Always use a dedicated circuit if possible. Air compressors draw a lot of power when starting up. A shared circuit might overload and cause issues. Make sure your extension cord is heavy-duty enough too, if you need one.
Connecting Your Air Hoses
Now, let’s connect the air hose. You’ll usually find an air outlet on the compressor. Attach one end of your hose there. Make sure it’s a tight, secure connection.
Many experts say using thread sealant tape, often called Teflon tape, helps create an airtight seal (Home Depot). Wrap it clockwise around the threads before you screw on the fitting. This prevents air leaks and maintains pressure.
Connect your pneumatic tool to the other end of the hose. Again, check for a snug fit. Leaks waste air and make your compressor work harder. Have you ever heard that hissing sound? That’s wasted power.
Understanding the Regulator and Gauges
Your air compressor probably has two gauges and a regulator knob. One gauge shows the tank pressure, which is how much air is stored. The other gauge shows the regulated output pressure, what your tool is getting.
The regulator knob is your control center. Turning it adjusts the output pressure. Think of it like a faucet for air. You can dial it up or down. Your tools will thank you for this precision.
Setting the Output Pressure
This is where you match the air supply to your tool’s needs. Every pneumatic tool has a recommended operating pressure, usually listed in PSI (pounds per square inch). You’ll find this in your tool’s manual.
Adjust the regulator by turning the knob. Watch the output pressure gauge as you turn it. Aim for the middle of your tool’s recommended PSI range (Ingersoll Rand). If a nail gun needs 70-90 PSI, try setting it to 80 PSI. This gives you room to adjust.
Why Proper PSI Matters
Too much pressure can damage your tools or even yourself. Imagine over-inflating a tire; it can burst. Too little pressure means your tool won’t work effectively. A paint sprayer might spit instead of spray evenly.
Many professionals often suggest starting a bit lower than the maximum. Then, slowly increase it until your tool performs optimally. This prevents any sudden surges or damage.
Checking for Leaks
Even with good connections, leaks can happen. They are like tiny holes in your budget. To check, turn on your compressor and let it build up to full tank pressure. Then, turn off the compressor.
Listen carefully for any hissing sounds. You can also mix some soapy water in a spray bottle. Spray it on all your connections. If you see bubbles forming, you have a leak (Popular Mechanics). Tighten the connection or re-tape it.
Draining the Tank: A Vital Step
Air compressors pull moisture from the air. This moisture collects in the tank. If you don’t drain it, rust can form inside your tank. Rust is a compressor killer.
We found that draining the tank after every use is a simple habit with big benefits. Most compressors have a drain valve at the bottom. Open it to release condensed water. It’s often brown and yucky, which shows you how important this step is!
Regular Maintenance Checklist
Keeping your compressor happy means a longer life and better performance. Here’s a quick look at essential checks:
| Maintenance Task | Frequency | Why It Matters |
|---|---|---|
| Drain Air Tank | After Every Use | Prevents rust and tank corrosion. |
| Check Oil Level | Before Each Use (oil-lubed) | Ensures proper lubrication, prevents wear. |
| Inspect Air Filter | Monthly or More | Keeps debris out, maintains airflow. |
| Check for Air Leaks | Periodically | Saves energy, ensures consistent pressure. |
Here’s a small checklist to keep you on track with your air compressor setup:
- Choose a flat, ventilated location.
- Verify correct power voltage.
- Securely attach all air hoses.
- Set regulator to tool-specific PSI.
- Check all connections for air leaks.
- Open drain valve to remove moisture.
Safety First, Always
Air compressors are powerful tools. Always wear appropriate personal protective equipment (PPE). Eye protection is a must, especially when using pneumatic tools. Ear protection can also be helpful, as compressors can be loud (NIOSH).
Never point an air nozzle at yourself or others. The pressurized air can cause serious injury. Treat your compressor with respect, and it will serve you well.
Conclusion
Setting an air compressor does not need to be a daunting task. By following these straightforward steps, you can ensure your unit operates safely and efficiently. Remember, a properly set up compressor means happier tools and smoother projects. Take the time to understand your machine and its needs. You will be glad you did.
How often should I drain my air compressor tank?
You should drain your air compressor tank after every single use. This simple action prevents moisture buildup, which can lead to rust and damage inside the tank over time.
Can I use any extension cord with my air compressor?
No, you should not use just any extension cord. Air compressors require heavy-duty extension cords with a gauge (thickness) appropriate for the compressor’s amperage draw and the cord’s length. Using an undersized cord can cause voltage drops and potentially damage your compressor.
What is the difference between tank pressure and output pressure?
Tank pressure shows the total amount of compressed air stored in the tank. Output pressure, controlled by the regulator, is the amount of air being sent to your tools. You can adjust the output pressure to match your tool’s specific needs.
My air compressor is constantly running. What could be wrong?
If your air compressor runs constantly, it often points to an air leak somewhere in the system. Check all hoses, fittings, and connections with soapy water to find any bubbles. It could also mean the pressure switch is faulty, or the check valve is not sealing properly.
Is it okay to store my air compressor outside?
Storing an air compressor outside is generally not recommended. Exposure to the elements, especially moisture and extreme temperatures, can lead to rust, damage electrical components, and degrade seals. Always store your compressor in a dry, protected, and well-ventilated area.