How To Set Air Compressor Regulator?

To set your air compressor regulator, first ensure the air tank is pressurized and the air tool is connected. Then, turn the regulator knob clockwise to increase pressure or counter-clockwise to decrease it, watching the gauge until you reach your desired PSI.
Properly setting your air compressor regulator protects your tools, ensures efficient operation, and improves your project’s quality, allowing you to work safely and effectively.
Here’s a quick summary of what you’ll discover in this guide to mastering your air compressor regulator:
- Understand the importance of the regulator for tool life and project quality.
- Learn how to prepare with a simple checklist before making adjustments.
- Follow our clear step-by-step instructions for setting the perfect pressure.
- Get valuable tips on troubleshooting common issues and maintaining your unit.
- Find out why the right PSI makes all the difference for your air tools.
How To Set Air Compressor Regulator?
Setting your air compressor regulator is a straightforward task, but it requires a bit of understanding. We found that getting this right is absolutely essential for your air tools and projects.
Why Your Regulator Is Your Best Friend
Imagine trying to paint a delicate model with a firehose. That’s what using an air tool without a properly set regulator feels like. The regulator isn’t just a knob; it’s the traffic cop for your air pressure.
Many experts say it safeguards your tools from damage and ensures your work is consistent (Manufacturers’ Guidelines).
The Power of Proper PSI: What’s the Big Deal?
Every air tool, from a nail gun to a paint sprayer, has a recommended operating pressure, often measured in PSI (Pounds per Square Inch). Going too high can blow seals or even break parts. Too low? Your tool will simply underperform or not work at all. It’s about finding that sweet spot for optimal performance.
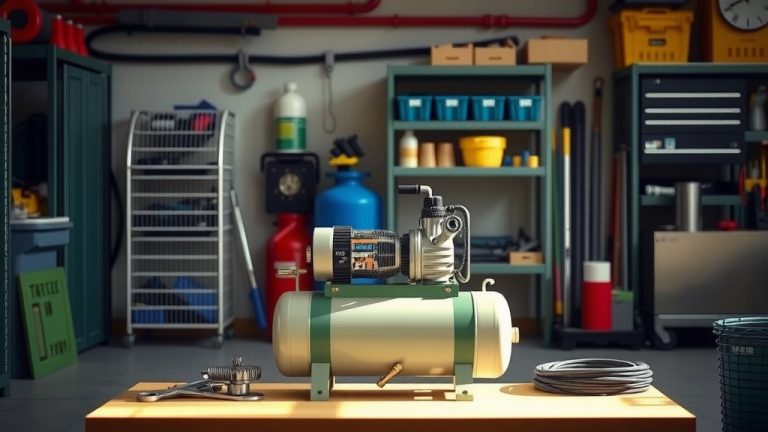
Getting Ready: Your Pre-Set Checklist
Before you even touch that regulator knob, a little preparation goes a long way. Think of it as stretching before a workout; it prevents potential issues. We’ve found that a quick check can save you headaches later on.
- Is the compressor plugged in and powered on?
- Is there sufficient air in the tank?
- Are all connections secure and leak-free?
- Do you know the recommended PSI for your specific air tool?
- Do you have your safety glasses on?
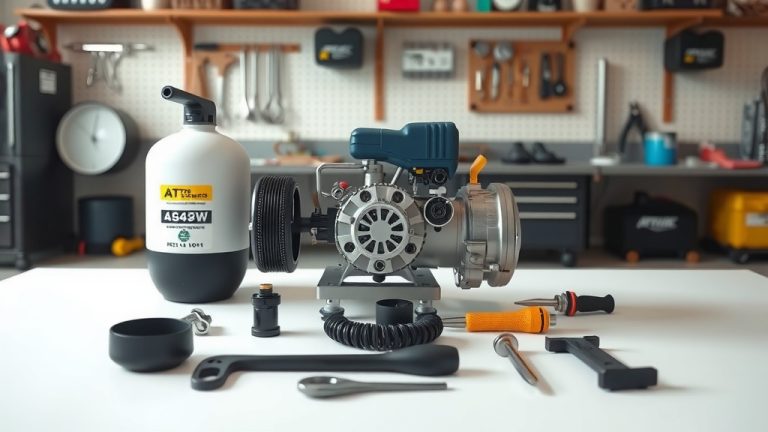
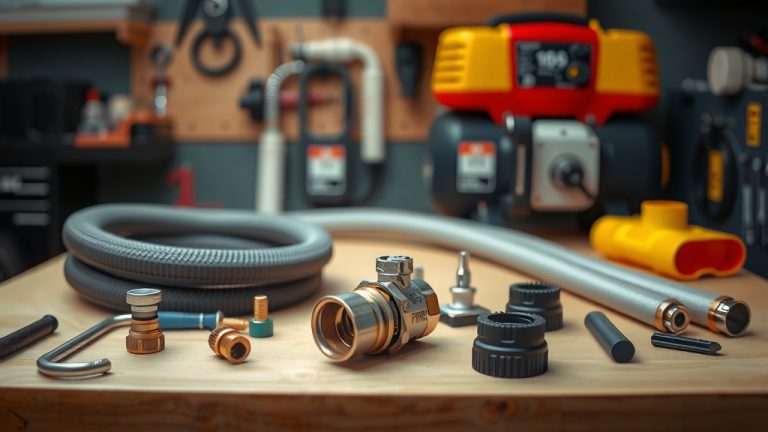
What You’ll Need For Regulator Adjustment
You really only need a few things to get started. Thankfully, most of what you need is already part of your air compressor setup. You will need:
Your air compressor, of course. Also, the specific air tool you plan to use, as its requirements dictate your setting. Finally, your own two hands and a bit of patience.
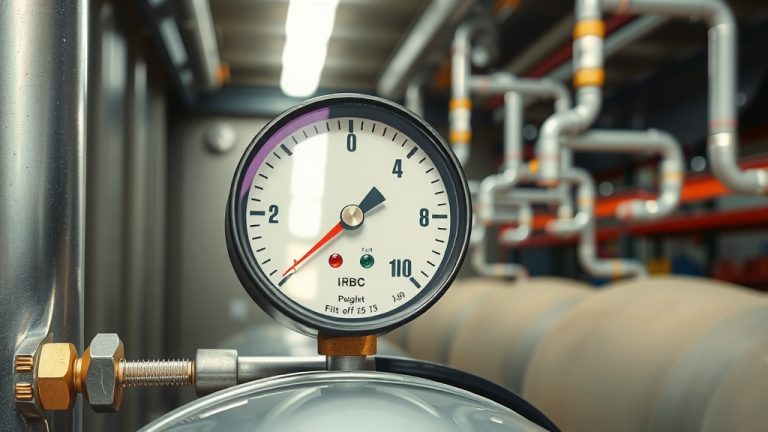
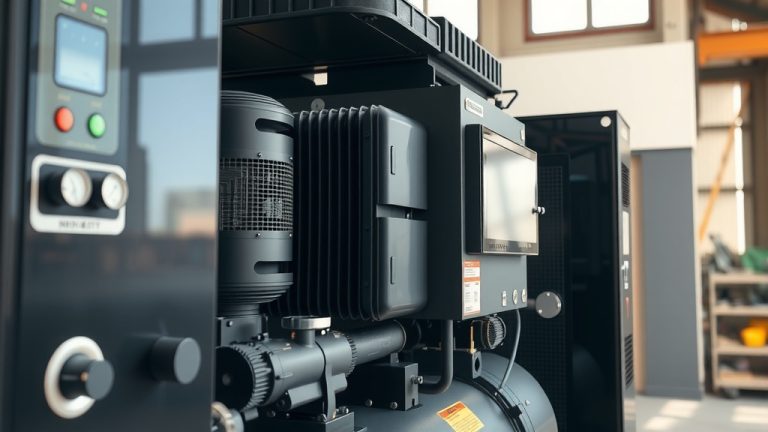
Understanding Your Regulator’s Parts
Your regulator usually has a knob or handle and a pressure gauge. The knob lets you adjust the pressure. The gauge, like a speedometer, tells you the current output pressure (not the tank pressure). Knowing these two makes everything easier.
The Step-by-Step Regulator Setting Process
Ready to dial in that perfect pressure? Let’s walk through it together. It’s simpler than you might think, and once you do it a few times, it becomes second nature.
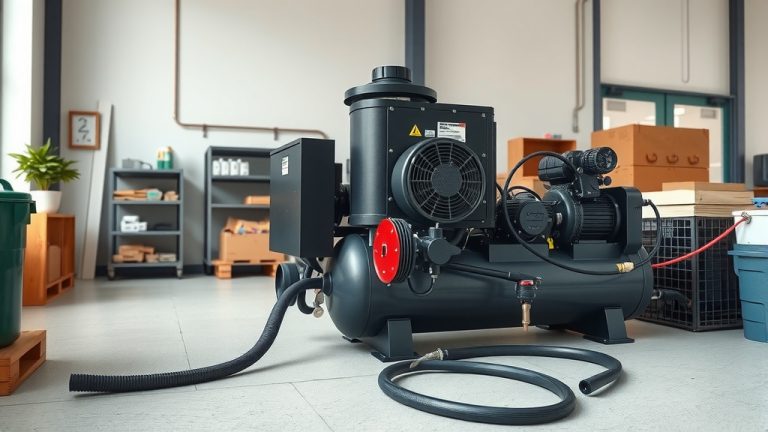
Step 1: Power On and Pressurize the Tank
First, make sure your air compressor is on and running. Let it build up to its maximum tank pressure. The compressor will usually shut off automatically once it hits this point. This ensures you have plenty of air to work with.
Step 2: Connect Your Air Tool
Attach the air tool you intend to use to the compressor’s quick-connect coupler. This is crucial because connecting the tool allows air to flow through the regulator, giving you an accurate pressure reading for that specific setup.
Step 3: Adjusting the Pressure Knob
Now, locate the regulator knob. This is usually a large, easily gripped dial or T-handle. Turn it counter-clockwise to reduce the pressure to near zero, then slowly turn it clockwise. You’ll hear air flow or see the gauge begin to move as you increase pressure. Adjusting slowly gives you better control.
Step 4: Monitoring the Output Gauge
As you turn the knob, watch the regulator’s output gauge. This gauge displays the pressure being supplied to your air tool. Keep turning until you reach the recommended PSI for your tool (e.g., 90 PSI for many nail guns). Don’t forget that sweet spot!
Step 5: Testing Your Setting
Once you’ve set the pressure, it’s a good idea to test the tool. Use it on a scrap piece of material if possible. Does it perform as expected? Is the pressure consistent? Sometimes, a slight fine-tune is needed after a real-world test, ensuring perfect operation.
Common Regulator Pitfalls to Avoid
Even seasoned users can sometimes make small mistakes. We’ve seen a few common blunders that are easy to sidestep. Avoiding these will prolong your equipment’s life.
Forgetting to drain the tank regularly, for instance, can lead to rust and pressure issues. Also, trying to set the regulator without a tool attached often results in an inaccurate reading. Always connect a tool for the most precise adjustment.
Troubleshooting Regulator Issues
What if your regulator isn’t behaving? Don’t panic. Most issues are minor. Maybe it won’t hold pressure, or the gauge isn’t reading correctly. Check for leaks around the connections with soapy water; tiny bubbles mean trouble. Sometimes, the regulator itself might be faulty or just needs a good cleaning.
Many online forums and service manuals suggest replacing the regulator if it consistently fails to hold pressure or adjust smoothly, even after cleaning. It’s often a cost-effective repair (Industry Standards).
When to Replace Your Air Compressor Regulator
Regulators don’t last forever. If yours is old, constantly leaking, or won’t adjust pressure, it might be time for a new one. A failing regulator can lead to poor tool performance or, worse, safety hazards. A new regulator is a small investment for big returns in safety and efficiency.
Air Tool PSI Quick Reference Guide
Knowing the typical PSI ranges for common air tools can be very helpful. Remember, always check your specific tool’s manual for exact recommendations. This table provides a general guideline to get you started.
| Air Tool Type | Typical PSI Range |
|---|---|
| Nail Gun | 70-120 PSI |
| Impact Wrench | 90-120 PSI |
| Paint Sprayer (HVLP) | 20-40 PSI (at gun) |
| Air Sander | 80-100 PSI |
| Blow Gun | 30-60 PSI |
Conclusion
Setting your air compressor regulator correctly is a fundamental skill for anyone using air tools. It’s not just about getting the job done, but about doing it safely, efficiently, and with professional results. By following these simple steps and understanding the ‘why’ behind each adjustment, you’ll ensure your tools last longer and your projects turn out perfectly. Don’t shy away from making those adjustments; your tools and your craft will thank you for it.
Frequently Asked Questions About Air Compressor Regulators
How does an air compressor regulator work?
An air compressor regulator works by sensing the downstream pressure (to the tool) and using a spring-loaded diaphragm to restrict or allow air flow from the tank. When downstream pressure drops, the diaphragm opens slightly, letting more air pass, maintaining a consistent output pressure regardless of tank pressure fluctuations.
Can I use an air compressor without a regulator?
While some basic tasks might technically be possible without a regulator, it is highly not recommended. Without a regulator, your air tools would receive the full, unregulated tank pressure, which is often too high for safe and effective operation, leading to tool damage or dangerous situations.
What is the difference between tank pressure and regulated pressure?
Tank pressure is the total air pressure stored inside the compressor’s air tank, which can be quite high (e.g., 150 PSI). Regulated pressure is the specific, lower pressure that the regulator allows to pass through to your air tools, tailored to their operational requirements. Think of tank pressure as the supply and regulated pressure as the demand.
Why is my air compressor regulator not holding pressure?
A regulator not holding pressure often indicates a leak in the system (connections, hoses, or the regulator itself), or an internal issue with the regulator’s diaphragm or seals. Over time, these components can wear out or become brittle. Checking for leaks first is a good starting point before considering a replacement. Many experts advise that constant adjustment needs are a clear sign of wear and tear.
Should I always set my regulator to the maximum PSI of my air tool?
Not necessarily. While a tool might have a maximum PSI rating, it often performs optimally at a slightly lower or specific recommended pressure for a given task. Always refer to your tool’s manual for its ideal operating range and start in the middle, adjusting as needed for the best results on your specific project. Using the maximum pressure might be overkill for many tasks.