How To Skin A Deer With An Air Compressor?
Yes, you can absolutely use an air compressor to help skin a deer, and it’s a method many hunters find quick and clean. It works by injecting compressed air between the hide and the muscle, effectively peeling the skin away with less physical effort.
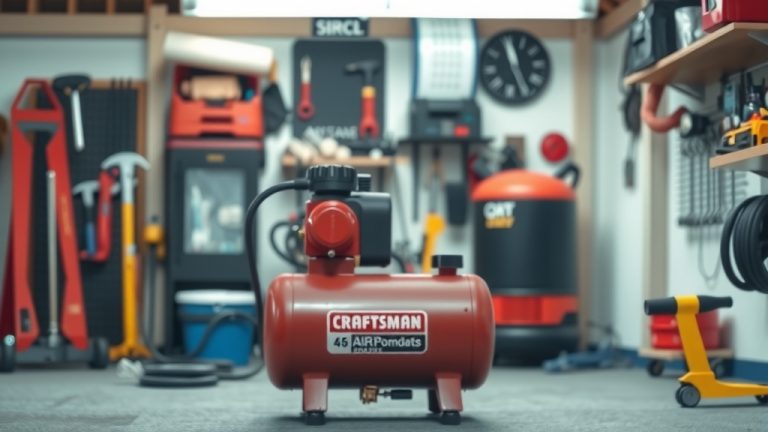
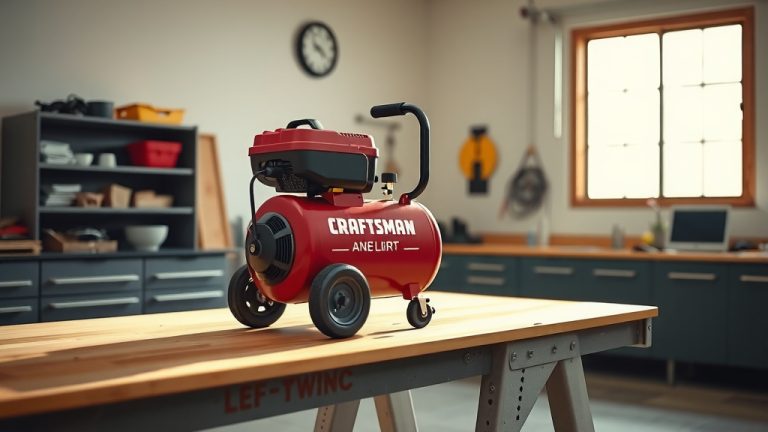
- Get a decent air compressor (at least 6 CFM, 20-gallon tank).
- Prepare the deer with initial cuts around legs and belly.
- Carefully insert an air nozzle under the hide near the neck or chest.
- Slowly inflate, letting air separate the hide from the muscle.
- Guide the skin separation with your hands and a sharp knife for stubborn spots.
- Always prioritize safety: wear eye protection and use controlled air pressure.
How To Skin A Deer With An Air Compressor?
Using an air compressor to skin a deer is a technique that speeds up the process significantly. It relies on air pressure to separate the hide from the carcass, making for a much easier job.
This method can turn a physically demanding task into something relatively quick and efficient. You will be surprised at how well it works once you get the hang of it.
Why Use Air for Deer Skinning?
Many hunters turn to air compressors for skinning because it offers several advantages. The primary benefit is often the reduced physical labor involved in pulling the hide.
We found that this method can also lead to a cleaner separation of the hide from the meat. This minimizes hair contamination and keeps the meat in better condition (University of Georgia Extension).
The Basic Idea Behind It
The core concept is simple: you introduce compressed air into a small opening under the deer’s hide. This air then travels between the hide and the muscle layer, creating a bubble.
As the air expands, it effectively pushes the hide away from the meat. It’s like inflating a balloon under the skin, allowing for minimal knife work and effort.
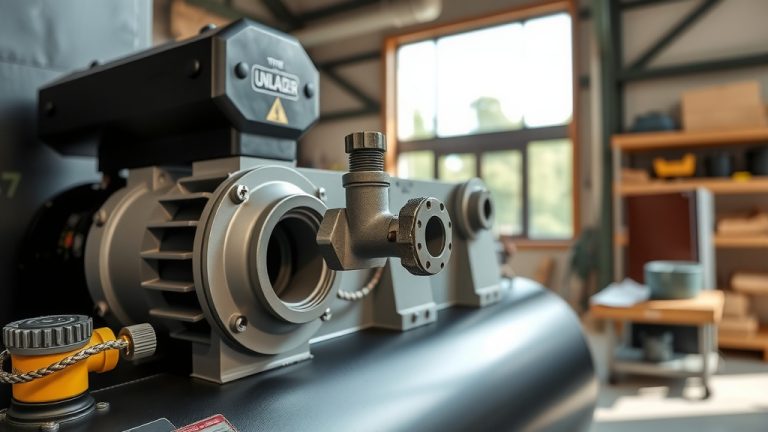
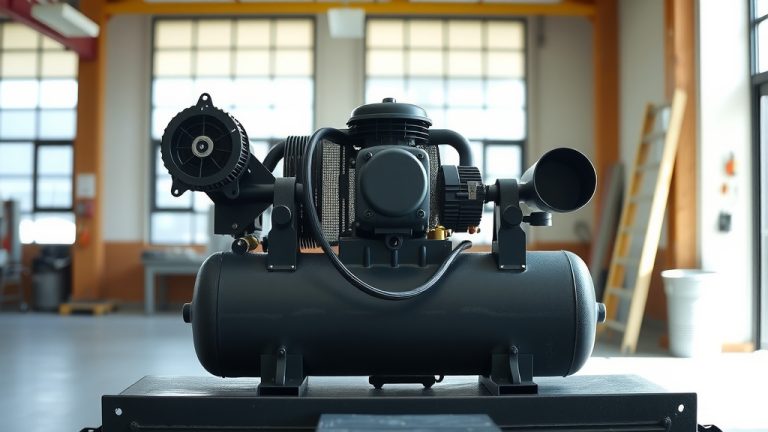
What Air Compressor Do You Need?
You don’t need a giant industrial compressor for this task. However, a small pancake compressor might struggle. You want enough power to create a consistent, steady airflow for proper separation.
Most experts suggest a compressor with at least 6 CFM (Cubic Feet per Minute) at 90 PSI. A tank size of 20 gallons or more is also very helpful to maintain pressure without constant cycling.
Compressor Specs That Matter
Choosing the right compressor can make all the difference for a smooth skinning experience. Here’s a quick look at the minimum specifications we found most effective:
| Specification | Minimum Recommendation | Reason for Choice |
|---|---|---|
| Tank Size | 20 Gallons | Sustains airflow without interruption |
| CFM @ 90 PSI | 6 CFM | Provides enough volume for rapid separation |
| Max PSI | 120 PSI | Ample pressure for effective hide removal |
A compressor meeting these guidelines will provide the necessary power and consistency. This ensures you can focus on the skinning, not waiting for your compressor to catch up.
Essential Tools and Gear Checklist
Before you begin, gathering your tools is a smart move. Having everything ready saves time and frustration during the process. Here’s what you’ll typically need:
- A suitable air compressor with a hose
- An air nozzle with a rubber tip, or a blow gun with a narrow tip
- A very sharp knife (like a skinning knife or utility knife)
- Gloves for hygiene and grip
- Eye protection (safety glasses are a must!)
- A sturdy hoist or rope to hang the deer
- Cleaning supplies like a rag or paper towels
Step-by-Step Guide: The Air Compressor Method
Learning this method takes a little practice, but following these steps will guide you. Remember to always work safely and methodically for the best results.
Preparation is Key
First, get your deer properly hung. Most hunters hang them by the hind legs. This position makes it easier to work around the animal and lets gravity assist in the skinning process.
Make sure your workstation is clean and organized. A clean area helps keep the meat sanitary and reduces the chances of contamination. Have your knife readily available but safely sheathed.
Making the First Cuts
Start by making the initial cuts around the deer’s legs, just above the hocks. Cut completely around each leg, then down the inside of the legs to the crotch. Extend this cut along the belly to the breastbone.
You want to expose enough of the hide to create a starting point for the air. Be careful not to cut too deeply and damage the meat underneath (North Dakota Game and Fish Department).
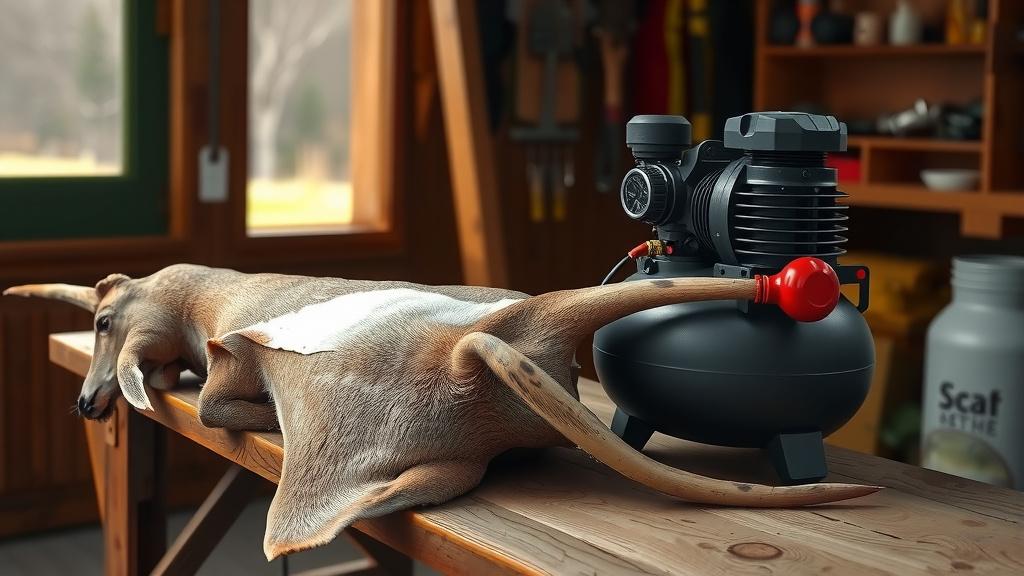
Finding the Right Spot for Air Nozzle
This is a critical step for success. Many experts suggest inserting the air nozzle under the hide near the neck or chest area. Look for a spot where you can easily create a small pocket between the hide and muscle.
Gently separate a small flap of skin from the meat with your fingers or the tip of your knife. This creates the entry point for your air nozzle. Ensure the opening is just big enough to fit the nozzle tip snugly.
Inflating the Deer – Slowly!
With the nozzle inserted, begin to apply air very slowly and steadily. You’ll see the hide begin to puff up and separate from the carcass. It’s a bit like watching a balloon inflate under the skin.
Listen for any hissing sounds, which could mean air is escaping. Adjust the nozzle to ensure a tight seal and continue to inflate. The goal is a gradual and controlled separation.
Guiding the Separation
As the hide inflates, use your hands to gently guide the separation. You can often help the air along by pushing and smoothing the hide. This ensures the air spreads evenly and effectively.
For stubborn areas or places where connective tissue is tighter, a quick, light pass with your knife might be needed. Use short, shallow strokes to avoid cutting into the meat. It’s about assisting the air, not forcing it.
Finishing Touches
Once the air has done most of the work, you’ll find the hide is mostly detached. There might be some remaining areas around the head, shoulders, or tough spots that require more knife work.
Carefully use your sharp knife to cut through these remaining connections. Take your time to ensure a clean hide removal without leaving too much meat on the skin or damaging the carcass. Precision is important here.
Safety First: Important Considerations
Working with compressed air requires careful attention to safety. Always wear safety glasses to protect your eyes from any debris or sudden air blasts. Hearing protection is also a good idea.
Control the air pressure carefully; too much pressure too quickly can cause the hide to rip or even injure you. Keep hands and fingers clear of the nozzle and the deer when inflating. It’s about being mindful and deliberate.
Pros and Cons of This Method
Using an air compressor for deer skinning offers some clear benefits. It’s generally much faster than traditional hand-skinning, especially for larger deer. It also typically leaves a cleaner carcass with less hair.
However, there are a few considerations. You need access to an air compressor and the right accessories. It also takes a little practice to master the technique without damaging the hide or meat. Some find the initial setup time a bit longer. Ultimately, many hunters find the speed and cleanliness well worth the initial effort.
Conclusion
Skinning a deer with an air compressor is a truly effective and efficient method for many hunters. By carefully preparing your deer, using the right equipment, and following a step-by-step approach, you can significantly reduce the time and effort involved in skinning. Remember, safety and controlled application of air are paramount for a successful and clean outcome. Give it a try; you might just find your new favorite way to process your deer!
Can I use a small, portable air compressor?
While a small portable compressor might work in a pinch, it will likely struggle to provide enough continuous air volume (CFM) for a smooth job. A larger compressor (20+ gallon tank, 6+ CFM) is recommended for consistent pressure and better results, as smaller units often cycle too frequently and lack the necessary power.
Does the air compressor method damage the meat?
When done correctly and slowly, the air compressor method should not damage the meat. The air separates the hide along a natural membrane. However, using too much pressure too quickly or improper knife work can cause bruising or tearing, so a controlled approach is vital.
Is this method good for all types of deer?
Yes, the air compressor method can be used for various sizes of deer, from smaller whitetail does to larger bucks. The principle remains the same, though larger deer might require more air volume and a bit more time to fully separate the hide. It’s a versatile technique for many hunters.
What if the hide doesn’t separate easily with air?
If the hide isn’t separating easily, it usually means you haven’t created a large enough initial pocket for the air to spread, or there are tough connective tissues. You might need to gently widen your initial cuts, carefully use your knife to break some connections, or re-adjust the air nozzle for a better seal. Sometimes, a little more patience and guiding with your hands helps.
How do I clean my air nozzle after skinning?
After each use, it’s very important to clean your air nozzle thoroughly to prevent contamination and maintain hygiene. Disassemble any removable parts if possible, and wash them with hot, soapy water. A disinfectant solution can also be used. Ensure all parts are completely dry before storing to prevent rust or mildew.