How To Change PSI On Air Compressor?
To change the PSI on your air compressor, locate the pressure regulator knob, which typically sits near the air tank’s main pressure gauge.
You simply turn this knob clockwise to increase the pressure (PSI) output or counter-clockwise to decrease it to match your tool’s requirements.
- Locate the pressure regulator knob, usually a prominent dial or handle on your compressor.
- Turn it clockwise to increase the air pressure for tasks needing more power.
- Rotate it counter-clockwise to decrease pressure for delicate work or specific tool needs.
- Always monitor the output pressure gauge as you adjust to hit your target PSI accurately.
- Test your tool at the new pressure setting to ensure optimal performance and safety.
Every seasoned DIYer or professional knows an air compressor is a powerhouse. But sometimes, you need more pressure. Other times, you need less. It’s all about matching the power to the job, right?
Adjusting the pounds per square inch (PSI) on your air compressor is a common task. It helps your tools run efficiently and prevents damage. We’re here to guide you through it, step by step, making it simple and clear.
How To Change PSI On Air Compressor?
Changing the PSI on your air compressor primarily involves adjusting the pressure regulator. This component is designed to control the outgoing air pressure to your tools, independent of the air tank’s stored pressure.
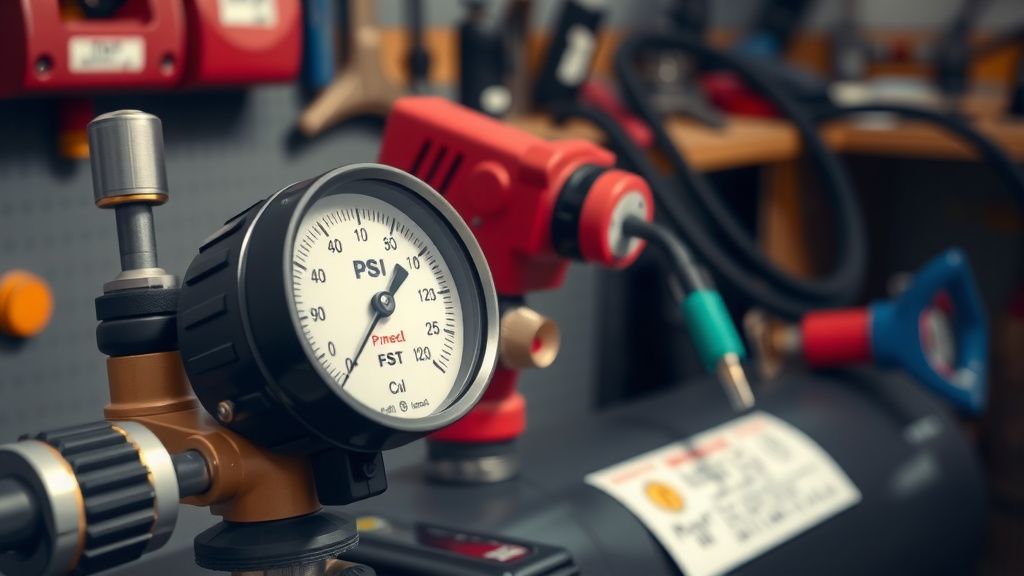
Understanding Your Compressor’s Gauges
Before any adjustments, take a moment to look at your compressor’s gauges. You’ll typically see two: one for tank pressure and one for regulated output pressure. The tank pressure gauge shows the total air stored in the tank. The output pressure gauge displays the PSI delivered to your air hose and tools. We found that understanding this difference is key to making correct adjustments.
Locating the Pressure Regulator
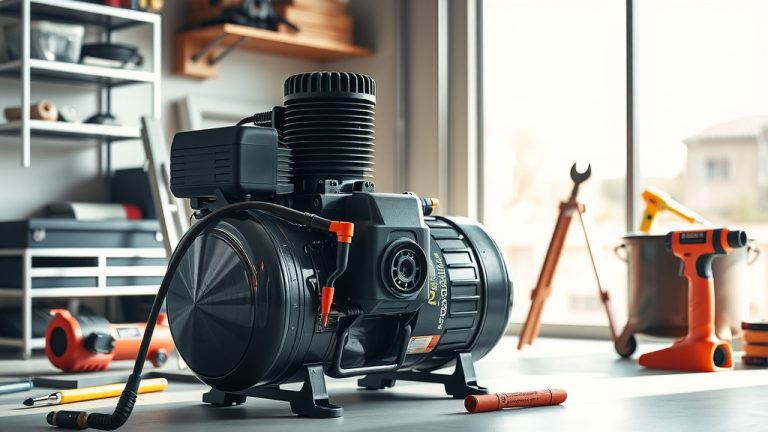
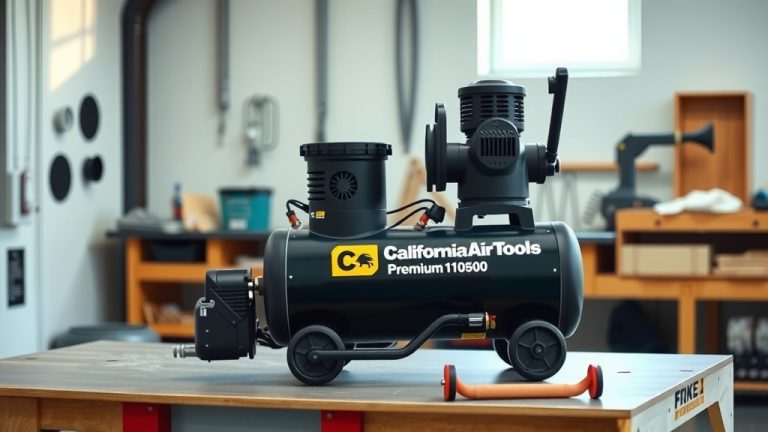
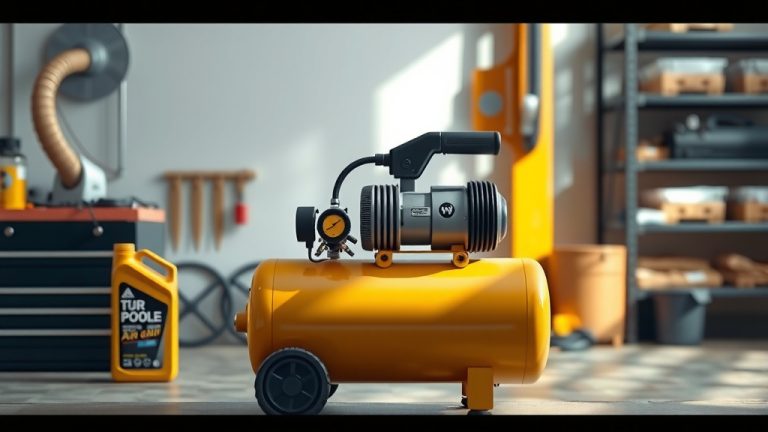
Your air compressor’s pressure regulator is often a knob or dial. It’s usually located near the output port where you connect your air hose. Think of it as the volume control for your air tools. It might be clearly marked “Regulator” or “PSI Adjust.”
The Adjustment Process: Step-by-Step
Changing the PSI is quite straightforward once you know where to look. Always ensure your compressor is running and has built up some tank pressure before you start. This ensures you can see the immediate effect of your adjustments on the output gauge.
Step 1: Connect Your Air Hose
First, connect your air hose to the compressor’s output port. Then, attach the air tool you plan to use to the other end of the hose. This helps you confirm the pressure setting works for your specific task.
Step 2: Turn the Regulator Knob
Now, locate that regulator knob. To increase the PSI, turn the knob clockwise. You’ll see the output pressure gauge needle rise. For less pressure, turn the knob counter-clockwise. The needle will drop. Many experts say to make small turns and watch the gauge closely.
Step 3: Monitor the Output Gauge
Keep a close eye on the output pressure gauge as you adjust. Stop turning when the needle reaches your desired PSI. This gauge tells you exactly what pressure your tool is receiving. It’s your visual confirmation of the new setting.
Step 4: Test Your Tool
Once you’ve set the PSI, test your air tool. Does it operate smoothly? Is it too powerful or not powerful enough? Sometimes, a slight tweak might be needed to achieve the perfect performance. This practical test confirms your adjustment is correct.
Why Adjust PSI? Matching Power to Task
Why do we bother changing the PSI? Because different tools and jobs demand different air pressures. A powerful impact wrench might need 90 PSI, while a delicate airbrush only needs 20-30 PSI. Using too much pressure can damage your tools or the material you’re working on. Using too little can make your tools ineffective, extending your work time and frustration.
Here’s a quick look at common PSI ranges for various air tools:
| Air Tool Type | Typical PSI Range | Why This Range? |
|---|---|---|
| Air Blow Gun | 30-50 PSI | Cleaning dust, gentle drying. |
| Brad Nailer / Stapler | 60-80 PSI | Driving fasteners without over-penetration. |
| Tire Inflator | 30-100 PSI | Matching tire manufacturer’s recommendations. |
| Impact Wrench | 90-100 PSI | High torque for loosening stubborn bolts. |
| Paint Sprayer | 20-80 PSI | Fine mist for painting, varies by paint and gun. |
Safety First: Always a Top Priority
Working with compressed air requires respect. High pressure can be dangerous if not handled correctly. Always wear safety glasses to protect your eyes from debris. Also, check your air hoses regularly for any cracks or leaks. Many guidelines point to reading your compressor’s manual before making any adjustments (Manufacturer Guidelines).
Quick Safety Checklist:
- Always wear eye protection.
- Check hoses and fittings for damage.
- Never point air nozzles at yourself or others.
- Bleed air from the system before disconnecting tools.
- Keep fingers clear of moving compressor parts.
What If the PSI Won’t Change? Troubleshooting Tips
Sometimes, despite your best efforts, the PSI just doesn’t seem to budge. Don’t fret. A few common issues might be at play. We found that checking these simple things can resolve most problems.
Is the Regulator Stuck?
Over time, regulators can become stiff or clogged with debris. Try gently turning it back and forth a few times. Sometimes a little movement is all it needs to free up. If it feels completely jammed, it might need more attention.
Check for Air Leaks
Even small leaks in your air hose or connections can prevent the regulator from holding pressure. Listen for hissing sounds, or apply soapy water to connections to spot bubbles. A quick fix of a loose fitting can solve the problem.
Is the Regulator Faulty?
Like any mechanical part, regulators can wear out. If it’s not responding to adjustments and there are no leaks, the regulator itself might be faulty. In such cases, replacing the regulator is often the most practical solution. Research often connects persistent pressure issues to a failing regulator (Technical Forums).
Maximizing Your Compressor’s Lifespan
Regular maintenance goes a long way. Always drain the moisture from your air tank after each use. This prevents rust inside the tank, which can lead to costly repairs down the line. Keep the air filter clean to ensure your compressor breathes easy. A little care means many years of reliable performance.
Conclusion
Changing the PSI on your air compressor is a fundamental skill for anyone using air tools. It’s a simple process of locating the regulator, turning a knob, and watching your gauge. By mastering this, you ensure your tools operate at peak efficiency and safety. Remember to always match your pressure to the task at hand and keep safety as your guiding principle. You’re now equipped to handle virtually any air tool application with confidence and precision.
What is the ideal PSI for general air tool use?
For most common air tools like nail guns or impact wrenches, a PSI setting between 70 to 90 PSI is generally ideal. However, always consult your specific tool’s manual for its recommended operating pressure to ensure proper function and safety.
Can I set my air compressor’s PSI too high?
Yes, setting the PSI too high can be dangerous and damaging. Excessive pressure can cause air tools to wear out faster, break components, or even lead to explosive failures. It can also damage the material you are working on. Always stay within the tool’s maximum rated PSI.
Does changing the PSI affect the air tank pressure?
No, adjusting the output PSI using the regulator does not change the pressure inside the air tank. The tank pressure remains at the compressor’s maximum cut-off pressure. The regulator only controls the pressure of the air flowing out to your tools.
How often should I check my air compressor’s PSI?
You should check and adjust your air compressor’s output PSI every time you switch to a different air tool or start a new task. Different tools require different pressures, so a quick check ensures optimal performance and safety for each specific job.
What if my compressor only has one gauge?
If your air compressor only has one gauge, it usually displays the tank pressure. In this setup, the output pressure is often fixed or controlled by a simpler, non-adjustable valve. If you need adjustable output pressure, you might need an inline regulator or a different compressor model, as one gauge typically means limited control over output PSI.