
How to Inflate a Pool Float with an Air Compressor?
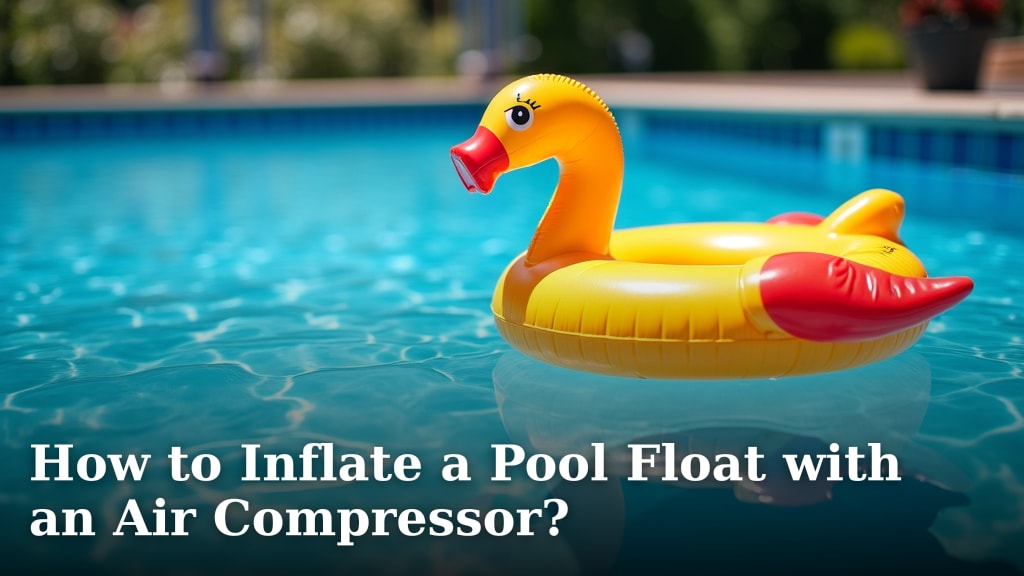
The easiest way to inflate a pool float with an air compressor is to use the correct nozzle attachment for your float’s valve and then slowly fill it with air. This method is much faster than lung power. You’ll be relaxing on the water in no time.
Using an air compressor can save you a lot of effort and time, especially with larger floats. We found that a standard home air compressor or even a portable tire inflator works well. Just be careful not to Our guide on how to inflate a pool with an air compressor offers more detailed instructions for larger inflatables.overinflate your float, which could damage it.
- Get the right nozzle.
- Connect it securely to the float valve.
- Inflate slowly and carefully.
- Stop before it gets too firm.
Ready to ditch the dizzy spells from manual inflation? Let’s walk through exactly how to get your pool float perfectly puffed up using an air compressor, step by step.
Powering Up Your Pool Floats: The Air Compressor Method
Using an air compressor for your pool floats is a game-changer. It makes inflation quick and easy, saving your breath for cannonballs. You’ll be surprised how simple it is once you get the hang of it.
Understanding Your Air Compressor
Before you even think about inflating, you need to know a little about your air compressor. Not all compressors are created equal, but most home models will work just fine for pool floats. The key is understanding its capabilities and how to control the airflow.
Types of Air Compressors for Home Use
You probably have one of a few common types of air compressors around your house. Many people use a portable tire inflator. These are small, easy to store, and perfect for light-duty jobs like pool floats. We found that most models have enough power for even large inflatables.
Another option is a standard pancake or hotdog-style air compressor. These are often used for DIY projects, like powering nail guns. They usually have a tank to store compressed air. These larger units offer more power and sustained airflow, which can be useful for very big floats.
The main difference is their power and how long they can run. A small portable inflator might take a bit longer but is perfectly adequate. A larger compressor will be faster. Always read your specific compressor’s manual for safety and operation guidelines.
Essential Air Compressor Features to Look For
When selecting a compressor, or checking the one you have, look for a few features. A pressure gauge is helpful, though not strictly necessary for floats. More important is a variable air nozzle or a set of attachments. You need to match the nozzle to your float’s valve opening. We found this to be the most critical step for successful inflation.
Some compressors have an auto-shutoff feature once a certain pressure is reached. While great for tires, this isn’t usually adjustable enough for pool floats. You’ll be relying on visual inspection more than pressure readings. Just remember, slow and steady wins the race with float inflation.
Gathering Your Inflation Toolkit
You don’t need much, but having the right tools makes the process much smoother. Think of it like cooking: you wouldn’t start without all your ingredients ready. Having everything at hand prevents frustration.
What You’ll Need
- Your deflated pool float (obviously!).
- An air compressor or portable tire inflator.
- The correct nozzle attachment for your float’s valve. This is often a cone-shaped tip or a narrow adapter. Many compressors come with a variety of these.
- A clean, flat surface to work on. Grass or a patio works well.
- A watchful eye! You’ll need to monitor the inflation closely.
Choosing the Right Nozzle Attachment
This is where many people get stuck. Pool floats have different valve sizes. Some have small, one-way valves, while others have large, quick-fill valves. Your compressor should come with several adapters. You want one that fits snugly into the float’s valve opening without being forced. It should create a good seal so air doesn’t escape. Many experts say a cone-shaped nozzle is often the most versatile (Consumer Reports).
If you don’t have the right nozzle, don’t fret! Sometimes, a piece of rolled-up paper or even a small funnel can act as a temporary adapter to guide the air. Just be extra careful. We found that most air mattress pump kits also contain the right nozzles for pool floats.
Step-by-Step Guide to Inflating Your Pool Float
Now for the fun part! Follow these steps carefully, and you’ll have your float ready in minutes. It’s a very straightforward process, but paying attention to detail prevents damage.
Pre-Inflation Checklist
Before you hit the power button, take a moment to do these quick checks. It’s like a pilot’s pre-flight routine. These small steps can save you a big headache later.
- Unfold your float completely on a flat, clean surface.
- Inspect the float for any tears or holes. It’s much easier to patch a leak before it’s inflated.
- Locate the inflation valve(s). Some floats have multiple chambers.
- Select the appropriate nozzle for your float’s valve.
- Ensure your compressor is plugged in or fully charged if it’s a cordless model.
The Inflation Process
Alright, you’re ready! This part is about control and patience. You’re aiming for firm but not rigid. Think of a slightly under-inflated basketball rather than a rock-hard one.
-
Connect the Nozzle: Firmly insert the chosen nozzle into the float’s inflation valve. Make sure it creates a good seal. You shouldn’t hear a lot of air hissing out around the edges.
-
Start Inflating Slowly: Turn on your air compressor. If your compressor has variable speed, start on a low setting. This gives you more control and prevents sudden overinflation. We recommend short bursts of air rather than a continuous stream, especially for smaller floats.
-
Monitor the Float: As the float fills, gently press on it. Feel the firmness. Watch the seams. If you see the seams starting to stretch or hear any unusual noises, stop immediately.
-
Inflate in Stages (for multi-chamber floats): If your float has several chambers, inflate each one partially first. Then, go back and top them off. This helps the float take its proper shape and distributes the air pressure evenly.
-
Know When to Stop: This is the trickiest part. You want the float to be firm to the touch but still have a little give. It should feel like a perfectly ripe avocado – firm but not hard. You should be able to press your thumb into it slightly. If it feels rock hard, you’ve gone too far. Under-inflating slightly is better than over-inflating.
-
Quickly Seal the Valve: As soon as you remove the nozzle, quickly close the float’s valve cap. Some valves have a one-way stopper; others require you to pinch and fold. Practice makes perfect here.
Safety Tips and Troubleshooting
Safety first! While inflating a float seems simple, a few precautions can prevent damage to your float or even injury to yourself. We’ve seen many a float burst from eagerness, so take it easy.
Avoiding Over-Inflation
The number one rule: Do NOT over-inflate your pool float. Over-inflation can cause seams to burst, leading to permanent damage. It can also make the float less stable in the water. Plus, the sun will cause the air inside to expand, so a slightly under-inflated float will reach optimal firmness once it’s out in the heat.
Always aim for that “firm but with a little give” feeling. When in doubt, err on the side of slightly less air. It’s easier to add more air than to repair a burst seam. We found that most pool float manufacturers recommend not inflating to full rigidity (Swimways).
Dealing with Leaks or Problems
What if you hear a hiss? First, don’t panic. If you notice air escaping during inflation, check the nozzle connection. Is it secure? Is it the right size? If the leak is from the float itself, you might have a small puncture. Stop inflating and try to locate the leak. Most floats come with a patch kit, or you can use clear vinyl repair tape. Patching a float is usually straightforward when it’s not fully inflated.
If your compressor starts making unusual noises or overheating, turn it off immediately. Give it a break. Safety with power tools, even small ones, is always important. Your float can wait a few minutes.
Maintaining Your Inflated Float
Once your float is perfectly inflated, you want to keep it that way for as long as possible. A little care goes a long way in extending the life of your pool accessories.
Tips for Longevity
Keep your float out of direct sunlight when not in use. The sun’s UV rays can degrade the material over time, making it brittle. Also, extreme heat causes the air inside to expand, putting stress on the seams. When you’re done using it for the day, move it to a shady spot or even indoors.
Clean your float periodically with mild soap and water. Dirt and grime can also contribute to material breakdown. Store it in a cool, dry place during the off-season. Proper storage means deflating it, cleaning it, and folding it loosely to prevent creases that can become weak points.

Conclusion
You now have all the knowledge to inflate your pool floats like a pro using an air compressor. Remember, the right nozzle and careful, slow inflation are your best friends. Avoid over-inflating to protect your float’s lifespan and keep those seams intact. We found that a little patience goes a long way in ensuring your inflatable lasts for many seasons.
So, gather your tools, choose your favorite float, and get ready for some effortless relaxation. Your summer fun is just an air compressor away!
Frequently Asked Questions
Can I use a bike pump to inflate a pool float?
While technically possible, using a bike pump for a pool float can be very time-consuming and labor-intensive. Bike pumps are designed for high pressure, low volume, which isn’t ideal for large inflatables. An air compressor or an electric pump designed for inflatables will be much more efficient.
What if my air compressor doesn’t have the right nozzle for my float?
Many air compressors come with a variety of universal nozzle attachments. If yours doesn’t fit, you can often find adapter kits online or at hardware stores. As a temporary fix, we’ve found that rolling a piece of paper into a cone can sometimes work, but be extra careful to maintain a seal.
How can I tell if I’m over-inflating my pool float?
An over-inflated float will feel rock-hard with no give when you press on it. The seams might also look stretched or strained. Always aim for a firm but slightly pliable feel, like a ripe avocado. It’s better to be slightly under-inflated than over-inflated to prevent damage.
Does air temperature affect pool float inflation?
Yes, air temperature absolutely affects inflation. Air expands in heat and contracts in cold. If you inflate a float in cool conditions and then place it in direct hot sunlight, the air inside will expand. This can lead to over-inflation and potential damage. We recommend inflating your float slightly less on hot days.
Can I leave my pool float inflated all summer long?
While convenient, leaving your float inflated all summer can shorten its lifespan. Constant exposure to sun, heat, and pool chemicals can degrade the material. We recommend partially deflating it and storing it in a shaded area when not in use for extended periods. This helps prevent UV damage and stress on the seams.
