
How to Use an Air Compressor?
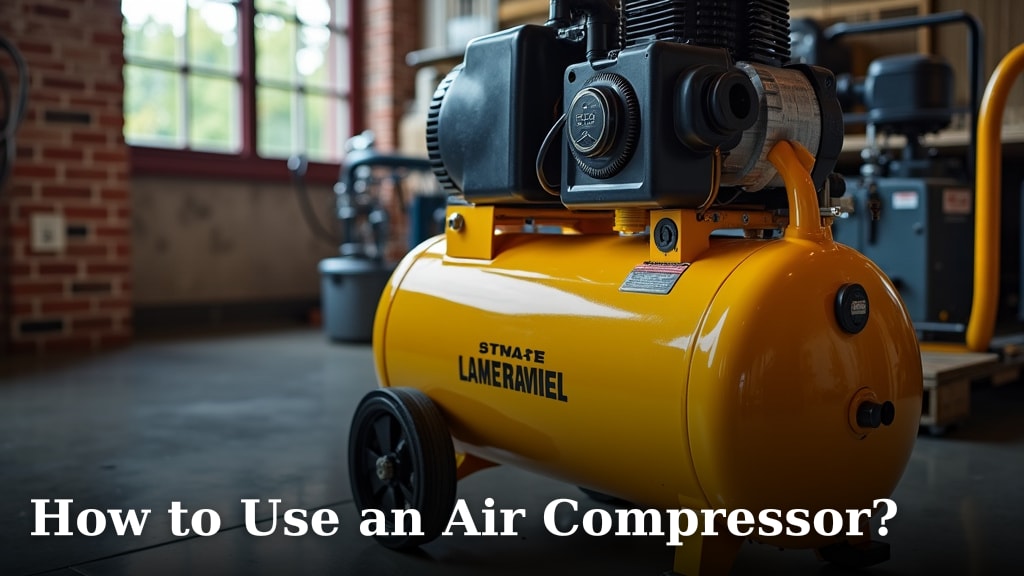
To use an air compressor, you simply connect an air tool, power on the compressor, allow it to build pressure, and then begin your task. It sounds easy, right? While the basic steps are straightforward, getting the best results and staying safe means knowing a few key things about your equipment. Understanding how to use an air compressor correctly helps you finish projects faster and with less hassle.
Many people find air compressors a bit intimidating at first, but with a little guidance, you’ll be using this versatile tool like a professional. We’ve found that they’re fantastic for everything from inflating tires and sports equipment to powering impact wrenches for automotive repairs or spray guns for painting. Knowing your compressor’s parts and how they work together is more important than you might think. This foundation ensures you get reliable performance every time.
- How air compressors work.
- Setting up your compressor safely.
- Connecting different air tools.
- Basic operating steps.
- Essential safety tips.
Ready to get started? We’ll walk you through exactly how to hook up, power on, and effectively use your air compressor, step by step.
Getting Started with Air Compressor Operation
You’re probably eager to jump right into using your air compressor. We understand that feeling! But before you power it up, it helps to know a little about how these machines work. An air compressor takes in ambient air, compresses it, and stores it in a tank. This stored, pressurized air is then used to power various air tools. Think of it like a rechargeable battery, but for air!
The tank stores the compressed air. A motor and pump work together to draw in air and push it into the tank. This process continues until the tank reaches a preset pressure. That’s when the compressor motor usually stops. When you use an air tool, air leaves the tank, and the pressure drops. Once it hits a certain low point, the compressor kicks back on to refill the tank. This cycle is completely normal.
Understanding Your Air Compressor Components
Knowing the main parts of your compressor makes using it much safer and more efficient. Each component plays a vital role. We’ve found that a quick overview helps new users feel more comfortable. It’s like learning the parts of your car before driving it.
Basic Parts and Their Functions
- Air Tank: This is the large cylinder that stores the compressed air. Its size determines how long your tools can run before the compressor cycles on again.
- Motor: The motor powers the pump. Electric motors are most common for home use. Gas motors are found on larger, portable units.
- Pump: This is the heart of the compressor. It takes in air and compresses it into the tank.
- Pressure Gauge: This tells you the current air pressure inside the tank. It’s usually measured in PSI (pounds per square inch).
- Regulator: This crucial dial lets you adjust the outgoing air pressure to suit your tool. Different tools need different pressures.
- Drain Valve: Located at the bottom of the tank, this valve releases moisture that accumulates from air compression. You must use it regularly.
- Safety Valve: An essential safety feature. It automatically releases excess pressure if the tank’s pressure gets too high. Don’t tamper with this!
Setting Up Your Compressor for Safe Use
Proper setup is not just about convenience; it’s about your safety and the longevity of your equipment. We always recommend reading your compressor’s owner’s manual before the first use. It contains model-specific instructions that are very important.
Choosing the Right Location
Where you place your air compressor matters. You need a spot that is flat, stable, and well-ventilated. A concrete floor is ideal. Avoid placing it on carpet or uneven surfaces. The compressor needs to breathe; good airflow prevents overheating. A garage or workshop is often a solid choice.
- Ensure adequate space around the unit for air circulation.
- Keep it away from flammable materials or liquids.
- Maintain a safe distance from walls (usually 12-18 inches).
- Protect it from rain or excessive moisture.
Pre-Operation Checklist: Don’t Skip This!
Before you plug in and power on, take a moment for a quick check. This small effort can prevent big headaches. Think of it as a pilot’s pre-flight routine. We’ve found these steps to be very helpful:
- Check the Oil Level (if applicable): Some compressors are oil-lubricated. Ensure the oil reservoir is at the correct level. Refer to your manual for the right type of oil.
- Inspect Air Hoses: Look for any cracks, fraying, or loose connections. A damaged hose can be dangerous and inefficient.
- Close the Drain Valve: You don’t want air escaping before it even starts filling! Ensure the drain valve at the bottom of the tank is fully closed.
- Connect Air Filter: If your model has a removable air filter, make sure it’s clean and securely attached.
- Verify Electrical Requirements: Is your outlet the correct voltage for your compressor? Is it on a dedicated circuit? This prevents tripping breakers (National Electrical Code).
Connecting Air Tools to Your Compressor
This is where the magic happens! Connecting your tools is straightforward once you understand the basic process. You’ll need a quick-connect coupler and the appropriate air fitting on your tool. These allow for fast and easy tool changes. Many systems use a universal style.
Attaching Hoses and Fittings
Your air hose will have a male or female fitting. The compressor’s outlet will have the opposite. Connect the hose to the compressor first. Make sure it’s a snug, secure fit. Then, attach your air tool to the other end of the hose. We always recommend using thread sealant tape (Teflon tape) on threaded connections to prevent air leaks.
| Component | Typical Connection | Notes |
|---|---|---|
| Compressor Outlet | Quick-connect coupler (female) | Your hose plugs into this. |
| Air Hose End (to compressor) | Plug (male) | Slides into the compressor’s coupler. |
| Air Hose End (to tool) | Quick-connect coupler (female) | Your tool’s plug goes here. |
| Air Tool Inlet | Plug (male) | This fits into the hose’s coupler. |
Many air tool kits come with fittings that match standard couplers. If not, you might need to purchase adapters. Ensure all connections are secure to prevent air leaks, which lead to lost pressure and wasted energy.
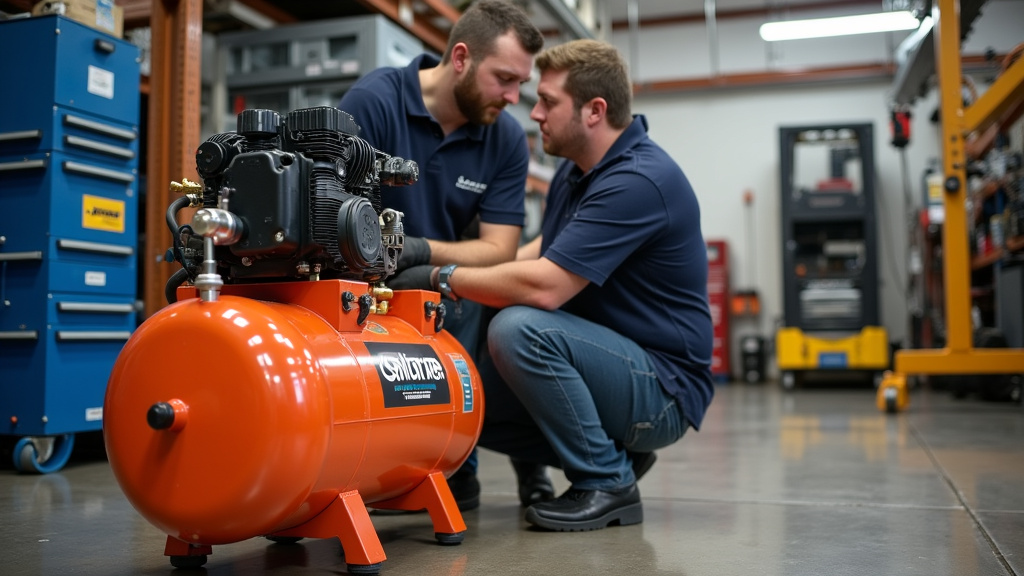
Operating Your Air Compressor: Step-by-Step
With everything set up, you’re ready for action! We’ll guide you through the process of powering on, building pressure, and adjusting settings. It’s often easier than you think. You’ll be using it like a pro in no time!
Powering On and Building Pressure
First, make sure the regulator on your compressor is set to its lowest pressure setting (usually zero PSI). This prevents a sudden burst of air when you turn it on. Then, simply plug in the power cord to a suitable electrical outlet. Now, flip the “on” switch. You’ll hear the motor start and the pump begin to fill the tank. The pressure gauge will show the pressure rising.
The compressor will run until it reaches its maximum cut-off pressure. This is a normal part of its operation. Once it reaches this point, the motor will shut off. This means the tank is full and ready for use. This process might take a few minutes, depending on your compressor’s tank size and power.
Adjusting Pressure and Using Tools
Now, you can adjust the outgoing air pressure. Check your air tool’s manual for its recommended operating pressure. Most tools have a range, such as 70-90 PSI for nail guns or longer for paint sprayers (Air Tools Guide, OSHA). Slowly turn the regulator dial clockwise to increase the pressure. Watch the pressure gauge that shows the regulated “output” pressure, not the tank pressure.
Once you’ve set the correct pressure, you can begin using your tool. When the tank pressure drops significantly, the compressor will cycle back on to refill it. This is normal and expected. Just remember to keep an eye on your regulated pressure gauge during use.
Essential Safety Practices
Your safety is paramount. Air compressors are powerful machines. Following basic safety guidelines is critical to prevent accidents and injuries. We’ve found that most incidents are preventable with a little caution and awareness.
Key Safety Reminders
Always treat your air compressor with respect. It’s a tool, not a toy. Here are some of the most important things to remember:
- Wear Eye Protection: Safety glasses or goggles are non-negotiable. Debris, dust, or air blasts can cause serious eye injury.
- Wear Hearing Protection: Air compressors can be very loud. Earplugs or earmuffs protect your hearing during prolonged use (National Institute for Occupational Safety and Health).
- Read Your Manual: We can’t stress this enough. It has specific safety warnings for your model.
- Inspect Before Use: Always check hoses, fittings, and the compressor itself for damage.
- Ventilate Your Work Area: Good airflow prevents heat buildup and protects against inhaling fumes from gas-powered units.
- NEVER Exceed Tool Pressure: Do not set the regulator higher than your tool’s maximum recommended PSI. This can damage the tool or cause it to explode.
- Drain the Tank Regularly: Moisture accumulates in the tank. Drain it after every use to prevent rust and maintain compressor efficiency.
- Disconnect Power: Always unplug the compressor before performing any maintenance or making repairs.
Regular Maintenance for Longevity
A little routine care goes a long way. Proper maintenance extends the life of your compressor and keeps it running safely. We’ve compiled a brief checklist:
Your Air Compressor Maintenance Checklist:
- Drain the air tank daily or after each use.
- Check and clean the air filter regularly.
- Inspect hoses and fittings for wear and leaks.
- Verify oil levels (for oil-lubricated models).
- Tighten any loose nuts or bolts.
By following these steps, you’ll ensure your air compressor remains a valuable and safe tool for years to come. Remember, a well-maintained compressor is a reliable compressor.
Conclusion
You now have a solid understanding of how to safely and effectively use your air compressor. By familiarizing yourself with its components, completing the pre-operation checklist, and connecting tools correctly, you’re well on your way. Remember to always prioritize safety, wear proper protection, and conduct routine maintenance.
We’ve found that mastering your air compressor will significantly enhance your capabilities for countless DIY projects and professional tasks. Take these steps, practice regularly, and you’ll confidently handle everything from inflating tires to tackling tougher jobs. Your next project awaits!
Frequently Asked Questions
How do I know what PSI setting to use for my air tool?
Each air tool has a recommended operating pressure, usually found in its owner’s manual or printed on the tool itself. Always refer to this specification for the correct PSI. Using the wrong pressure can damage the tool or affect job quality.
Why does my air compressor keep turning on and off during use?
This is usually completely normal. The compressor turns on to refill the air tank when the pressure drops below a certain point. Once the tank reaches its maximum pressure, the motor turns off again. This cycle maintains a consistent air supply for your tools.
Can I use an extension cord with my air compressor?
It’s generally best to avoid extension cords to prevent voltage drops and motor damage. If you must use one, ensure it’s a heavy-duty, outdoor-rated cord (e.g., 12-gauge or thicker) and as short as possible. Consult your compressor’s manual for specific recommendations.
What’s the difference between tank pressure and regulated pressure?
Tank pressure is the total amount of compressed air stored in the tank. Regulated pressure is the specific, reduced pressure that the compressor supplies to your air tool through the hose. You adjust the regulated pressure with the compressor’s regulator knob.
How often should I drain the moisture from my air compressor tank?
We strongly recommend draining the tank after every single use. Moisture accumulation can lead to rust inside the tank, which weakens the metal over time and can cause serious safety issues. It only takes a minute and significantly extends your compressor’s life.
