
How to Set Up an Air Compressor?
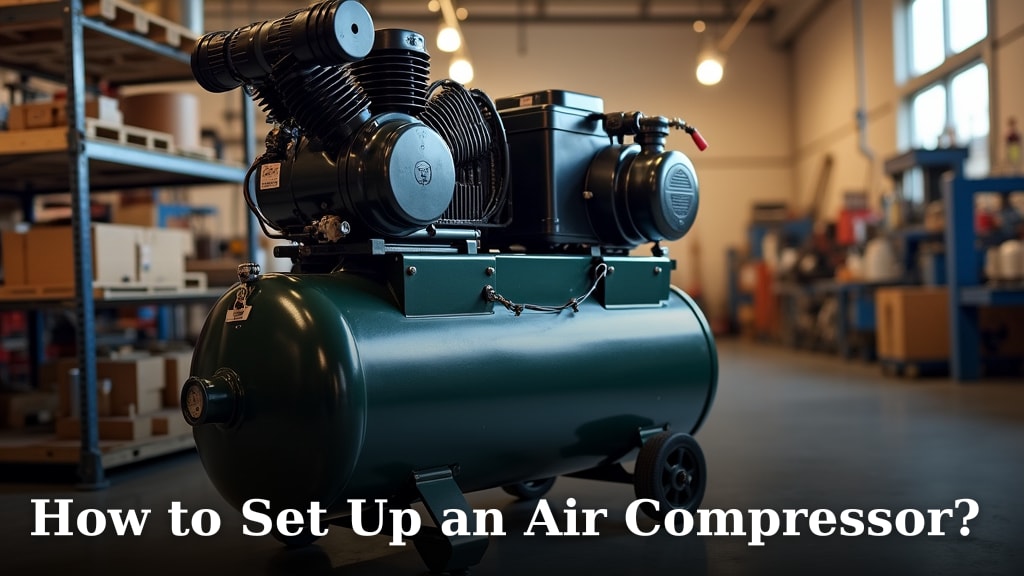
To set up an air compressor, you first need to place it on a stable, level surface in a well-ventilated area, then connect your air hose and attachments, and finally, plug it into a proper power source. It’s a straightforward process that gets you ready to tackle various projects around your home or workshop.
Most air compressors, whether small pancake models or larger vertical tanks, follow similar setup principles. Understanding these steps ensures you operate your compressor safely and efficiently, helping you avoid common frustrations and get straight to work on those DIY tasks. We found that a good setup makes all the difference in your project’s success.
- Inspect your new air compressor for any shipping damage.
- Choose a safe, well-ventilated spot for operation.
- Connect air hoses and any necessary quick-connect fittings.
- Understand the power requirements and proper electrical connection.
- Perform an initial run-in and check for air leaks.
Ready to get your new compressor up and running? We’ll guide you through each step, making sure you feel confident and prepared for your next project. We want you to feel empowered when using your tools.
Getting Your Air Compressor Ready for Action
Setting up your air compressor doesn’t have to be a puzzle. We’ll walk you through each step, making sure you feel confident and prepared. Think of it like assembling a simple piece of furniture; follow the directions, and you’ll be set.
Unboxing and Initial Inspection
Your journey begins the moment your air compressor arrives. Carefully remove it from its packaging. We found that taking your time here prevents accidental drops or damage. What do you see first?
Checking for Damage During Shipping
Once unboxed, give your compressor a good once-over. Look for any dents, scrapes, or broken parts. Shipping can be rough, and even the toughest tools can take a hit. Pay special attention to gauges, hoses, and power cords. If you find anything amiss, contact the seller right away. It’s much easier to address problems now than when you’re halfway through a project.
Locating all Included Components
Most compressors come with a few accessories. We found that checking the manual against what’s in the box is a smart move. Do you have all the wheels, handles, and small parts? Are all the fasteners and fittings present? Sometimes things get misplaced during packing, and you don’t want to discover a missing bolt when you’re ready to start.
Choosing the Right Spot for Your Compressor
Where you put your air compressor matters a lot for both safety and performance. Don’t just plunk it anywhere! Consider these factors before you settle on a spot.
Ventilation is Key
Air compressors generate heat, especially during prolonged use. They also need to draw in cool air to work efficiently. Therefore, a well-ventilated area is essential. We recommend avoiding small, enclosed spaces like cramped closets. Think of it like a car engine; it needs airflow to keep cool (National Institute for Occupational Safety and Health, NIOSH).
Stable and Level Surface
Your compressor will vibrate when it runs, sometimes quite a bit. Placing it on a stable, level surface helps prevent it from tipping over or “walking” across the floor. Concrete floors in a garage or workshop are often ideal. Soft ground or uneven surfaces are big no-nos. Imagine trying to stand on a wobbly chair; it’s not very stable, right?
Proximity to Power and Work Area
Consider where you’ll be using your air tools most often. You want your compressor to be close enough to your power source without needing excessive extension cords. Also, think about the length of your air hose. Too far, and you’ll be dragging hoses everywhere. Too close, and the noise might bother you. It’s a balance!
Connecting Your Air Hose and Tools
Now that your compressor has a home, it’s time to hook up the air! This is where your tools get their power.
Understanding Quick-Connect Fittings
Most modern air compressors use quick-connect fittings. These handy devices let you attach and detach air tools quickly and easily. There are different types (like industrial, automotive, and ARO), but the good news is that most systems use a standard ¼-inch NPT connection. Make sure your fittings match! You don’t want to force a square peg into a round hole, so to speak.
Attaching the Air Hose
First, attach the female end of your air hose to the male fitting on your compressor’s air outlet. Push it firmly until you hear a click. Give it a gentle tug to ensure it’s secure. Next, attach a male fitting to the end of your air hose you’ll connect tools to, then attach a female fitting to each of your air tools. This setup makes for seamless tool changes.
Using an Air Filter/Regulator/Lubricator (FRL) Unit
For many air tools, especially those that require lubrication or precise air pressure, an FRL unit is a smart addition. This usually mounts in-line with your air hose, near the compressor. We found that this unit helps protect your tools and improve their performance. It filters out moisture, regulates pressure, and, if needed, adds lubrication.
Powering Up Your Air Compressor
Electrical connections are super important for both safety and proper function. Don’t skip these checks!
Checking Power Requirements
Look at your compressor’s specifications. Small pancake compressors usually run on standard 120V household outlets. Larger models might require a 240V, dedicated circuit. Always match the compressor’s voltage and amperage requirements to your power supply. Think of it like plugging in a powerful kitchen appliance; you need the right outlet.
This table can help you understand common power requirements:
| Compressor Type | Typical HP Range | Voltage Requirement | Key Consideration |
|---|---|---|---|
| Small Portable (Pancake, Hotdog) | 0.5 – 2 HP | 120V (Standard Household) | Often needs a dedicated circuit, avoid extension cords. |
| Medium Portable (Twin-Stack, Wheeled) | 2 – 4 HP | 120V or 240V (Check Label) | Might require a higher amp breaker (20A). |
| Large Stationary (Vertical Tank) | 5 HP+ | 240V (Dedicated Circuit) | Requires specific wiring and breaker. Consult an electrician. |
Plugging into a Proper Outlet
Always plug your compressor directly into a wall outlet whenever possible. If you must use an extension cord, make sure it’s a heavy-duty, outdoor-rated cord with the correct gauge for your compressor’s power draw. Too thin a cord can cause voltage drop, overheating, and damage to your compressor. It’s like trying to drink a thick milkshake through a very tiny straw – it just doesn’t work well!
Understanding Breaker Requirements
Your electrical panel has circuit breakers that protect your wiring from overload. We found that air compressors, especially during startup, draw a lot of power. Make sure the circuit you’re plugging into has a breaker rated appropriately for your compressor’s specifications. If you’re unsure, consulting an electrician is always a good idea (Occupational Safety and Health Administration, OSHA).
First Start-Up and Leak Detection
You’re almost there! Before you use your tools, do a quick test run.
The Initial Run-In Process
Most new compressors recommend an initial break-in period. This usually involves running the compressor for 15-30 minutes with the tank drain valve open and no air tools attached. This allows the internal components, especially the piston and cylinder, to seat properly. Check your manual for specific instructions unique to your model.
Checking for Air Leaks
Once the tank starts to fill, listen carefully. Do you hear any hissing? That’s a potential air leak. A simple trick is to spray a solution of soapy water onto all connections, the tank, and the drain valve. Bubbles will appear if there’s a leak. Even small leaks can make your compressor run constantly, wearing it out faster. Tighten any leaking connections, but don’t over-tighten!
Your Air Compressor Setup Checklist
- Compressor unboxed and inspected for damage.
- Located all included parts.
- Chose a stable, level, well-ventilated spot.
- Air hose and quick-connect fittings are securely attached.
- FRL unit (if desired) is installed.
- Power connection matches compressor’s requirements.
- Performed initial break-in run.
- Checked all connections for air leaks.
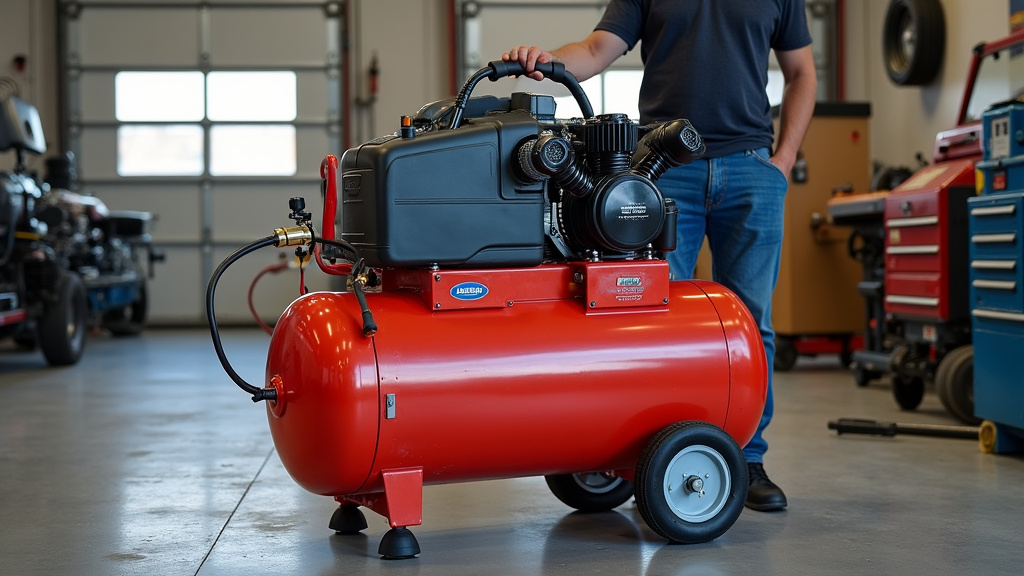
You’ve successfully set up your air compressor! Now you’re ready to connect your favorite air tools and get to work. Isn’t that a great feeling?
Conclusion
You’ve seen that setting up your air compressor doesn’t have to be intimidating. By carefully inspecting it, choosing a proper location, connecting your hoses, and ensuring safe power, you’re building a solid foundation. These steps ensure your compressor works reliably and safely for years to come. Now, take that knowledge and confidently get your compressor ready. You’re prepared to tackle those projects and make some serious progress!
Frequently Asked Questions
How often should I drain my air compressor tank?
You should drain your air compressor tank daily or after every use. This prevents rust and corrosion inside the tank, which can compromise its integrity over time. Water accumulation can also reduce air capacity and potentially damage air tools.
Can I use any extension cord with my air compressor?
No, you really shouldn’t use just any extension cord. You need a heavy-duty, outdoor-rated cord with the correct gauge for your compressor’s power draw. Using an inadequate cord can cause voltage drops, overheating, and potential damage to your compressor’s motor.
Why is my air compressor running constantly and not shutting off?
If your air compressor runs continuously, it likely has an air leak. Check all connections, hoses, and the tank drain valve. Even small leaks can prevent the compressor from building enough pressure to cycle off, leading to premature wear and higher energy bills.
Do I need to add oil to my new air compressor?
It depends on your compressor type. Some compressors are “oil-lubricated” and require oil, often shipped separately or with specified levels. Many newer models are “oil-free” and do not need oil. Always consult your owner’s manual before adding any lubricants.
What’s the ideal temperature range for operating an air compressor?
Most air compressors perform best in temperatures between 40°F (4°C) and 95°F (35°C). Extreme cold can thicken oil and make starting difficult, while excessive heat can lead to overheating and reduced efficiency. Always ensure good ventilation for optimal performance.
