How To Use California Air Tools Compressor?
To use your California Air Tools Compressor, connect your air tool to the quick coupler, set the desired pressure with the regulator, and turn on the compressor.
Always perform a quick safety check, ensuring hoses are secure and the tank drain valve is closed before starting your California Air Tools unit.
Here’s a quick overview of how to get the most from your California Air Tools compressor:
- Set up your compressor in a clean, level spot away from walls.
- Connect your air hose and preferred tool securely to the quick coupler.
- Ensure the tank drain valve is closed tight for proper pressure building.
- Power on the unit and allow it to reach its full operating pressure.
- Adjust the air pressure using the regulator knob to match your tool’s requirements.
- Perform routine maintenance like draining the tank after each use for long life.
How To Use California Air Tools Compressor?
Using your California Air Tools compressor is straightforward and rewarding. These units are known for their quiet operation and reliability. You will find that getting started is quite simple once you understand a few key steps.
Getting Started with Your New Compressor
First, take your compressor out of its box. Look for any shipping damage or loose parts. It is always a good idea to inspect everything carefully. We found that a quick visual check can prevent many small issues later on.
Make sure you have all the necessary accessories ready. This includes your air hose and the specific air tool you plan to use. Having everything nearby makes the setup process smoother for you.
Safety First, Always!
Safety is the most important part of using any power tool. Always read your compressor’s user manual before starting it. This guide gives you specific safety advice for your model (California Air Tools).
Wear eye protection, like safety glasses, whenever the compressor is running. Hearing protection is also a good idea, even with quiet California Air Tools models. Keep your work area clean and free of clutter.
Setting Up Your Compressor
Place your compressor on a flat, stable surface. It needs good airflow around it to prevent overheating. Try to keep it away from walls or corners if you can. A well-ventilated space is key for performance.
Plug the power cord into a grounded electrical outlet. Make sure the outlet matches the voltage requirements listed on your compressor. Using the correct power source protects your equipment.
Connecting Your Air Tools
Attach your air hose to the compressor’s outlet. Most California Air Tools compressors use a quick coupler system. This allows for fast and easy connections.
Then, connect your chosen air tool to the other end of the air hose. You might need an adapter depending on your tool type. Ensure all connections are secure and tight to avoid air leaks.
Powering On and Building Pressure
Before you power it on, check the tank drain valve. This valve is usually at the bottom of the air tank. It must be closed tightly for the compressor to build pressure effectively.
Flip the power switch to the “ON” position. Your California Air Tools compressor will start to fill the air tank. It will automatically shut off once it reaches its maximum pressure setting. This process can take a few minutes.
Adjusting the Air Pressure
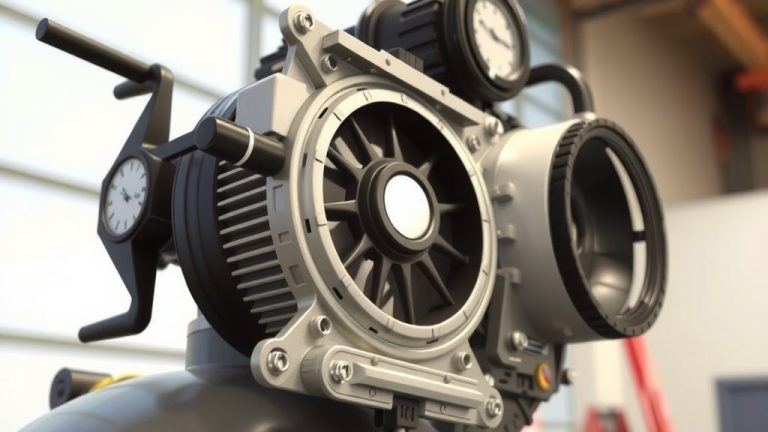
Look for the pressure regulator knob and the pressure gauges. One gauge shows tank pressure, and the other shows regulated outlet pressure. This is the pressure going to your tool.
Turn the regulator knob to adjust the outlet pressure. Turn it clockwise to increase pressure and counter-clockwise to decrease it. Always check your air tool’s manual for its recommended PSI (pounds per square inch).
Understanding PSI and CFM
Matching Your Compressor to Your Tools
PSI tells you the force of the air. CFM (cubic feet per minute) tells you the volume of air. Different tools need different amounts of each. Many experts say that matching these to your tool is vital for efficient operation.
For example, a tire inflator needs less CFM but a specific PSI. A paint sprayer needs higher CFM for continuous use. We found that understanding these metrics helps you pick the right tools for your compressor.
| Air Tool Type | Typical PSI Needed | Typical CFM Needed |
|---|---|---|
| Tire Inflator | 20-100 PSI | 1-3 CFM |
| Blow Gun | 20-90 PSI | 3-5 CFM |
| Brad Nailer | 70-100 PSI | 0.5-2 CFM |
| Impact Wrench | 90 PSI | 4-6 CFM |
| Paint Sprayer (HVLP) | 25-35 PSI | 8-10+ CFM |
Operating Your Air Tool
Once your compressor is at the desired pressure, you are ready to use your tool. For most tools, simply pull the trigger to start the airflow. Make sure you hold the tool firmly and safely.
Keep an eye on the regulated pressure gauge. If the pressure drops too low during continuous use, the compressor will kick on to refill the tank. This is normal operation for you.
When You’re Done: Shutting Down Safely
When you finish your work, turn the compressor’s power switch to “OFF.” Disconnect your air tool from the hose. Then, disconnect the hose from the compressor.
It is important to drain any moisture from the air tank. Slowly open the tank drain valve at the bottom. This releases the remaining air and any condensed water. This step helps prevent rust inside the tank (California Air Tools).
Regular Maintenance for Longevity
Proper care will significantly extend the life of your California Air Tools compressor. Simple, regular checks make a big difference for you.
- Drain the Air Tank Daily: This is perhaps the most important task. Moisture inside the tank can cause rust.
- Inspect Air Filters: Check the intake air filter regularly. Clean or replace it if it looks dirty. A clean filter ensures good air quality.
- Check for Air Leaks: Listen for any hissing sounds or use soapy water on connections. Leaks waste air and make your compressor work harder.
- Examine Hoses and Fittings: Look for cracks, wear, or damage on your air hoses. Replace any worn components to maintain safety and efficiency.
- Clean the Compressor Body: Keep the exterior clean from dust and debris. This helps with cooling and overall performance.
Troubleshooting Common Issues
Sometimes, you might run into small problems. If your compressor is not building pressure, check that the drain valve is fully closed. Also, listen for any air leaks from hoses or fittings.
If the motor runs but no air comes out, the pressure switch might be faulty. Or the check valve could be stuck. Many experts suggest reviewing the manual’s troubleshooting section first. California Air Tools units are generally quite reliable.
Why Choose California Air Tools?
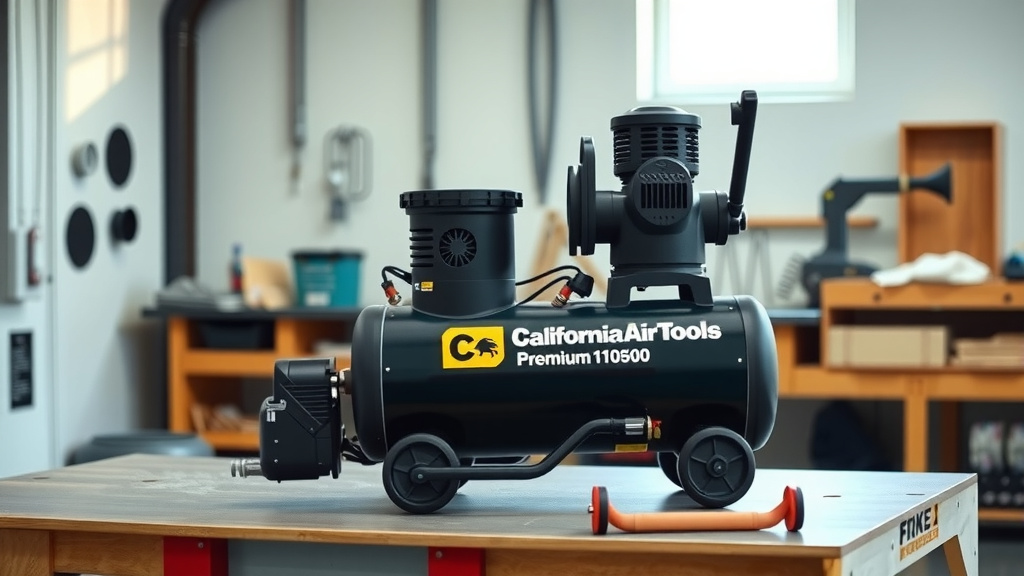
Many users appreciate California Air Tools compressors for their ultra-quiet operation. They are often significantly quieter than traditional oil-lubricated compressors. This makes them great for indoor use or in residential areas.
They are also oil-free. This means less maintenance for you and no messy oil changes. The oil-free pump also delivers cleaner air, which is good for painting and other sensitive applications.
Conclusion
Using your California Air Tools compressor is a smooth experience when you follow these guidelines. From initial setup to regular maintenance, each step helps ensure efficient and safe operation. Remember to always prioritize safety and consult your manual for model-specific advice. You will find that these compressors are a reliable partner for many projects, offering quiet performance and lasting value. Enjoy your projects with confidence.
How do I break in a new California Air Tools compressor?
To break in your new California Air Tools compressor, run it with the tank drain valve open for about 30 minutes. This allows the motor to warm up and the internal parts to seat properly without building pressure. This initial run helps ensure long-term performance.
Can I use an extension cord with my California Air Tools compressor?
Using an extension cord is generally not recommended unless absolutely necessary. If you must use one, ensure it is a heavy-duty, grounded cord with an appropriate gauge (e.g., 12-gauge or lower) and is as short as possible. An improper cord can cause voltage drops and damage the motor.
How often should I drain the tank on my compressor?
You should drain the air tank on your compressor after every use. This simple habit prevents moisture buildup, which can lead to rust inside the tank. Rust can weaken the tank over time and contaminate your compressed air.
What kind of air tools can I use with a California Air Tools compressor?
California Air Tools compressors are versatile. You can use a wide range of air tools, including nail guns, staplers, tire inflators, blow guns, airbrushes, and some impact wrenches. Always check your tool’s PSI and CFM requirements against your compressor’s output for best results.
Why is my California Air Tools compressor running constantly?
If your compressor runs constantly, it often indicates an air leak somewhere in the system. Check all connections, hoses, and fittings for any hissing sounds. A faulty pressure switch or a stuck check valve can also cause constant running. Look for these common issues.