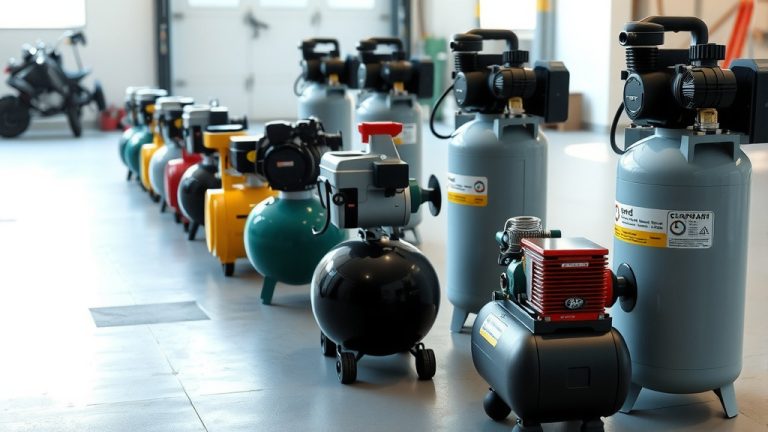
How To Use Digital Air Compressor?

To use a digital air compressor, first ensure it’s plugged in and safe for use. You then connect the appropriate attachment to your item and set the desired pressure on the digital display before starting the inflation.
A digital air compressor simplifies tasks by letting you precisely set and monitor air pressure, automatically stopping once the target PSI is reached for optimal results.
- Digital air compressors offer precise pressure control for many inflation tasks.
- Always check your item’s recommended PSI before you begin operating.
- Safety checks and proper connections are essential for smooth operation.
- The digital display makes setting and monitoring pressure straightforward.
- Regular basic maintenance helps keep your compressor running well.
How To Use Digital Air Compressor?
Using a digital air compressor means gaining control and precision for your inflation needs. It’s like having a tiny, smart assistant for tires, balls, and more.
What Makes a Digital Air Compressor Different?
Unlike older models, digital air compressors give you exact pressure readings. You tell it the PSI you want, and it works to reach that number. This precision helps prevent over-inflation, which is a big plus.
The Brains Behind the Power
The main difference lies in its microprocessor and sensor. These components constantly monitor air pressure. When the pressure matches your setting, the compressor automatically shuts off. This feature is a game-changer for accuracy (Consumer Reports).
Getting Started: Your First Steps
Before you even think about inflating, a quick check-up is always a good idea. Think of it like a pilot’s pre-flight routine. It keeps things safe and effective for you.
Safety First, Always
Always inspect your compressor for any obvious damage. Look for frayed cords or loose connections. Make sure you are using it in a dry, well-ventilated area. Safety glasses are a good idea, too, especially if you’re new to using air tools.
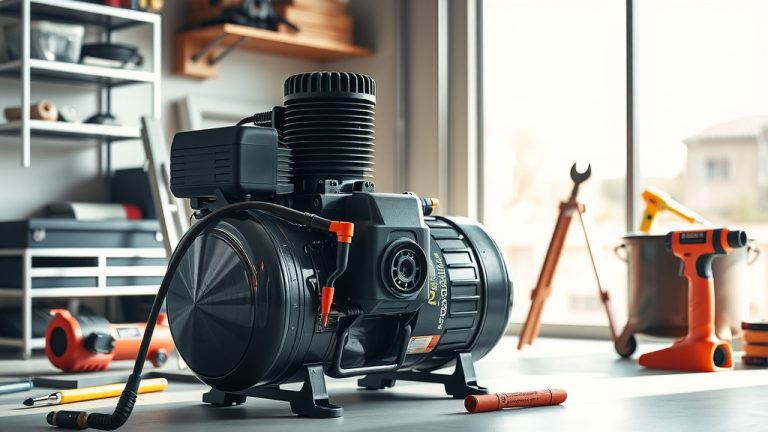
Powering Up Your Unit
Plug your digital air compressor into a suitable power source. Many portable units plug into your car’s 12V outlet. Stationary models might need a standard wall outlet. Just ensure the power source matches your compressor’s requirements.
Understanding Your Digital Display
This is where the magic happens. Your digital display is your window into the compressor’s brain. It shows you everything you need to know about the current pressure and your target settings.
Setting Your PSI Just Right
Once powered, the display will usually show the current pressure. Use the plus and minus buttons to adjust the target PSI. For example, if your car tire needs 32 PSI, simply dial that number in. The unit will remember it.
Navigating Modes and Features
Some digital compressors have different modes. You might find settings for “Tire,” “Ball,” or “Bike.” These often have preset PSI ranges, making it even easier. Familiarize yourself with these options for quicker, more efficient use.
Connecting Your Tools
Proper connection ensures no air escapes and your tool works correctly. It’s a simple step but makes all the difference in achieving your desired result.
Hoses and Fittings
Attach the air hose securely to the compressor’s output port. Most digital units have a quick-connect fitting. Then, select the right nozzle or attachment for your item. You might need a Schrader valve for tires or a needle for sports balls.
Attaching Air Tools
For air tools, the process is similar. Connect the tool directly to the end of the air hose. Ensure a snug, airtight fit. A small leak can significantly reduce the tool’s performance and waste compressed air.
The Inflation Process: A Step-by-Step Guide
You’ve done all the prep work; now it’s time for the actual task. Inflating items is straightforward once you know the steps. Many experts suggest a quick double-check of your target pressure (NIH).
- Check Item PSI: Find the recommended air pressure for your tire, ball, or inflatable.
- Attach Nozzle: Securely connect the correct nozzle to the item’s valve stem.
- Set Target PSI: Dial in your desired pressure on the compressor’s digital display.
- Start Compressor: Press the ‘on’ button to begin the inflation process.
- Monitor Progress: Watch the display as the pressure rises.
- Automatic Shut-Off: The unit will stop automatically once the target is reached.
When to Adjust Pressure
Knowing when and how much to adjust pressure is key to optimal performance and safety. Different items require different PSI levels, and even weather can play a role. Here’s a quick guide:
| Item to Inflate | Typical PSI Range | Notes for Use |
|---|---|---|
| Car Tires | 30-35 PSI | Check car door jamb sticker for exact recommendation. |
| Bicycle Tires (Road) | 80-120 PSI | Depends on tire size and rider weight. |
| Bicycle Tires (MTB) | 20-40 PSI | Lower pressure for better grip off-road. |
| Basketball/Soccer Ball | 8-12 PSI | Often printed near the inflation valve. |
| Air Mattress | 0.5-1.5 PSI | Inflate until firm, not rock-hard. |
Maintenance for a Longer Life
Just like any tool, your digital air compressor benefits from a little care. Simple steps can keep it running smoothly for many years. We found that preventative maintenance reduces breakdowns significantly.
- Clean Filters: Regularly check and clean or replace the air filter.
- Drain Moisture: If your unit has a tank, drain any accumulated moisture.
- Inspect Hoses: Look for cracks or wear on hoses and connections.
- Store Properly: Keep it in a dry, dust-free environment.
Common Hiccups and Quick Fixes
Even the best digital air compressors can sometimes act up. Don’t worry, many issues have simple solutions. We found that most problems are minor and easily fixed.
“Why Isn’t It Turning On?”
First, check the power connection. Is it securely plugged in? Is the outlet working? Some units have a reset button or fuse that might need attention. Overheating can also trigger an automatic shutdown, so let it cool.
“Pressure Won’t Hold!”
This usually points to a leak. Check all connections from the compressor to the item you’re inflating. The valve stem on the item itself could also be faulty. A quick splash of soapy water often reveals tiny air bubbles, showing the leak’s location.
Conclusion
Mastering your digital air compressor is all about understanding its smart features and following a few simple steps. From precise PSI settings to automatic shut-offs, these units make inflation tasks easier and more accurate. By prioritizing safety, learning the display, and performing basic upkeep, you’ll ensure your compressor remains a reliable and invaluable tool for years to come. Isn’t it great when technology just makes life simpler?
What is the main advantage of a digital air compressor?
The main advantage is its precise control over air pressure. You can set an exact target PSI, and the compressor will automatically stop once that pressure is reached, preventing over-inflation and ensuring accuracy.
Can I use a digital air compressor for car tires?
Absolutely! Digital air compressors are excellent for car tires. They allow you to dial in the manufacturer’s recommended PSI, often found on a sticker inside your car’s door jamb, and inflate them safely and efficiently.
How do I know what PSI to set for my item?
Always check the item itself for its recommended PSI. For tires, it’s usually on the sidewall or a label (like a car door jamb). For sports balls, it’s often printed near the inflation valve. If you’re unsure, consult the item’s manual or a reliable guide.
Are digital air compressors louder than traditional ones?
Not necessarily. The “digital” aspect refers to its control system, not its noise level. Compressor noise varies by model, motor size, and design. Many modern digital compressors are designed with quieter operation in mind compared to older, less refined models.
How often should I perform maintenance on my digital air compressor?
Regular maintenance depends on usage, but generally, it’s good practice to check the air filter and drain any tank moisture every few months or after heavy use. Inspect hoses and connections before each use to spot any wear or damage early.