How To Use Stanley Air Compressor?
Using your Stanley Air Compressor involves connecting power, attaching your air hose and tool, adjusting the pressure regulator, and then activating the compressor to perform your desired task. Always prioritize safety by checking for leaks and wearing appropriate protective gear.
To effectively use a Stanley Air Compressor, you must first understand its basic controls, ensure all connections are secure, and set the correct air pressure for your specific application. This ensures both safety and optimal performance for every project.
- Understand your Stanley air compressor’s parts and controls before starting.
- Always follow safety guidelines, like wearing eye protection and checking for leaks.
- Connect your air hose and tool securely, matching the right pressure to your task.
- Regularly drain the tank and keep the air filter clean for a long-lasting compressor.
- Don’t be afraid to troubleshoot minor issues, but know when to call for professional help.
How To Use Stanley Air Compressor?
Using a Stanley air compressor is straightforward once you grasp the basics. It empowers you to tackle many projects, from inflating tires to powering various air tools. Let’s guide you through the process step-by-step.
Why Choose a Stanley Compressor?
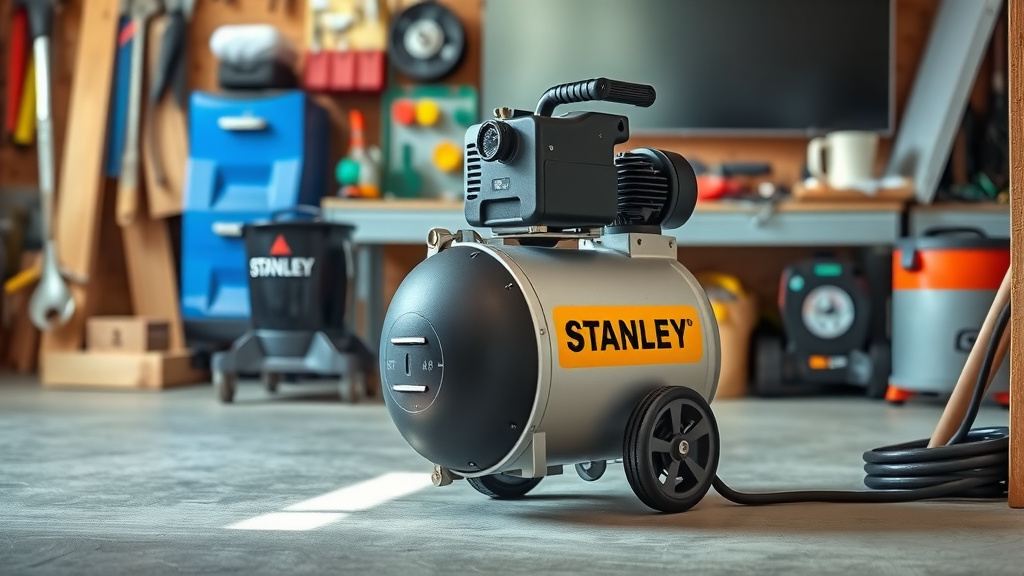
Stanley air compressors are a popular choice for both DIY enthusiasts and professionals. They are known for being reliable and user-friendly, offering a good balance of performance and portability. Many users appreciate their compact designs and power.
We found that Stanley models often provide the necessary power for common tasks without being overly complex. This makes them a great entry point if you are new to air tools, or need a dependable machine.
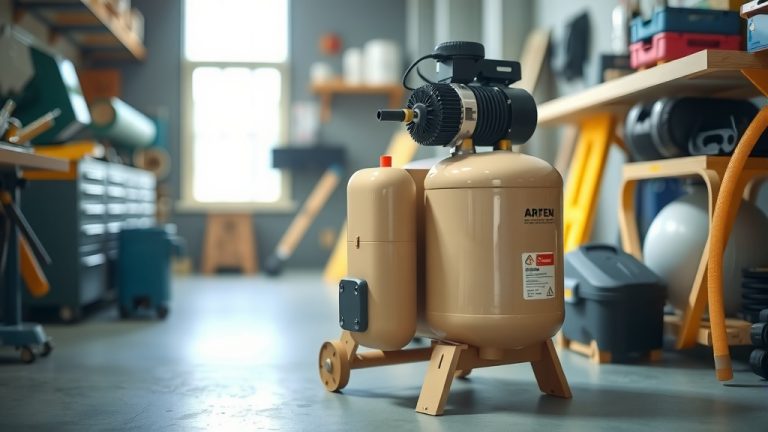
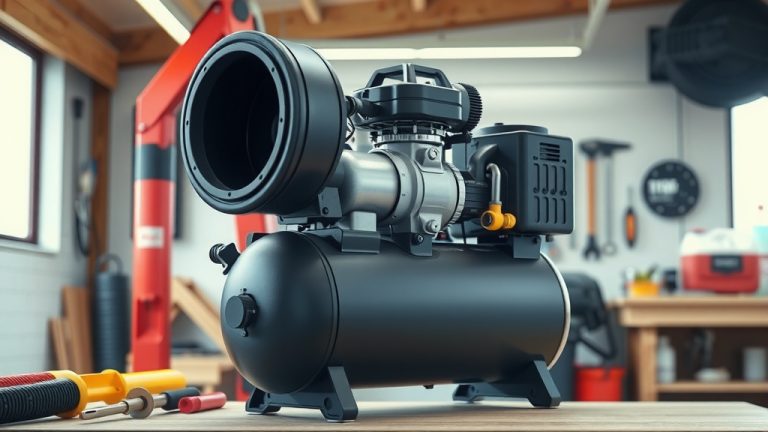
Familiarizing Yourself with Components
Before you power anything on, take a moment to look at your compressor. You will likely see a tank, a motor, an air filter, and a pressure regulator with gauges. Knowing where these parts are helps you operate it safely.
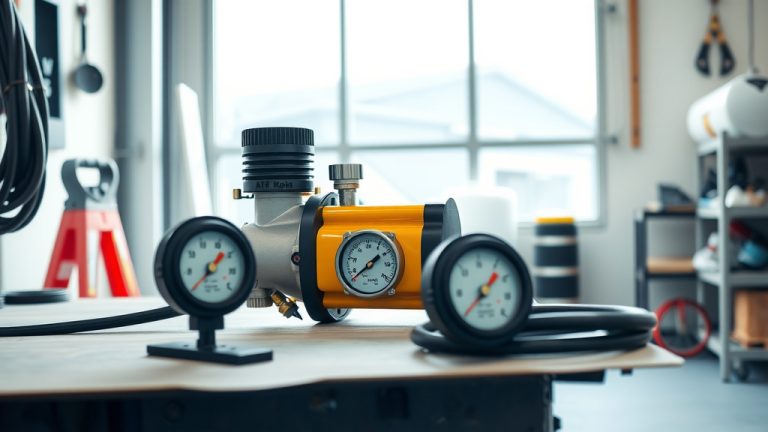
The gauges show your tank pressure and the regulated output pressure. The regulator allows you to adjust the airflow to your tools. This control is vital for different applications.
Prioritizing Safety Measures
Safety is not just a suggestion; it’s a rule when operating any power tool. Air compressors create high pressure, so always be cautious. We recommend reading your Stanley manual thoroughly for specific warnings.
Many experts say to always wear eye protection and hearing protection (CDC). Compressed air can kick up debris, and the compressor itself can be loud. Protecting yourself is the first step.
Your Essential Pre-Operation Steps
Before you plug in your Stanley air compressor, let’s run through a quick checklist. This ensures everything is ready and safe to go. It only takes a few moments and can prevent problems.
- Is the power switch in the “off” position?
- Are all connections to the hose and tool secure?
- Is the drain valve closed on the tank?
- Is the air filter clean and in place?
- Do you have your safety glasses and ear protection ready?
Connecting and Setting Up
First, place your compressor on a stable, level surface. Ensure it is away from walls or obstructions that might block airflow to the motor. Proper ventilation prevents overheating and keeps it running smoothly.
Next, plug the compressor into a grounded electrical outlet. Many models require a dedicated circuit, especially larger ones. We found checking the power requirements in your manual is always a good idea.
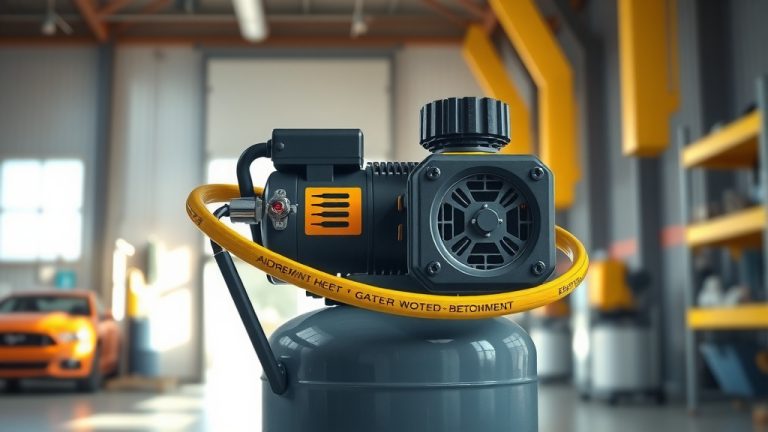
Attaching Your Air Tools
Connecting your air tools is typically straightforward. Most Stanley compressors use standard quick-connect fittings. Simply pull back the collar on the female coupler, insert the male fitting from your hose, and release the collar. You will hear a click.
Make sure the connection feels solid; a loose connection can lead to air leaks or even sudden disconnections. A secure connection means your tools get consistent air pressure.
Operating Your Compressor Safely
With everything connected, you can now turn on the compressor. The motor will engage and begin to fill the tank with air. This process might take a few minutes, depending on your tank size.
Watch the tank pressure gauge as it builds. Once it reaches its maximum pressure, the compressor motor will shut off automatically. This is a normal safety feature, showing it is ready to use.
Adjusting Pressure for Different Tasks
This is where the pressure regulator becomes your best friend. Different air tools and tasks require varying amounts of pressure. Inflating a tire needs less pressure than operating an impact wrench.
Turn the regulator knob to adjust the output pressure. Watch the regulated pressure gauge as you make adjustments. Always start with a lower setting and increase it if needed, protecting both your tools and projects.
Versatile Uses for Your Stanley
A Stanley air compressor can transform your DIY projects. Its versatility is truly impressive. Think of it as a powerful assistant for many garage and home tasks.
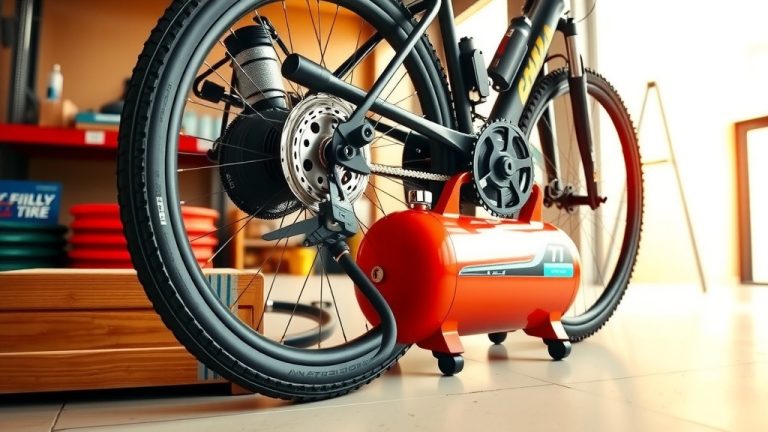
- Inflating Tires: Quickly top off car, bike, or recreational vehicle tires.
- Powering Nail Guns: Make trim work or framing much faster and easier.
- Spray Painting: Achieve smooth, professional finishes on furniture or fences.
- Cleaning Workspaces: Use a blow gun to clear sawdust or debris.
- Operating Air Wrenches: Loosen stubborn bolts on vehicles with ease.
Maintaining Your Unit for Longevity
Just like any tool, your Stanley compressor needs a little care to last. The most critical maintenance step is draining the air tank. We found that moisture builds up inside the tank as air compresses.
This moisture can cause rust and damage over time. After each use, open the drain valve located at the bottom of the tank. Let all the air and water escape. Close it tightly afterward. Regularly check and clean the air filter to ensure only clean air enters the system.
Basic Troubleshooting Guide
Sometimes, your compressor might not act exactly as expected. Here are some quick fixes for common issues. Don’t worry, many problems have simple solutions.
| Problem | Possible Cause | Simple Solution |
|---|---|---|
| Compressor not starting | No power or tripped breaker | Check power cord, reset breaker |
| Air leaks | Loose fittings or damaged hose | Tighten connections, replace hose |
| Low air pressure | Regulator set too low | Adjust pressure regulator knob |
| Compressor runs constantly | Air leak or faulty pressure switch | Check for leaks, consult manual |
When Professional Assistance Is Needed
While many issues are minor, some require a professional. If you hear unusual noises, smell burning, or if the compressor simply will not build pressure after troubleshooting, it’s best to stop using it.
Many guidelines point to seeking professional repair for internal motor or switch problems (Stanley User Manual). Don’t attempt complex repairs yourself, as it can be dangerous or cause further damage.
Conclusion
Using your Stanley air compressor should now feel much less daunting. By understanding its parts, prioritizing safety, and following a few simple operational steps, you can confidently power through countless tasks. Remember, regular maintenance is key to keeping your compressor working efficiently for years to come. Enjoy the newfound power and versatility it brings to your projects!
How often should I drain my Stanley air compressor’s tank?
You should drain the tank of your Stanley air compressor after every single use. This prevents the buildup of moisture, which can lead to rust and damage within the tank over time. It’s a quick and essential maintenance step.
Can I use any air tool with my Stanley compressor?
Most standard air tools can connect to your Stanley compressor, assuming they use compatible quick-connect fittings. However, always check the air pressure (PSI) and airflow (CFM) requirements of your specific tool. Your compressor needs to meet or exceed these to operate the tool effectively and safely.
What kind of oil does my Stanley air compressor need?
If your Stanley air compressor is an oil-lubricated model, it requires specific compressor oil, not regular motor oil. Always refer to your compressor’s user manual for the exact type and weight of oil recommended by the manufacturer. Many smaller Stanley compressors are oil-free, so check your model first.
Is it normal for the compressor to cycle on and off frequently?
It is normal for an air compressor to cycle on and off as it maintains pressure within the tank. If it’s cycling *too* frequently, it might indicate a small air leak in the tank, hose, or fittings, or that your air tool is demanding more air than the compressor can consistently supply.
Where should I store my air compressor?
Store your Stanley air compressor in a clean, dry, and well-ventilated area away from extreme temperatures and direct sunlight. Protect it from dust and debris. Always ensure it’s unplugged and the tank is drained before storing it, especially for longer periods.