How To Change Golf Grips With Air Compressor?

Yes, you can absolutely change golf grips with an air compressor. It’s a popular and efficient method that uses compressed air to create an air cushion, making both old grip removal and new grip installation much simpler and cleaner without messy solvents.
Using an air compressor for your golf grips saves time and offers a more controlled process, helping you refresh your clubs quickly for better play.
- Get started by gathering your air compressor, a blow gun nozzle, a vise, and your new grips and tape.
- You will use air pressure to loosen and remove old grips, making this step surprisingly clean.
- Install new grips by sliding them onto the shaft with a burst of air, aligning them as you go.
- Ensure your compressor is set to a low, safe PSI (around 40-50) to avoid damage to the shaft.
- This method offers a quick, clean, and solvent-free way to refresh your golf club’s feel.
How To Change Golf Grips With Air Compressor?
Changing golf grips with an air compressor involves using regulated air pressure to expand the grip, allowing it to slide on or off the club shaft smoothly. This technique avoids liquid solvents, keeping your workspace tidy and reducing wait times.
Why Choose Air for Grip Changes?
Many golfers are discovering the benefits of using an air compressor. It offers a cleaner and quicker way to refresh your clubs. You won’t deal with sticky solvents or long drying times, which we found is a major plus.
This method means you can often play with your freshly gripped clubs almost immediately. It’s also gentler on the environment, as you’re not disposing of chemical waste. Think of it like a quick pit stop for your golf clubs.
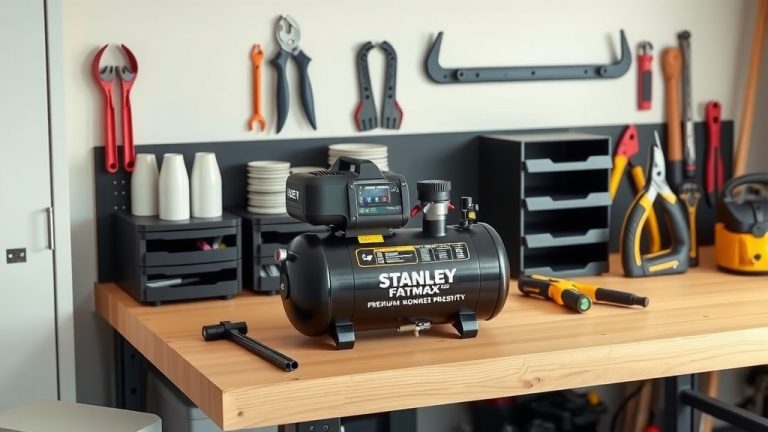
What You’ll Need for the Job
Before you begin, gather your tools. You will need a few key items to make this process smooth. Having everything ready saves time and frustration.
- An air compressor (with a regulator)
- A blow gun nozzle (often cone-shaped or with a rubber tip)
- A workbench vise with rubber clamps (protects the shaft)
- New golf grips
- Double-sided grip tape (optional, but recommended for security)
- A utility knife or hook blade
- Safety glasses
Setting Up Your Workspace Safely
Safety is always a priority, especially when working with tools. Make sure your workspace is clear and well-lit. We found that a sturdy workbench and a vise are your best friends here.
Secure your club in the vise, making sure the shaft is protected with rubber clamps. This prevents any damage while you work. Always wear your safety glasses; a sudden burst of air can send debris flying.
Preparing Your Air Compressor
Your air compressor needs to be set correctly. We recommend a pressure setting between 40-60 PSI. Too much pressure can damage your club shaft or the grip, while too little won’t do the job.
Attach the blow gun nozzle to your air hose. A nozzle with a rubber tip or cone shape works best to create a good seal against the grip. This directs the air efficiently where it needs to go.
Removing Old Golf Grips with Air
This is where the air compressor shines for grip removal. It’s often much easier and cleaner than cutting them off. You will be surprised how simple it becomes.
Initial Grip Loosening
First, secure your club in the vise, grip facing up. Insert the blow gun nozzle just under the lip of the old grip, near the butt end of the club. Give it a short burst of air.
You will feel the grip expand slightly. Work the nozzle around the entire circumference of the grip. This helps break any existing adhesive seal between the grip and the shaft. It’s like gently prying it open.
Sliding the Grip Off
Once loosened, insert the nozzle further down the grip towards the clubhead. Apply steady, moderate air pressure while twisting and pulling the grip away from the shaft. The air acts like a lubricant, making it slide off.
Some grips might be tougher than others. If it resists, try moving the air nozzle around more. Don’t force it; consistent air pressure usually does the trick. Many experts say this method reduces shaft stress (Golf Digest).
Preparing for New Grip Installation
After removing the old grip, you need a clean slate. This step is about making sure your new grips sit perfectly.
Cleaning the Shaft
Inspect the shaft for any remaining grip tape or adhesive residue. You want the shaft to be completely clean and smooth. Use a rag and a little rubbing alcohol to wipe away any sticky bits.
A clean shaft helps the new grip tape adhere properly, if you choose to use it. This ensures a secure fit for your new grip. Think of it as preparing a fresh canvas.
Applying New Grip Tape (Optional but Recommended)
While air compressor installation can work without tape, applying double-sided grip tape offers extra security. Cut the tape to the length of your grip. Apply it straight down the shaft, leaving a small overlap at the butt end.
Remove the backing from the tape. This sticky surface will help the grip stay put once it’s on. Some golf manufacturers recommend using tape for durability (Golf Pride).
Air Compressor Golf Grip Installation Steps
Now for the satisfying part: putting on your new grips. This is where the air compressor really shines, offering a quick and controlled installation.
Positioning the New Grip
Place your new grip over the butt end of the club shaft. You want the open end of the grip to face the shaft. Get it started on the shaft a little, maybe an inch or two.
This initial positioning makes it easier to get the air flowing correctly. Think of it as getting the starting line ready for a race.
Applying Air for Installation
Insert the blow gun nozzle into the small vent hole at the butt end of the new grip. If there isn’t a hole, gently lift the grip edge at the butt and insert the nozzle there. Apply air pressure.
As you apply air, the grip will expand. With your other hand, push the grip firmly down the shaft. The air cushion will help it glide smoothly into place. It’s a bit like inflating a balloon inside the grip.
Aligning and Securing the Grip
Once the grip is mostly on, you can adjust its rotation for perfect alignment. You have a small window of time while the air cushion is active. Make sure any logos or patterns are straight.
Once aligned, release the air pressure. The grip will contract and firmly settle onto the shaft. Give it a good squeeze to ensure it’s snug. Many golf pros align their grips precisely for a consistent feel (PGA Tour technicians).
Checklist for a Perfect Grip Change
- Verify compressor PSI is 40-60.
- Ensure club is secure in a vise with protection.
- Confirm shaft is clean and free of old adhesive.
- Apply new grip tape evenly (if using).
- Use consistent air pressure for removal and installation.
- Check grip alignment before air fully dissipates.
- Wiggle and test the new grip for firmness.
Troubleshooting Common Issues
Sometimes things don’t go perfectly, but don’t worry. If a grip gets stuck during installation, reapply air and try to gently twist and push. If the grip feels loose, you might need to use more grip tape or ensure the shaft was truly clean.
If you’re struggling, it could be your air pressure. Too low and it won’t budge; too high and it could be hard to control. Adjust your PSI slightly and try again. Practice makes perfect, and your first one is always the hardest.
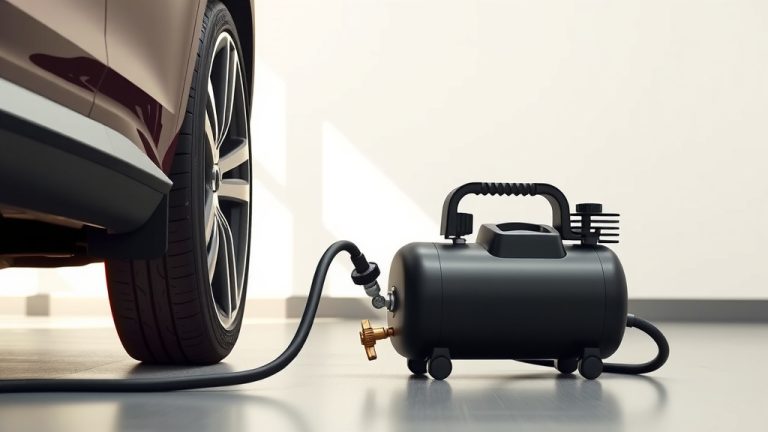
Air Compressor Types for Grip Changes
Not all air compressors are created equal, but many common types work well. Here’s a quick guide to help you choose or understand what you have.
| Compressor Type | Best For Golf Grips | Notes |
|---|---|---|
| Pancake/Hot Dog | Yes, excellent | Portable, quiet enough, common for DIY. |
| Twin Stack | Yes, also great | More air capacity, good for repeated use. |
| Quiet/Silent | Ideal, if you have one | Low noise level, great for indoor work. |
| Larger Shop | Yes, but overkill | Ensure you have a good regulator for low PSI. |
Safety First: Essential Precautions
Working with compressed air requires respect for the tool. Always prioritize your safety and the longevity of your equipment. A little caution goes a long way.
Always keep children and pets away from your workspace. Never point the air nozzle at yourself or others. Proper handling of tools keeps everyone safe (OSHA guidelines for compressed air safety).
Conclusion
Using an air compressor to change your golf grips is a game-changer. It’s a quick, clean, and efficient method that gets you back on the course faster. With the right tools and a little practice, you’ll be swapping grips like a pro. Remember to always prioritize safety and enjoy the improved feel of your newly gripped clubs.
Are air compressors bad for golf shafts?
No, air compressors are not inherently bad for golf shafts when used correctly. The key is to keep the air pressure low, typically between 40-60 PSI. Higher pressures could potentially stress the shaft, but within the recommended range, it’s a very safe method.
Can I use an air compressor to remove old grip tape?
While an air compressor is fantastic for removing the grip itself, it’s not the primary tool for removing old grip tape residue. You’ll typically need to peel off the bulk of the tape by hand, then use a solvent like mineral spirits or rubbing alcohol to clean any sticky remnants from the shaft.
How long does an air compressor grip change take?
An air compressor grip change is incredibly fast. Once you have your tools ready and the club secured, removing an old grip can take under a minute, and installing a new one takes just seconds. The whole process for one club is usually under 5 minutes, excluding setup time.
Do I still need grip tape if I use an air compressor?
Using grip tape with an air compressor is highly recommended, though some people omit it. The tape provides an extra layer of adhesion and cushioning, helping the grip stay securely in place and preventing it from twisting during play. Many experts found that tape improves grip longevity and feel.
What if my air compressor doesn’t have a pressure regulator?
If your air compressor lacks a pressure regulator, it’s generally not recommended to use it for golf grip changes. Unregulated high pressure can damage your club shaft or the grip. You can often purchase an inline regulator separately and add it to your air hose for safe, controlled pressure.