
How to Inflate a Tire with an Air Compressor?
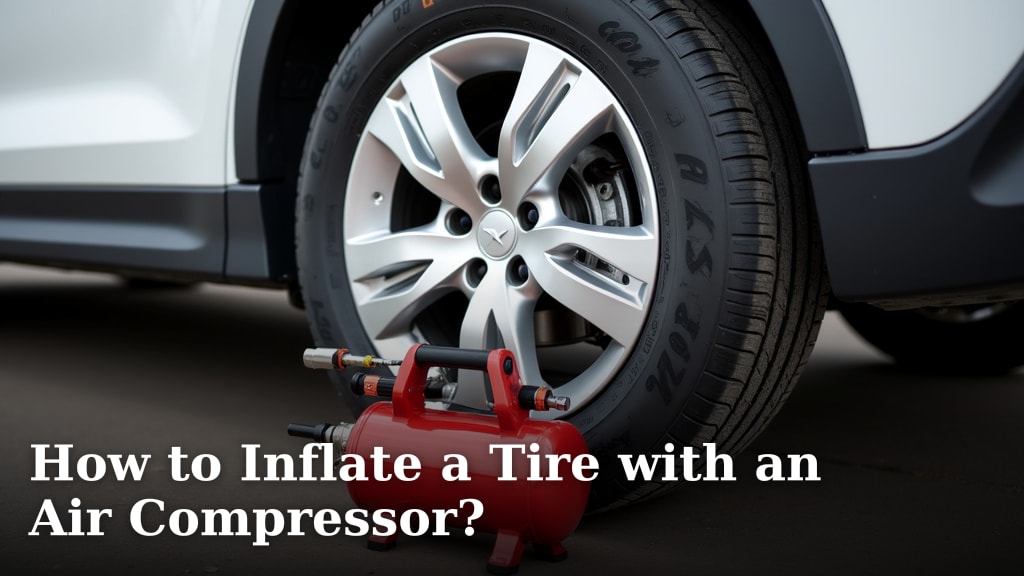
To safely and effectively inflate a tire with an air compressor, you will first connect the air chuck to the tire stem, then monitor the pressure gauge while filling. Always check your vehicle’s recommended PSI before you begin. This simple task can save you money and keep you safe on the road.
Keeping your tires properly inflated isn’t just about avoiding a flat; it’s about fuel efficiency and handling. Underinflated tires wear out faster and can even be dangerous. We found that regularly checking your tire pressure is a quick habit that pays off big time.
TL;DR:
- Check your tire’s recommended PSI.
- Attach the air chuck to the tire valve stem.
- Inflate in short bursts, checking pressure often.
- Never overinflate your tires.
- Double-check pressure with a separate gauge.
Ready to get those tires topped off? Let’s walk through the steps together, making sure you feel confident and capable.
Preparing to Inflate Your Tires with an Air Compressor
Before you even think about connecting that air compressor, a little preparation goes a long way. This isn’t just about speed; it’s about making sure the job is done safely and correctly. Think of it like pre-flight checks for your car.
Taking a few moments here can prevent headaches down the road. You want to ensure you have everything you need and understand what your vehicle requires. We found that most tire inflation issues stem from skipping these initial steps.
Understanding Your Tire’s PSI Needs
Your vehicle’s recommended tire pressure, or PSI (Pounds per Square Inch), is not a mystery. You won’t find it on the tire itself. Instead, look for a sticker inside your driver’s side door jamb. Sometimes, it’s in the glove compartment or the owner’s manual.
This number is crucial. It’s the cold inflation pressure, meaning the pressure when your tires haven’t been driven for a few hours. If you’ve just driven, the tires will be warm, and the pressure will be slightly higher. Factor this into your measurements.
Many experts highlight the importance of using the manufacturer’s recommended PSI (National Highway Traffic Safety Administration). It’s tailored for your car’s weight, handling, and safety.
Checking Tire Condition
While you’re checking PSI, take a quick peek at your tires. Are there any obvious signs of damage? Large cracks, bulges, or embedded objects could mean a more serious issue than just low air pressure. If you see significant damage, inflation might not be the answer. It could even be dangerous.
You’re not looking for perfection, just anything that screams, “Get me to a professional!” A quick visual scan is all it takes to spot potential trouble areas. Safety first, always.
Gathering Your Essential Tools
You’ll need a few key items before you start. Having everything ready means you won’t be scrambling mid-task. We find that a prepared workspace leads to a much smoother process.
- Air Compressor: This is your main tool. Make sure it’s in good working order.
- Hose and Air Chuck: Most compressors come with these, but check that the chuck fits your tire valves.
- Tire Pressure Gauge: Even if your compressor has a gauge, it’s wise to have a separate, reliable one for accuracy.
- Valve Stem Caps: You’ll be taking these off, so make sure they’re easily accessible.
- Safety Glasses: While not strictly necessary for this task, we always recommend eye protection when working with pressurized air.
Having a good quality tire pressure gauge is a game-changer. Many compressor gauges are just “good enough” but a dedicated gauge offers better precision. Think of it as a second opinion for your tires.
The Step-by-Step Tire Inflation Process
Now that you’re prepared, it’s time to add some air! This process is straightforward, but attention to detail is key. You’ll be surprised how quickly you become a pro at this.
We’ve broken it down into manageable steps. Remember, slow and steady wins the race when it comes to tire pressure. Rushing can lead to overinflation, which is just as bad as underinflation.
Connecting the Air Compressor
First, get your compressor ready. Plug it in and turn it on. You’ll hear it whir to life, building pressure. Make sure it’s placed on a stable, level surface. This prevents it from tipping over or vibrating excessively.
Next, remove the valve stem cap from the tire you’re inflating. Keep it somewhere safe; these little caps love to roll away. You’ll see the metal valve stem sticking out, ready for action.
Attaching the Air Chuck to the Valve Stem
Align the air chuck with the tire’s valve stem. There are usually two types of chucks: screw-on and clip-on. If it’s a clip-on, firmly press it onto the valve stem until you hear a hiss and then a click, indicating it’s secure. For a screw-on type, twist it clockwise until it’s snug.
You might hear a slight hiss of air escaping when you first connect it. This is normal. The goal is to get a tight seal quickly. A good connection means minimal air loss and efficient filling.
Inflating and Monitoring Pressure
Once the chuck is connected, the air will start flowing. It’s best to add air in short bursts. A few seconds of inflation, then pause to check the pressure. This gives you more control and helps prevent overinflation.
Use the gauge on your compressor, or better yet, your separate, accurate tire gauge. Press it firmly onto the valve stem to get a reading. Compare this reading to your vehicle’s recommended PSI.
Repeat this process – inflate, check, inflate, check – until you reach the desired pressure. It’s often easier to add air than to remove it. Aim for the exact recommended PSI. There’s no need to go higher.
The Importance of Checking with a Separate Gauge
Why do we emphasize a separate gauge? Because built-in compressor gauges can sometimes be inaccurate. They might give you a general idea, but for precision, a standalone gauge is superior.
It’s like having a second opinion from a doctor. You want to be sure. A few dollars spent on a quality gauge can literally save you hundreds in tire wear or even prevent an accident. Don’t skip this step.
After Inflation: The Final Checks
You’ve got air in your tires, but you’re not quite done. A few last steps confirm everything is secure and ready for the road. These final checks are all about peace of mind.
Removing the Air Chuck and Replacing the Cap
Carefully disconnect the air chuck from the valve stem. If it’s a clip-on, simply lift the lever or press the release button. If it’s screw-on, twist it counter-clockwise. You’ll hear a brief hiss as you remove it; that’s fine.
Immediately screw the valve stem cap back on. These caps do more than just look good; they keep dirt and moisture out of the valve stem, protecting it from corrosion and potential leaks. We found that forgetting this little cap can lead to bigger problems down the line.
Repeat for All Tires (Including the Spare!)
Don’t forget the other tires! Each tire needs the same attention. Low pressure in just one tire can still affect your vehicle’s handling and fuel economy. Make it a habit to check all four road tires.
And what about your spare tire? Many people neglect it until they desperately need it. We recommend checking your spare tire’s pressure at least once every few months. It’s often a higher PSI than your regular tires, so consult your owner’s manual for that specific number.
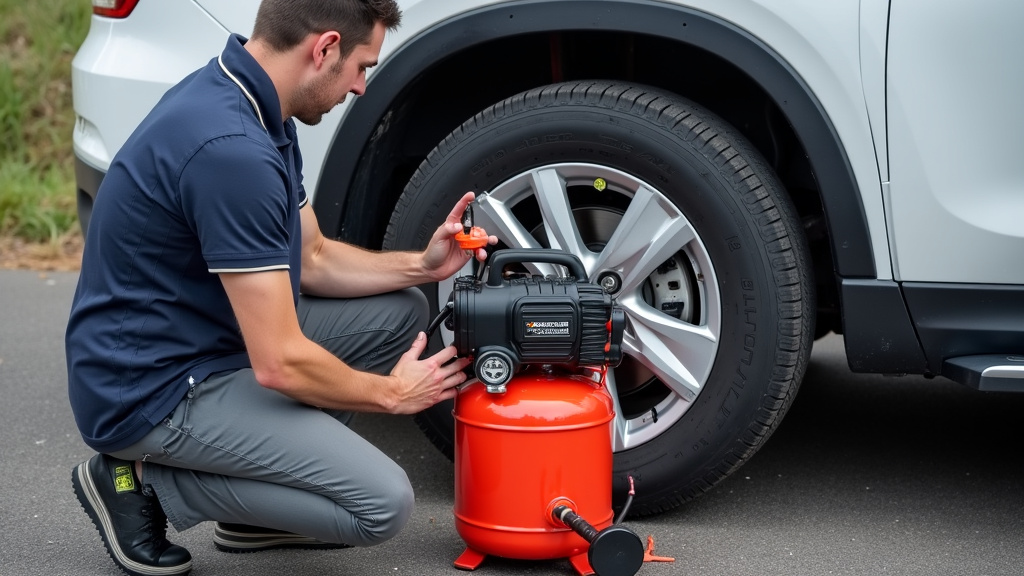
A Quick Checklist for Tire Inflation
To recap, here’s a handy checklist to ensure you’ve covered all your bases when inflating your tires:
- Find your vehicle’s recommended PSI (driver’s door jamb is often the spot).
- Inspect tires for obvious damage or wear.
- Gather your air compressor, hose, chuck, and a reliable pressure gauge.
- Connect the compressor and remove the tire’s valve stem cap.
- Attach the air chuck firmly to the valve stem.
- Inflate in short bursts, frequently checking pressure with your separate gauge.
- Stop precisely at the recommended PSI – don’t overinflate.
- Remove the air chuck and replace the valve stem cap.
- Repeat for all remaining tires, including your spare if it’s accessible.
By following these simple steps, you’re not just putting air in a tire; you’re contributing to your vehicle’s safety, efficiency, and the longevity of your tires. You’re doing something smart for yourself and your wallet. Go you!
Conclusion
You’ve now got the knowledge to confidently inflate your tires with an air compressor. This isn’t just a simple maintenance task; it’s a vital step in keeping you safe and saving money on fuel and tire wear. Taking just a few minutes every month to check your tire pressure can make a significant difference in your vehicle’s performance and longevity.
We found that regular tire inflation is one of the easiest ways to improve your driving experience. So, grab your compressor, consult your door jamb for that PSI, and keep those tires perfectly primed. Your car (and your wallet) will thank you for it.
Frequently Asked Questions
How often should I inflate my tires?
We recommend checking and inflating your tires at least once a month. Temperature changes can also affect tire pressure, so more frequent checks are wise during season changes.
Can I use a gas station air pump instead of a home compressor?
Yes, you can. The process is similar, but gas station pumps might not always have accurate gauges. Always use your own reliable tire pressure gauge for the best results.
What happens if I overinflate my tires?
Overinflated tires can lead to a harsher ride, reduced traction, and uneven tire wear. They are also more susceptible to damage from potholes and road debris. It’s best to stick to the manufacturer’s recommended PSI.
Is it okay to inflate hot tires?
It’s best to inflate tires when they are “cold,” meaning they haven’t been driven for a few hours. If you must inflate hot tires, aim for the recommended PSI, knowing the pressure will drop slightly once they cool down.
My car has a Tire Pressure Monitoring System (TPMS) light on. Can I reset it by inflating my tires?
Inflating your tires to the correct pressure should turn off the TPMS light after a short drive. If the light stays on, it might indicate a more serious issue with the sensor itself, and you should have it checked by a professional.
