How to Install a Filter Regulator Lubricator Combo?
On this page (9 sections)
Installing a filter regulator lubricator (FRL) combo is a straightforward process if you follow the right steps. You’ll want to make sure you connect it correctly to your compressed air system for optimal performance. It’s a vital piece of equipment for protecting your tools.
An FRL combo combines three essential components into one unit. This makes your compressed air setup more efficient and compact. It filters out contaminants, regulates air pressure, and adds lubrication to moving parts. Proper installation ensures your tools get the clean, steady air they need to run smoothly and last longer.
TL;DR:
- Connect the FRL to your compressed air line.
- Ensure proper airflow direction.
- Securely mount the unit.
- Test for leaks after installation.
Ready to get your FRL combo installed? Let’s walk through exactly how this works step by step.
Installing Your Filter Regulator Lubricator Combo
Setting up your new filter regulator lubricator (FRL) combo is a key step. It protects your air-powered tools. Proper installation ensures they get the clean, steady air they need. This guide will walk you through it, step by step. You’ll have your FRL up and running in no time.
Gathering Your Tools and Materials
Before you begin, make sure you have everything ready. This will make the installation process much smoother. You wouldn’t want to stop midway because you’re missing a simple fitting, right?
What You’ll Need
- Your new FRL combo unit.
- Appropriate pipe fittings and adapters. These depend on your existing air line size.
- Pipe thread sealant or Teflon tape. This is for creating airtight seals.
- Adjustable wrenches or pipe wrenches.
- A small brush or rag for cleaning threads.
- Safety glasses, of course!
Checking the FRL Unit
Take a moment to inspect your FRL combo. Look for any visible damage from shipping. Ensure all parts are present and accounted for. Check the instruction manual that came with your unit. It might have specific details for your model.
Understanding Airflow Direction
This is super important for your FRL to work correctly. Most FRL units have an arrow indicating the direction of airflow. You absolutely must install it so the air flows with the arrow. Installing it backward means it won’t filter or regulate properly. It could even damage the unit.
We found that many DIY installers overlook this detail. It’s a simple check that prevents a lot of potential problems later on. Think of it like installing a toilet paper holder. You want the paper to unroll the right way!
Locating the Airflow Arrow
The airflow arrow is usually stamped directly onto the body of the FRL unit. It might be subtle, so look closely. Sometimes it’s on the inlet side of the filter or regulator section. If you can’t find it, consult your FRL’s manual.
Confirming Correct Orientation
Before you connect any pipes, hold the FRL up to your air line. Visualize the air coming from your compressor. Does the arrow point in that direction? If not, you’ll need to adjust how you orient the unit or its connections.
Preparing Your Air Line
Your existing air line needs to be ready for the new FRL. This means cleaning it and ensuring it’s the correct size for your FRL’s ports.
Measuring and Sizing Fittings
Your FRL unit will have inlet and outlet ports. These are typically threaded. You’ll need to match these threads with your air line. Standard pipe sizes are often NPT (National Pipe Taper). Check the specifications of your FRL. Also, measure the diameter of your air pipe. You might need adapters if the sizes don’t match directly. Many hardware stores can help you find the right adapter fittings.
Cleaning the Pipe Threads
Clean threads ensure a good seal. Use a brush or rag to remove any dirt, old sealant, or debris from the end of your air pipe. Any gunk left behind can prevent a leak-free connection. We found that clean threads are key to avoiding those annoying hissing sounds later.
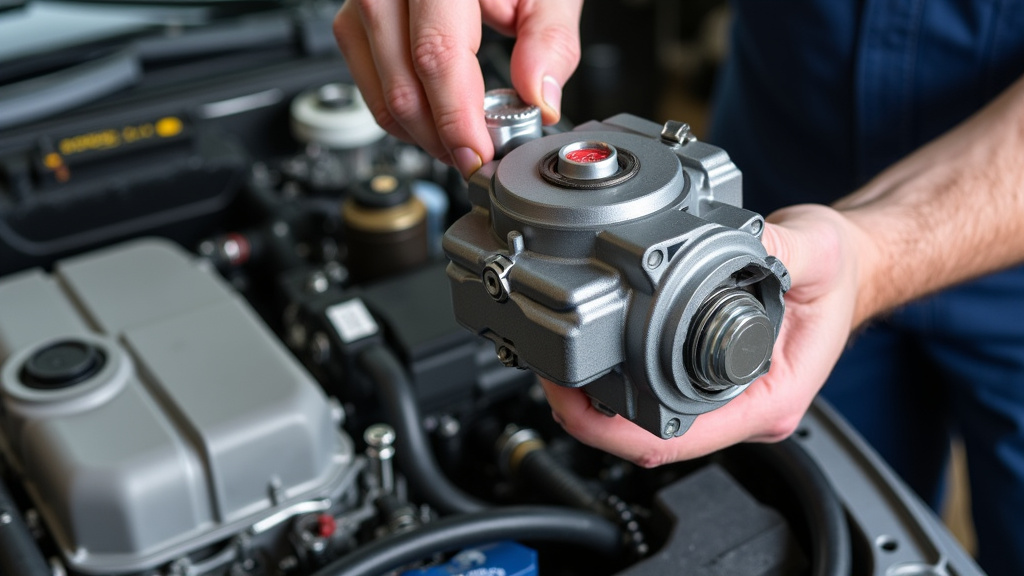
Installing the FRL Combo Unit
Now for the main event! This is where you’ll connect the FRL to your system.
Applying Thread Sealant
Wrap Teflon tape around the male threads of your pipe fittings or the FRL’s inlet/outlet ports. Apply it in the same direction as the threads turn (clockwise). Most experts recommend 3-5 wraps. For pipe thread sealant, apply it evenly to the threads with a brush. This sealant helps create a tight seal against air leaks. You want to be generous but not excessive.
Connecting to the Air Line
Carefully thread the FRL unit onto your air line, or connect your pipe fittings to the FRL first, then to the line. Hand-tighten as much as you can. Then, use your wrenches to snug it up. Be careful not to overtighten, as this can crack fittings or damage the threads.
Tightening Techniques
A common method is to hand-tighten, then use a wrench for another quarter to half turn. The exact amount can vary based on the fitting size and type. If you’re using Teflon tape, you might notice it starts to bunch up as you tighten. This is normal. The goal is a connection that won’t leak under pressure.
Mounting the Unit Securely
Most FRL units come with a mounting bracket or holes. You’ll want to secure the FRL to a stable surface. This prevents vibrations from loosening connections. It also makes it easier to access for maintenance. Many people mount them to a wall or a workbench. Ensure the mounting is sturdy.
Post-Installation Checks and Testing
You’re almost done! A few final checks will ensure everything is working perfectly.
Checking for Leaks
Once connected, turn on your air compressor. Let the pressure build up slowly. Listen carefully for any hissing sounds. These indicate air leaks. You can also use a soapy water solution. Spray it on all the connections. Bubbles will form where there are leaks. If you find a leak, shut off the air and tighten the connection slightly. Reapply sealant if necessary.
Setting the Regulator Pressure
Consult your tool’s manual for the recommended operating pressure. Many experts say operating tools above their rated pressure can cause damage (Occupational Safety and Health Administration). Adjust the regulator knob on your FRL to achieve this pressure. You’ll typically see a dial or screw. Turn it to increase or decrease pressure as needed. Always test your tool after setting the pressure. After installation, you will need to adjust the regulator knob on your FRL to achieve the correct pressure for your tools.
Adding Lubricant (If Applicable)
If your FRL has a lubricator section, you’ll need to add the correct type of oil. Check your FRL manual for recommendations. Use a light, high-quality air tool oil. Fill the reservoir to the indicated level. Adjust the drip rate according to the manufacturer’s instructions. Too much oil can be as bad as too little.
Quick Checklist for a Successful Install
Here’s a quick rundown to ensure you didn’t miss anything:
- Confirm Airflow Direction: Arrow points the right way?
- Clean Threads: All connections are clean and ready?
- Proper Sealant: Teflon tape or pipe dope applied correctly?
- Secure Connections: Unit is snug, not overtightened?
- Leak Check Complete: No hissing or bubbles found?
- Pressure Set Correctly: Regulator adjusted to tool needs?
Conclusion
You’ve successfully learned how to install your filter regulator lubricator combo! Properly connecting this unit is key to protecting your air tools and ensuring they perform at their best. Remember to always check the airflow direction and use thread sealant for a secure, leak-free connection. Taking these steps means your tools will receive clean, steady air pressure for longer life and better efficiency. Now that your FRL is installed, take a moment to test it and ensure everything is running smoothly. You’re all set to get back to your projects with reliable compressed air!
Frequently Asked Questions
What type of thread sealant should I use?
We recommend using either Teflon tape or pipe thread sealant (pipe dope). For Teflon tape, apply 3-5 wraps clockwise around the male threads. Pipe dope can be applied with a small brush for an even coating. Both create a strong seal against air leaks.
How tight should I make the connections?
Hand-tighten fittings first, then use a wrench for an additional quarter to half turn. It’s important not to overtighten, as this can damage the threads or crack the fittings. You want a snug fit that prevents leaks but doesn’t put too much stress on the components.
My FRL doesn’t have a visible airflow arrow. What should I do?
If you can’t find an airflow arrow on the unit, the best course of action is to consult the manufacturer’s manual for your specific FRL model. It will clearly indicate the correct direction for air to flow through the unit.
How often should I check for air leaks?
It’s a good practice to check for leaks immediately after installation and then periodically during regular maintenance. Listen for hissing sounds and use soapy water on connections. Addressing leaks promptly prevents air loss and ensures your tools receive optimal pressure.
Can I install the FRL vertically or horizontally?
Most FRL units can be installed either vertically or horizontally, but always check your unit’s manual. Some manufacturers may have a preferred orientation for optimal lubrication in the lubricator section or for draining the filter bowl.