How To Pump Bike Tires With Air Compressor?
You can pump bike tires with an air compressor by first identifying your valve type and connecting the correct adapter securely. Always know your tire’s recommended PSI range and use a gauge to inflate gradually, preventing over-inflation.
Here’s a quick rundown of what you’ll find in this guide:
- Discover why an air compressor makes tire inflation a breeze.
- Learn how to choose the perfect adapter for your bike’s valve.
- Get a step-by-step guide for safe and effective tire inflation.
- Find out crucial safety tips to avoid common mistakes.
- Understand how to maintain your compressor for lasting performance.
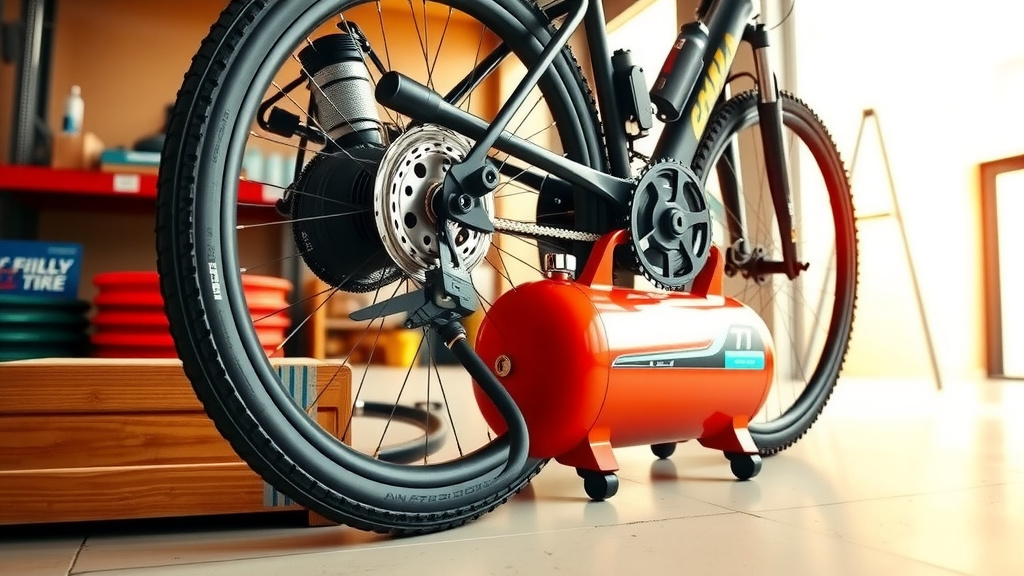
Hey there, fellow cyclist! Ever felt that slight panic when you notice your bike tires are looking a little flat? Pumping them manually can be a workout in itself. But what if you have an air compressor sitting in your garage? Can you use it for your bike? Absolutely!
Using an air compressor for your bike tires is not only possible but often a faster and easier method. We understand you might be hesitant, thinking it’s too powerful or complicated. Don’t worry; we’re here to guide you through it, step by easy step.
How To Pump Bike Tires With Air Compressor?
You can easily pump bike tires with an air compressor by selecting the right nozzle and carefully monitoring the pressure. This method is often quicker and more efficient than a manual pump.
Why Use an Air Compressor for Your Bike?
Why bother with an air compressor when you have a hand pump? Well, an air compressor offers unmatched convenience. It saves you time and effort, especially if you have multiple bikes or frequently ride.
Think of it like this: would you rather chop vegetables by hand for an hour or use a food processor for five minutes? An air compressor is your tire-pumping food processor, making quick work of a common chore.
Many experts agree that proper tire pressure is crucial for a smooth and safe ride (Tire Industry Association). An air compressor helps you achieve that precise pressure without breaking a sweat.
Gather Your Gear: What You’ll Need
Before you start, let’s ensure you have everything ready. This prevents any frustrating pauses mid-inflation. You’ll need just a few key items.
It’s like preparing for a picnic; you wouldn’t forget the blanket, would you? Make sure you have these bike tire essentials at hand.
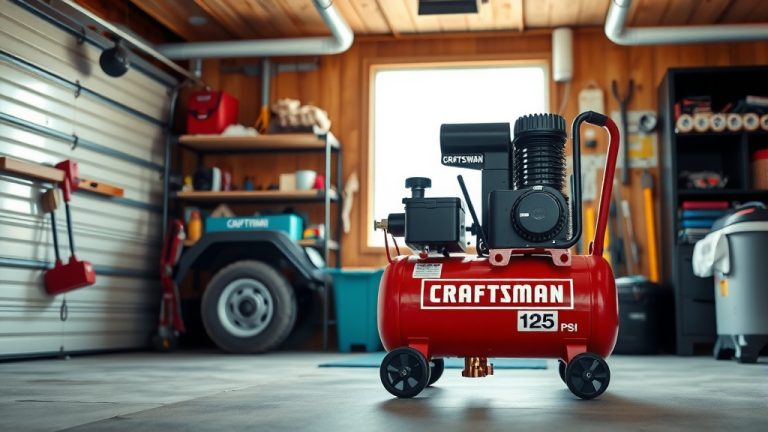
- Air Compressor: Any standard home compressor works great.
- Air Hose: Typically comes with your compressor.
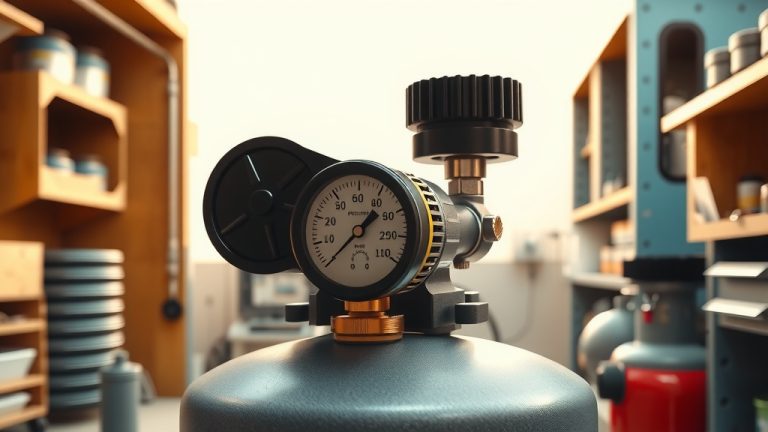
- Tire Inflator with Gauge: This attaches to the hose and has a pressure gauge.
- Valve Adapter: Crucial for connecting to your bike’s valve stem.
- Bike Tire Pressure Gauge: An independent gauge for verifying accuracy.
Understanding Your Bike’s Valve Type
Bike tires usually come with one of two valve types: Presta or Schrader. Knowing which one you have is the first critical step. Most cars use Schrader valves, but bikes can vary.
Take a quick look at your bike’s tire valve. Does it look like the one on your car, sturdy and wide? That’s likely a Schrader. Is it thinner, with a little nut at the top? That’s a Presta.
Schrader Valves: The Common Choice
Schrader valves are the same type you find on car tires. They are wider and have a pin in the center. If your bike has these, you’re in luck; your compressor’s chuck likely fits it directly.
Many mountain bikes and children’s bikes feature Schrader valves. We found they are generally easier to work with for beginners due to their robust design.
Presta Valves: The Cyclist’s Favorite
Presta valves are thinner, longer, and common on road bikes and higher-end mountain bikes. They have a small threaded tip that you need to unscrew before inflating.
You will need a Presta adapter to use an air compressor with these valves. Don’t worry, these adapters are small, inexpensive, and readily available at any bike shop or online.
Finding Your Tire’s Recommended PSI
This is probably the most important number to know. Every bike tire has a recommended pressure range, usually printed on the sidewall of the tire itself.
Do not guess this number! Over-inflating can lead to a blown tire, which is both dangerous and annoying. Under-inflating can cause flats and sluggish riding.
Many professional cycling resources highlight the importance of adhering to manufacturer PSI recommendations for both safety and performance.
Step-by-Step Guide to Inflating Bike Tires
Ready to get those tires perfectly plump? Let’s walk through the process together. It’s simpler than you might think.
Step 1: Prepare Your Valve
If you have a Presta valve, unscrew the small cap at the top and then unscrew the little nut on the stem. You should hear a tiny hiss as air escapes. For Schrader valves, simply remove the dust cap.
This prepares the valve to accept air. Forgetting to open the Presta valve is a common beginner mistake, so remember this step!
Step 2: Attach the Adapter (if needed)
For Presta valves, screw the adapter onto the valve stem. Make sure it’s snug but not overtightened. For Schrader valves, you won’t need an adapter.
This tiny adapter is your bridge to easy inflation. Without it, your compressor’s chuck won’t seal properly.
Step 3: Connect the Air Compressor
Attach your compressor’s air chuck (the nozzle at the end of the hose) to the bike tire valve (or the adapter, if using one). Push it on firmly to ensure a good seal.
You should hear minimal air leakage. If you hear a loud hiss, the connection isn’t good. Adjust until it’s sealed.
Step 4: Inflate Gradually and Check Pressure
Turn on your air compressor. With the chuck firmly in place, slowly press the trigger on your inflator tool. You’ll hear air flowing into the tire.
Inflate in short bursts, then release the trigger and check the pressure with your gauge. Remember your target PSI? Aim for the middle of the recommended range.
Many experts advise inflating in increments of 5-10 PSI and checking frequently. This prevents accidental over-inflation, which can be dangerous.
Step 5: Disconnect and Secure the Valve
Once you’ve reached the desired pressure, quickly disconnect the air chuck. For Presta valves, screw the top nut back down tightly, then replace the cap. For Schrader, just replace the dust cap.
This ensures your tires hold air and stay clean. A well-sealed valve means longer-lasting pressure.
Safety First: Important Precautions
While using an air compressor is simple, safety should always be your top priority. Air compressors are powerful tools, and a little caution goes a long way.
Think of it as driving a car; you know it’s safe, but you still wear your seatbelt. Always observe these safety guidelines.
- Never Exceed Max PSI: This is non-negotiable. Over-inflation can cause tires to explode.
- Use a Gauge: Always trust an independent gauge over a compressor’s built-in one if unsure.
- Wear Eye Protection: In the rare event of a sudden air release, your eyes are protected.
- Listen for Leaks: If you hear a lot of air escaping during inflation, adjust your connection.
- Keep Fingers Clear: Don’t let your fingers get caught between the chuck and the valve.
Troubleshooting Common Issues
Sometimes things don’t go exactly as planned. Don’t worry, most issues are easy to fix.
It’s like finding a small knot in your shoelace – a minor inconvenience, not a major problem.
| Issue | Possible Solution |
|---|---|
| Air Leaking Loudly | Ensure the chuck is firmly seated on the valve. Check adapter for Presta. |
| Tire Not Inflating | Confirm the compressor is on and producing air. Check if Presta valve is open. |
| Gauge Not Reading | Verify the gauge is working; try an independent one. Re-seat the chuck. |
| Over-Inflated Tire | Use a small tool (like a pen cap) to depress the valve pin to release air slowly. |
Remember, a little patience often solves most problems. We found that most issues stem from an improper connection or an unopened Presta valve.
Conclusion
Pumping your bike tires with an air compressor is a straightforward task that offers convenience and precision. By following these steps and keeping safety in mind, you’ll ensure your tires are always at their optimal pressure for every ride.
No more struggling with hand pumps! You’re now equipped with the knowledge to maintain your bike’s tires like a pro. Go enjoy the ride, knowing your tires are perfectly prepped.
FAQ: How often should I check my bike tire pressure?
It’s a good practice to check your bike tire pressure before every ride, or at least once a week. Tires naturally lose a small amount of air over time, and maintaining consistent pressure significantly impacts your riding experience and safety.
FAQ: Can I use any air compressor for bike tires?
Yes, almost any standard home air compressor will work for bike tires. You just need the correct attachment or adapter for your bike’s valve type (Schrader or Presta). Portable tire inflators also work well.
FAQ: What happens if I over-inflate my bike tires?
Over-inflating your bike tires can lead to several problems. The tire could blow off the rim, causing a sudden loud noise and potentially damaging the tire or tube. It can also make your ride feel harsher, reduce traction, and increase the risk of flats from impacts.
FAQ: Do I need a special adapter for Presta valves?
Yes, if your compressor’s chuck is designed for Schrader (car) valves, you will need a small, inexpensive Presta valve adapter. This adapter screws onto the Presta valve, allowing the standard air chuck to connect securely.
FAQ: How does tire pressure affect my bike ride?
Proper tire pressure greatly affects your ride. Correctly inflated tires offer better rolling efficiency, improved grip, more comfort, and reduce the likelihood of pinch flats. Under-inflated tires feel sluggish, handle poorly, and increase flat risks, while over-inflated tires can be harsh and slippery.