
How to Replace an Air Compressor Belt?
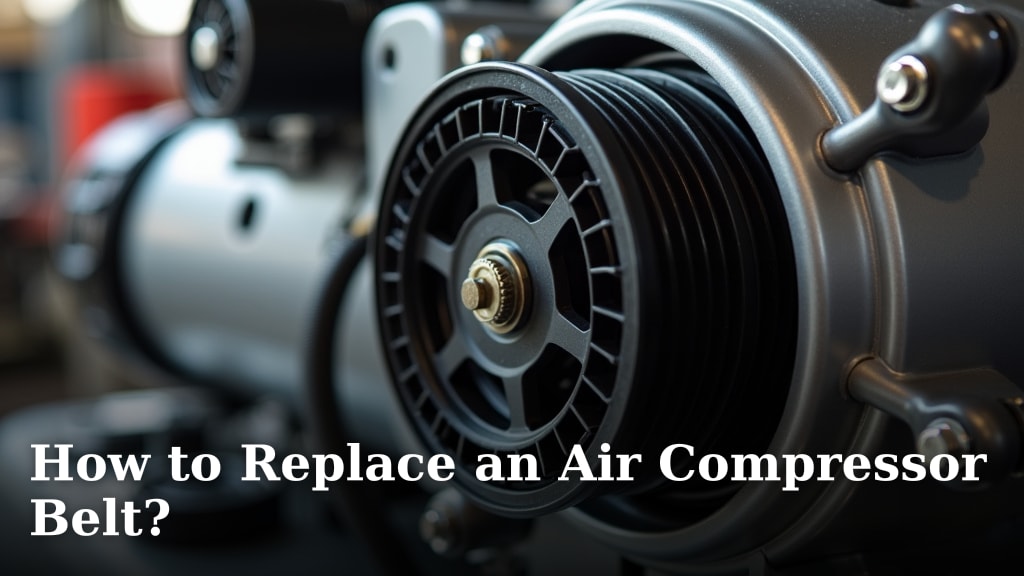
Replacing an air compressor belt is a straightforward DIY job. You can do it with basic tools and a little patience. Just be sure to turn off and unplug your air compressor first for safety. This simple maintenance can prevent costly damage and keep your compressor running smoothly.
A worn-out or broken belt is a common air compressor problem. If you notice strange noises or your compressor isn’t building pressure, a If you notice strange noises or your compressor isn’t building pressure, a frayed belt might be the culprit.frayed belt might be the culprit. Replacing it regularly is key to maintaining peak performance and avoiding unexpected downtime.
- Turn off and unplug your compressor.
- Locate the belt guard.
- Remove the old belt.
- Install the new belt.
- Check the tension.
Ready to get your hands dirty? Let’s walk through exactly how to replace that air compressor belt, step by step.
Swapping Out Your Air Compressor Belt: A Simple Guide
Replacing a worn-out air compressor belt is a task you can handle yourself. It’s a key piece of maintenance. A damaged belt can stop your compressor cold. We’ll guide you through each step. You’ll be back to inflating tires and powering tools in no time.
Why Belt Replacement Matters
Your air compressor belt connects the motor to the pump. It transfers power. Think of it like the chain on a bicycle. If that chain snaps, the pedals spin freely but the wheels don’t move. The belt is doing the same job for your compressor.
Signs of a Failing Belt
You might notice a few things. A squealing noise is often the first clue. This sound usually happens when the motor starts. It can also happen when the compressor is under a heavy load. Sometimes, you’ll see frayed edges or cracks on the belt. A broken belt means your compressor won’t build any air pressure. You might also see belt dust under the compressor. This is a sign the belt is rubbing and wearing down.
The Importance of Regular Checks
Most manufacturers recommend inspecting your belt regularly. Depending on usage, this could be every few months. A proactive check can save you from a sudden breakdown. We found that many DIY mechanics overlook this simple maintenance. It’s like ignoring a strange rattle in your car. Eventually, it leads to a bigger problem.
Gathering Your Tools and Supplies
Before you start, make sure you have everything ready. This will make the job much smoother. You don’t want to be halfway through and realize you’re missing a crucial tool.
Essential Tools You’ll Need
- Screwdriver set: You’ll likely need Phillips and flathead screwdrivers.
- Socket wrench set: Various socket sizes might be needed.
- Pliers: Needle-nose or standard pliers can help.
- Gloves: Protect your hands from grease and sharp edges.
- Safety glasses: Always protect your eyes.
- New air compressor belt: Make sure you have the correct replacement belt for your model.
Choosing the Right Replacement Belt
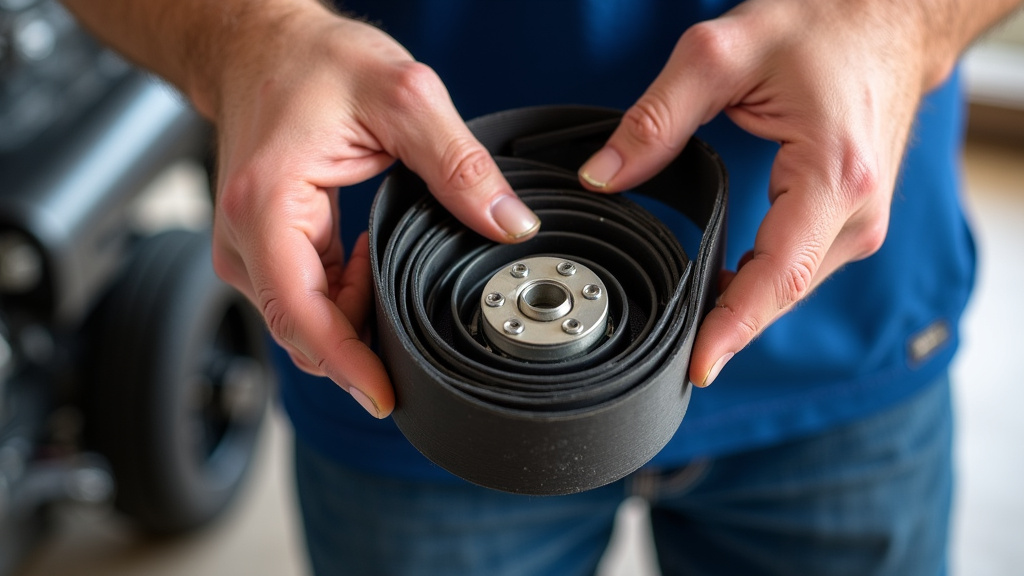
Getting the wrong belt is a common mistake. You need the exact **size and type** for your air compressor. Check your owner’s manual for the belt’s part number. You can also measure the old belt. Look for markings on the belt itself. Some compressors use V-belts, while others might use different profiles. If you’re unsure, contact the manufacturer or a local parts supplier.
Step-by-Step Belt Replacement Process
Now, let’s get to the actual replacement. Remember, safety is number one. Always start with a powered-down machine.
Step 1: Disconnect Power
This step is **non-negotiable**. Locate the power cord for your air compressor. Unplug it from the wall outlet. If your compressor has a hardwired switch, turn it off and double-check that no power is reaching the unit. Many experts say this is the most critical safety step (Occupational Safety and Health Administration).
Step 2: Access the Belt Guard
Most air compressors have a protective cover, or belt guard, over the belt and pulleys. This guard keeps your fingers safe. You’ll need to remove it. Look for screws or clips holding the guard in place. Carefully remove these fasteners. You might need a screwdriver or a socket wrench for this. Keep the screws in a safe place, like a small container or a magnetic tray, so you don’t lose them.
Step 3: Remove the Old Belt
Once the guard is off, you’ll see the belt. It’s likely wrapped around two pulleys: one connected to the motor and one to the pump. The trick here is to loosen the tension. Some compressors have an adjustable motor mount. You’ll need to loosen bolts on this mount. Then, you can slide the motor slightly to slacken the belt. If your compressor doesn’t have an adjustable mount, you might need to gently pry the belt off one of the pulleys. Be careful not to damage the pulleys. Once it’s loose, slip the old belt off both pulleys. Note the direction it was running.
Pro Tip: If you have a pulley system where one pulley is designed to move, like a tensioner or an idler pulley, releasing its tension is the easiest way. Some designs require loosening the motor bolts and sliding the motor back.
Step 4: Install the New Belt
Take your new belt. Start by fitting it onto the smaller pulley first. This is usually the motor pulley. Then, work your way around the larger pump pulley. If the belt is tight, you might need to repeat the tensioning process. If you loosened the motor mount, slide the motor back into position. The new belt needs some tension, but not too much. We’ll cover how to get the tension just right in the next section.
Step 5: Check Belt Tension
Proper belt tension is crucial. Too loose, and it will slip and wear out quickly. Too tight, and it can damage the motor and pump bearings. A good rule of thumb is to be able to deflect the belt about a quarter to a half-inch with moderate thumb pressure. (National Association of Chain Manufacturers).
If you loosened motor mount bolts, adjust the motor position. Tighten the bolts once you achieve the correct tension. Ensure the belt is centered on both pulleys. A belt that runs off-center will wear out prematurely. You want it to be straight as an arrow.
Step 6: Reinstall the Belt Guard
With the new belt installed and tensioned, it’s time to put the guard back on. Align the guard with its original mounting holes. Reinstall the screws or clips you removed earlier. Make sure they are snug but don’t overtighten. This guard is your first line of defense against accidental contact.
Step 7: Test Run Your Compressor
Plug the air compressor back in. Turn it on. Listen for any unusual noises. Check that the belt is running smoothly on the pulleys. Let the compressor run for a few minutes. Watch it build pressure. If everything sounds and looks normal, you’ve successfully replaced your air compressor belt!
Troubleshooting Common Issues
Even with careful work, sometimes things don’t go perfectly. Here are a few common hiccups and how to fix them.
Slipping Belt After Replacement
If the new belt slips, the **tension is likely too low**. Go back to Step 5 and adjust the motor mount to increase tension. Make sure the belt is properly seated on both pulleys. Sometimes, a new belt can stretch slightly after initial use. A quick re-tension might be needed after the first few minutes of operation.
Belt Comes Off Pulleys
This usually means the belt is **misaligned**. Double-check that the belt is running perfectly centered on both pulleys. Ensure the pulleys themselves are straight and not wobbling. If the motor mount bolts are loose, the motor might shift during operation, causing the belt to derail.
New Belt Squeals
A new belt might squeal briefly as it seats itself. If the squealing persists, it could indicate **incorrect tension**. Too loose and it slips. Too tight and it puts excessive strain on the motor. Re-check your tension. Also, ensure the pulleys are clean and free of any oil or debris.
Checklist for a Smooth Belt Swap
Here’s a quick checklist to keep you on track:
- Power Off: Confirmed compressor is unplugged.
- Guard Removed: Belt guard screws or clips are out.
- Old Belt Off: Belt is fully removed from pulleys.
- New Belt On: New belt is correctly positioned on both pulleys.
- Tension Set: Belt tension is adjusted for about 1/4″ to 1/2″ deflection.
- Guard Replaced: Belt guard is securely reinstalled.
Conclusion
You’ve successfully navigated the steps to replace your air compressor belt. This maintenance task is simpler than many people think. By following these instructions, you’ve ensured your compressor runs efficiently and avoids potential damage from a worn belt. Remember, regular checks and timely replacements are key to keeping your tools powered and your projects on schedule. Next time you hear a strange squeal or notice a pressure drop, you’ll know exactly what to do to get your air compressor back in top shape.
Frequently Asked Questions
How often should I replace my air compressor belt?
There’s no one-size-fits-all answer, as it depends on your usage. Most manufacturers recommend inspecting the belt every few months. If you use your compressor frequently, you might need to replace the belt annually or when you notice signs of wear, like fraying or cracks.
Can I use a belt that’s slightly different in size?
It’s best to use the exact belt size recommended for your air compressor model. A belt that’s too short will be difficult to install and may put too much strain on the motor and pump. A belt that’s too long won’t have enough tension and will likely slip, leading to premature wear.
What if my compressor doesn’t have an adjustable motor mount?
Some compressors have spring-loaded idler pulleys or tensioners that allow you to loosen the belt. If yours doesn’t, you may need to gently pry the old belt off and carefully work the new one into place. Be patient and avoid forcing it, which could damage the pulleys.
How do I know if the new belt tension is correct?
Proper tension is about a quarter to a half-inch of deflection when you press down moderately with your thumb. If it feels too loose, it will slip; if it’s too tight, it can strain your motor and pump bearings. Adjust the motor mount until you achieve this feel.
What should I do if the new belt squeals immediately?
A new belt might squeal for a short time as it seats. If it persists, double-check the belt tension. Ensure it’s not too loose. Also, confirm that the pulleys are clean and properly aligned. Any debris or misalignment can cause continuous squealing.
