
How to Use an Air Compressor to Blow Out Sprinklers?
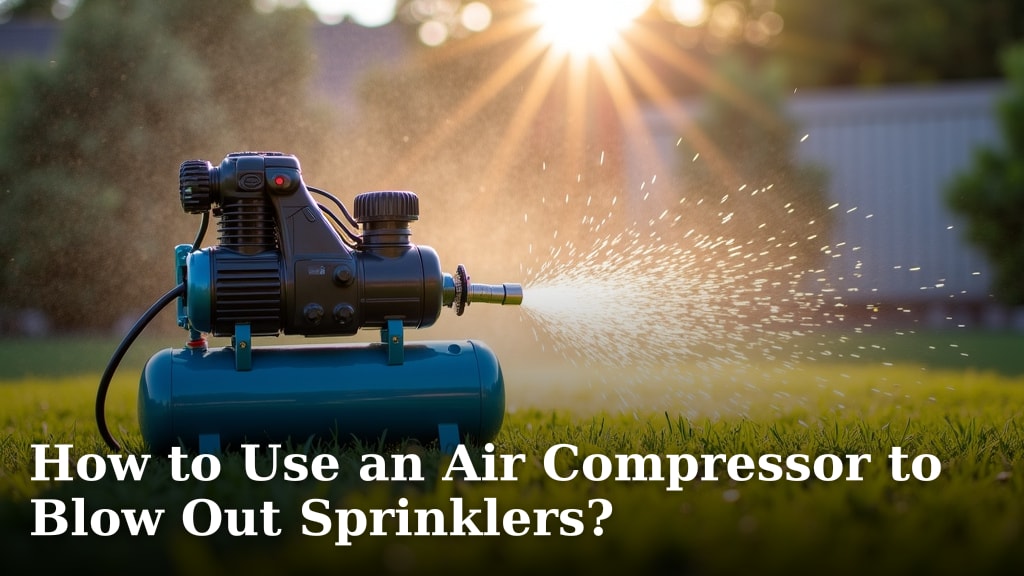
To use an air compressor to blow out sprinklers, you simply connect the compressor to your irrigation system’s blow-out port and introduce compressed air. This process forces water out of the pipes and sprinkler heads, preventing freezing damage. It’s a key step for winterizing your lawn.
You’re essentially giving your sprinkler system a good, powerful exhale before the cold weather hits. Many homeowners find this method both effective and efficient for protecting their investment. It prevents burst pipes or damaged heads when temperatures drop.
- Attach your air compressor correctly.
- Blow out one zone at a time.
- Don’t use too much air pressure.
- Ensure all water is removed.
Let’s walk through exactly how this works, ensuring your sprinkler system stays safe all winter long.
Preparing Your Sprinkler System for Air-Powered Blow Out
Before you even think about attaching your air compressor, a little preparation goes a long way. This ensures a smooth, safe, and effective blow-out process. You want to avoid any surprises, right?
Gathering Your Essential Tools and Equipment
What do you need to get started? Having your tools ready prevents frustrating delays. Imagine searching for a wrench mid-job!
- Air Compressor: Not just any compressor will do. You’ll need one with enough power. Many experts recommend a compressor that can deliver at least 10-20 CFM (cubic feet per minute) at 40-50 PSI (pounds per square inch). While smaller compressors might work, they’ll take a lot longer and might struggle.
- Air Hose: Make sure your air hose is long enough to reach from your compressor to your blow-out port. It should be rated for the operating pressure you’ll be using.
- Air Compressor Adapter: This is a critical piece! Your irrigation system likely has a threaded blow-out port, usually 3/4″ or 1″. You’ll need an adapter to connect your air hose to this port. Different systems use different fittings, so check your manual or existing port beforehand.
- Flathead Screwdriver or Sprinkler Key: You’ll use this to open and close your sprinkler zone valves. Some systems have manual valves, others might be electric.
- Safety Glasses: Water and debris can exit sprinkler heads with force. Protect your eyes! This is non-negotiable.
- Gloves: Protect your hands, especially if you’ll be handling cold pipes or equipment.
Locating Your Irrigation System’s Blow-Out Port
Where is this magical blow-out port? Most systems have one, designed specifically for winterization. It’s usually a threaded male hose bib or an access point near your main backflow preventer.
- Near the Backflow Preventer: This is often the most common spot. Your backflow preventer protects your drinking water from irrigation system contaminants.
- In a Valve Box: Sometimes, it’s located within a green utility box in your yard, similar to your zone valves.
- Consult Your System Map: If you have one, your irrigation system’s diagram will clearly mark the blow-out port. If not, a quick look around your backflow preventer area is a good start.
If you’re having trouble finding it, don’t hesitate to check your system’s manual or even contact the company that installed it. It’s much better to ask than to guess.
Connecting Your Air Compressor for Sprinkler Winterization
Once you’ve gathered everything and found your port, it’s time for the connection. This step needs care to prevent any leaks or damage.
Safely Attaching the Air Hose and Adapter
First, ensure your air compressor is turned OFF and unplugged. Safety first, always. Then, attach your appropriate adapter to your compressor’s air hose.
- Thread the Adapter: Carefully screw the adapter onto the blow-out port on your irrigation system. It should fit snugly.
- Hand-Tighten First: Start by hand-tightening the connection. If it feels cross-threaded, stop and restart. Forcing it can damage the threads.
- Use a Wrench (Gently): Once hand-tight, use a wrench to give it a final quarter-turn. Don’t overtighten; you just need a good seal. Overtightening can strip threads or crack fittings.
Setting the Correct Air Pressure (PSI)
This is where many people get nervous, and for good reason! Too much pressure can damage your sprinkler components. Many sources, including irrigation system manufacturers, recommend keeping the pressure between 40-50 PSI for residential systems (Hunter Industries is a good source for this information).
Why is this range important? Your sprinkler heads and PVC pipes are designed for water pressure, not high-velocity air. Exceeding recommended PSI can lead to:
- Busted Pipes: Even PVC can burst under excessive air pressure.
- Damaged Sprinkler Heads: The internal gears and seals of sprinkler heads are delicate. High air pressure can strip them or blow them apart.
- Compromised Seals: O-rings and other seals in your valves can be damaged, leading to leaks next season (Toro Irrigation documentation supports this).
Set your compressor’s regulator to the low end of the recommended range (around 40 PSI) first. You can always increase it slightly if needed, but it’s safer to start low.
The Step-by-Step Sprinkler Blow-Out Process
Now for the main event! This process involves opening and closing zones strategically. Think of it like a coordinated effort to push every drop of water out.
Opening the Farthest Zone First
Why the farthest zone? You want to push the water through the longest path first, getting it out of the main lines. This “pushes” the water downstream, away from your backflow preventer.
- Turn On Your Compressor: Plug it in and switch it on. Let it build up to your set pressure.
- Open the Farthest Zone Valve: Use your screwdriver or sprinkler key to manually open the valve for the sprinkler zone located furthest from your compressor connection.
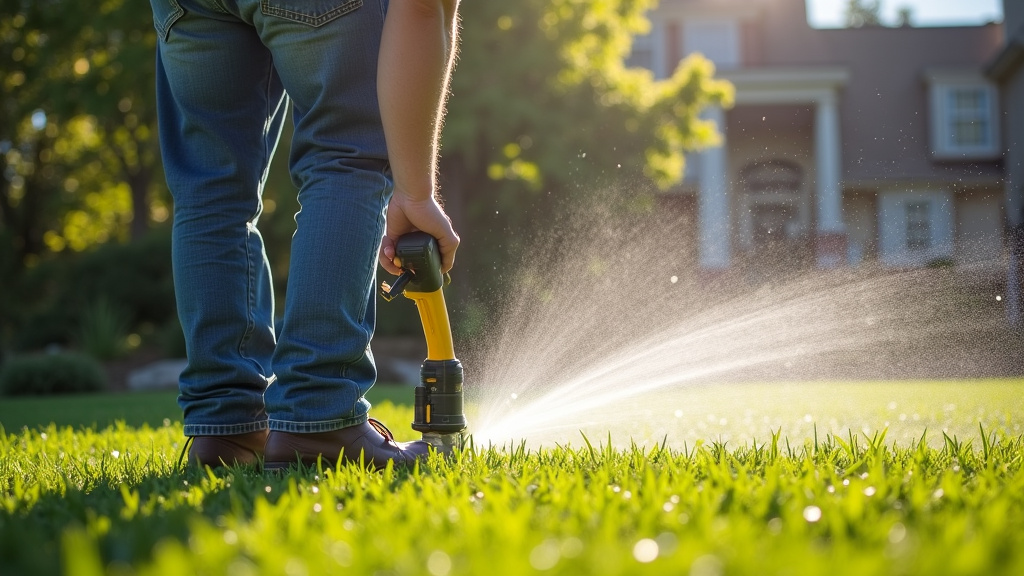
- Observe the Water and Air: You’ll see a rush of water mixed with air coming out of the sprinkler heads in that zone. It might sputter, then turn into a mist, then eventually just air.
- Let it Run Until Clear: Let the compressor run this zone until you see only mist or air, and no more significant water discharge. This could take a few minutes, depending on the zone size and line length.
Never run the compressor for too long on a dry zone. Once only air comes out, you’re good. Running it dry for extended periods can cause unnecessary wear on your sprinkler heads due to friction and heat.
Working Methodically Through Remaining Zones
Once your farthest zone is clear, close its valve. Then, move to the next farthest zone.
- Close One, Open Another: It’s crucial to only have ONE zone open at a time. Opening multiple zones will drastically reduce the air pressure to each, making the blow-out inefficient or ineffective.
- Repeat the Process: Open the next zone, let it run until only air comes out, then close it. Continue this sequence, working your way towards the compressor connection.
What if you accidentally open two zones? No problem, just quickly close one, allow the compressor to rebuild pressure if needed, and continue. It’s a learning process!
Checking for Thorough Water Removal
How do you know if you’ve fully cleared a zone? You’ll notice the water stream turns into a fine mist, and then eventually, you’ll hear and see only air escaping from the sprinkler heads. Some people like to walk each zone and briefly lift up each sprinkler head to confirm no standing water remains in the riser.
This attention to detail helps prevent small pockets of water from freezing and causing minor cracks over winter.
Don’t Forget the Drip Lines and Main Line!
Many systems have drip irrigation zones for flowerbeds or shrubs. Treat these just like regular sprinkler zones; open them one by one until they blow clear.
Once all your zones are clear, it’s time for the final steps to secure your main line.
- Disconnect the Compressor: With all zones closed, turn off your compressor and disconnect the air hose.
- Drain the Main Line (if applicable): Some systems have a manual drain valve for the main line; open this if yours does to ensure all remaining water near the connection point is expelled.
- Open All Test Cocks on Backflow Preventer: This is very important. To prevent damage from freezing, you must open the test cocks on your backflow preventer. These are the small, usually square-headed valves on the side of the brass device. They will drain any remaining water from the backflow preventer.
Post-Blow Out Checklist for Peace of Mind
You’ve done the hard work, now let’s ensure it’s all good until spring.
- All Zone Valves Closed: Double-check that every sprinkler zone valve is in the closed position. This prevents unexpected leaks when you recharge the system in spring.
- Backflow Preventer Drained: Confirm all test cocks on your backflow preventer are open and that there’s no standing water. Consider covering it with an insulated bag if exposed to harsh conditions.
- Compressor Disconnected: The equipment is put away.
- Timer/Controller Off: Turn off your irrigation controller. This prevents it from trying to run a cycle during winter, which would be pointless and could potentially cause issues.
- Main Water Supply Off: Ensure the main water supply valve to your irrigation system is completely shut off.
Taking these final steps ensures your system is truly ready for winter’s chill. You can now rest easy, knowing your investment is protected!
Conclusion
You’ve now got the knowledge to confidently winterize your sprinkler system. By carefully following these steps, you protect your investment from costly freeze damage. Proper preparation and a methodical approach with your air compressor will save you headaches in the spring. Take your time, prioritize safety, and ensure every zone is clear. Your diligence now means a healthy, happy lawn next season.
Frequently Asked Questions
When is the best time to blow out my sprinklers?
Aim to blow out your sprinklers just before the first hard freeze in your area. This varies by region, but typically late fall is ideal. Don’t wait until temperatures are consistently below freezing.
Can I use my small garage air compressor for this job?
It depends on its capacity. Many residential garage compressors don’t deliver enough CFM (cubic feet per minute) to efficiently clear an entire sprinkler system. While it might work for very small systems, it could take a long time and potentially be less effective.
What happens if I don’t blow out all the water?
Any water left in your pipes or sprinkler heads can freeze and expand. This expansion can crack pipes, damage sprinkler head components, and even ruin your backflow preventer. This leads to expensive repairs in the spring.
Is it better to hire a professional or do it myself?
If you’re comfortable with tools and follow instructions, doing it yourself can save money. However, if you’re unsure, lack the correct equipment, or have a complex system, hiring a professional can ensure it’s done correctly and prevent accidental damage.
Can I use too much air pressure when blowing out my sprinklers?
Yes, absolutely! Too much air pressure can severely damage your sprinkler heads, valves, and PVC pipes. Always keep the pressure between 40-50 PSI for residential systems to avoid costly breakages.
