Tubeless Tire Not Seating with Compressor
A tubeless tire not seating with compressor usually has a gap between the bead and rim, a leaking valve stem, or not enough quick air flow to push the bead outward. Check the bead area, valve, and chuck seal, then use a safer seating method before adding more pressure.
On this page (9 sections)
- Why will a tubeless tire not seat with a compressor?
- How do you check the bead and rim before adding air?
- Why does air leak around the valve stem?
- What seating method should you try next?
- Can a portable 12V inflator seat a tubeless bead?
- How do you read pressure while you try to seat the bead?
- What portable option suits everyday top-offs after seating?
- How do you prevent the same problem next time?
- Which compressor setup fits your tire and rim?
A tubeless tire not seating with compressor usually means air is escaping faster than the compressor can fill the tire, so the bead stays loose on the rim. The most common causes are a bead that is not centered, a dirty bead area, a loose valve core, or a chuck that does not seal well.
You can often fix the issue without forcing more pressure into the tire. Start by checking the rim and valve, then try a controlled seating method that gives the bead a better chance to seal.
Why will a tubeless tire not seat with a compressor?
A tubeless tire not seating with a compressor usually fails because the bead and rim do not form a seal. Air rushes out through that gap instead of building pressure inside the tire.
The bead needs air pressure to push the sidewall outward. If the bead sits too far inside the rim well, the tire casing folds inward and air leaks around the edge.
A small gap can also come from soap, old sealant, rim tape, or a bent bead area.
Valve problems cause the same result. A loose core, cracked valve stem, or debris under the valve can let air escape as fast as it enters.
Your compressor matters too. Bead seating needs volume as well as pressure.
A small tank or slow inflator may reach the gauge reading without delivering a quick burst.
That is why a tire can hold normal pressure after seating yet refuse to seat in the first place.
How do you check the bead and rim before adding air?
Check the bead position, rim surface, and rim tape before you try again. A clean and centered setup gives air a fair chance to seal.
Look at both sides to see whether the bead sits evenly around the rim. If one side is pushed deep into the well, reposition it, and a slight push on the sidewall can move the bead closer to the rim edge.
Run your finger around the rim edge and bead area. Remove grit, dried sealant, and old soap film, then wipe the surfaces clean and dry so air cannot slip past the seal.
Check rim tape for wrinkles, bubbles, or lifting edges. Air can pass under damaged tape and escape through spoke holes, so reseat or replace loose tape before another attempt.
Inspect the bead for cuts, bends, or contamination, since a damaged bead may not seal evenly. Keep your fingers clear while pressure builds, and do not use a tire with sidewall damage.
Why does air leak around the valve stem?
Air leaks around the valve stem when the core is loose, the stem is damaged, or the chuck is not seated straight. That leak can keep pressure too low to seat the bead.
Check the valve core with a proper valve tool and snug it gently. A loose core often hisses when you press or bump the stem.
Do not overtighten it, as that can damage the seal inside.
Inspect the stem for cracks, tears, or side to side movement. A damaged stem may need replacement rather than another inflation attempt.
Check the chuck connection next. A twist-on chuck should sit squarely and grip evenly.
A lever chuck should close fully without bending the stem. If it wobbles, air may escape at the joint.
Our guide to the Best Air Compressor For Bicycle Tires can help on a bike wheel rather than a car tire. Bike tubeless setups need careful valve and rim tape checks because the air volume is small.
What seating method should you try next?
Try a controlled burst of air with the bead centered, if your tire and rim maker allows core removal. This helps a stubborn bead move outward without endless pressure.
Remove the valve core only if it is safe for your setup and you can reinstall it correctly. With the core out, air flows faster through the stem, so keep the chuck sealed and use short bursts rather than one long blast.
Some riders add a small amount of soapy water around the bead edge to help it slide into place. Use it sparingly, since too much fluid can make the seal slippery.
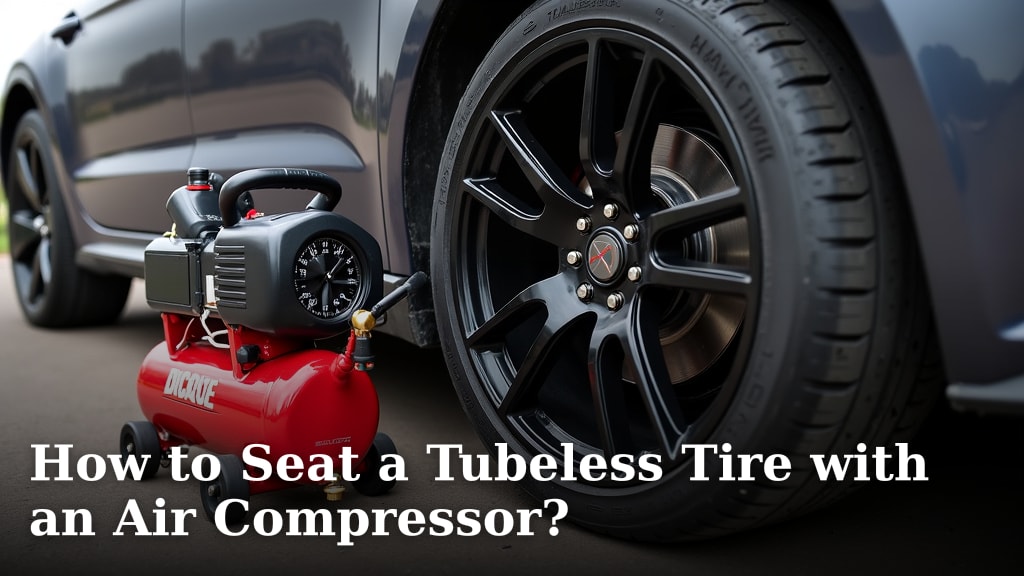
If the bead does not pop after a few short attempts, stop and reassess tire size, rim width, valve, and bead condition. The full steps in How to Seat a Tubeless Tire with an Air Compressor? show the safer order for this job.
Never stand over the tire while it seats. Keep hands and face away from the sidewall and stay within the pressure limits printed on the tire and rim.
Can a portable 12V inflator seat a tubeless bead?
A portable 12V inflator may work for topping off a seated tubeless tire, but it often lacks the fast air volume needed for initial bead seating. That limit matters most on wider tires or stiff beads.
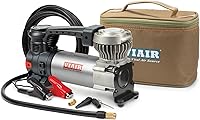
The VIAIR 88P 00088 12V Portable Air Compressor Kit for Car and Truck Tires is built for portable roadside use. It delivers up to 120 PSI, uses a 16-foot air hose, and includes a solid brass twist-on tire chuck with a built-in pressure gauge.
It connects to the vehicle battery with alligator clamps, so it suits emergency use away from a shop compressor. The 9.8 x 3.2 x 5.6 inch size and 4.75 pound weight make it easy to store in a trunk or carry bag.
For bead seating, compare air flow rather than max pressure alone. A compressor that flows slowly may fill a seated tire yet struggle to push a loose bead to the rim edge.
Use a larger shop compressor for the seating step when possible.
How do you read pressure while you try to seat the bead?
Use a clear gauge and watch for pressure changes, since a flat reading often points to a leak rather than a weak compressor. This check helps you tell a valve leak from a bead gap.
Connect the chuck and add short bursts of air. Watch the gauge after each burst.
If pressure rises then falls quickly, air is escaping. Listen near the bead, valve, and chuck to find the leak.
A digital inflator can make this easier because you can see the reading while you control flow. The AstroAI Digital Tire Pressure Gauge with Inflator, 3-250 PSI Air Chuck & Compressor Accessories Heavy Duty with Quick Connect Coupler, 0.1 Display Resolution, 1pack gives you a 3 to 250 PSI range with 0.1 PSI resolution.
It has a 19.7 inch rubber hose, a brass air chuck, and a backlit LCD for low light work. You squeeze the trigger to inflate and press a button to deflate, which helps when you need to release pressure and reset the bead.
Do not rely on sound alone. A bead that moves a little may still leak at one spot.
Check the full circumference before you move on to final pressure.
What portable option suits everyday top-offs after seating?
Choose a compact inflator with auto shut-off for routine checks once the bead is seated. That setup suits daily top-offs, bike tires, and light roadside use.
The AstroAI AIRUN H Tire Inflator Portable Air Compressor, 12V DC Tire Inflator, Auto Shut-Off with Digital Pressure Gauge & LED Light, Fast Inflation for Car, Motorcycle, Bike Tires, 9.8Ft Cord, Yellow is aimed at that kind of regular use. It plugs into a 12V DC outlet and has a preset pressure feature that stops at your target.
It weighs 2.2 lb, has a 9.84-foot cord, and includes a Presta-to-Schrader adapter plus a needle valve for balls. The LED light and backlit display help at night or in a dim garage.
This type of inflator is handy for topping off, not for forcing a bead to seat. Its auto shut-off helps prevent over inflation, but it cannot fix a poor bead seal.
Seat the bead first with adequate air volume, then use the portable unit for upkeep.
How do you prevent the same problem next time?
Prevent repeat failures by cleaning the bead area, checking rim tape, and sealing the valve before inflation. Good prep makes the next mount far easier.
Mount the tire and clean both bead edges before the final seating attempt. Remove old sealant, wipe the rim well, and check that rim tape lies flat and covers all spoke holes or seams.
Install a sound valve stem and snug the core, and keep the valve tool with your tire kit. A small stem leak is easy to miss once the bead pops.
Add sealant only as directed for your tire and rim combination. Too little may not close small gaps, while too much can create a mess around the bead.
Store the tire in a cool, dry place after mounting, as heat and ozone can affect rubber and sealant. For regular bike tire upkeep, our post on How To Pump Bike Tires With Air Compressor? covers the routine side of the job.
Which compressor setup fits your tire and rim?
Match air volume, chuck type, and gauge range to the tire you are mounting. A car tire, truck tire, and bike tire do not ask the same thing from a compressor.
For car and light truck tires, a shop compressor with a decent tank usually seats beads more reliably than a small portable unit. Our guide to the Best Air Compressor For Tires can help you compare options for that use.
For bike tires, use lower pressure and a chuck that seals well on a small valve. The Best Air Compressor For Airing Up A Bike Tire guide focuses on that lighter duty.
For everyday car tire care after seating, see How To Air Up Tires With Compressor? for the normal top-off steps. A portable inflator works well there because the bead already seals.
Frequently asked questions
Why does air keep leaking when a tubeless bead will not seat?
Air escapes through the gap where the bead meets the rim, past a loose valve stem, or around a chuck that is not sealed. The compressor cannot build pressure while that path stays open, so the bead never gets the push it needs to pop into place.
Can a small portable inflator seat a tubeless tire?
Some small portable inflators can top off a seated tire, but bead seating needs a fast burst of air. A 12V portable unit may not supply enough volume quickly, especially on wider rims or tires with stiff beads, so check your compressor output first.
What should you check before trying to seat the bead again?
Check that the bead is centered on the rim, the valve core is tight, the rim tape is smooth, and the chuck seals squarely on the valve. Remove debris from the bead and rim edge, then confirm you are using the correct pressure limit for the tire and rim.