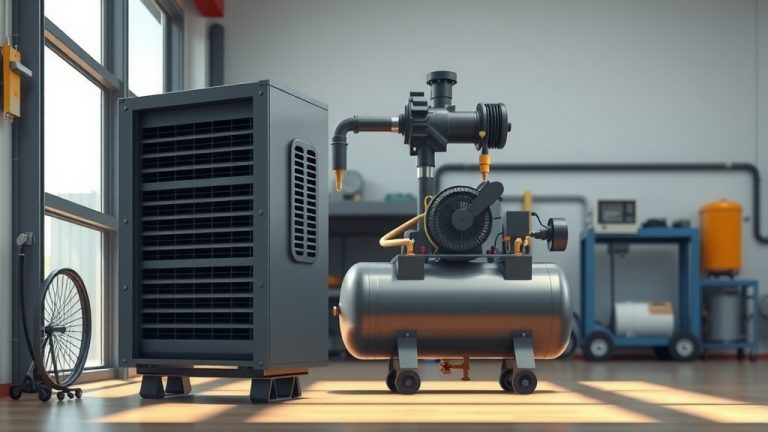
How To Use BOSTITCH Air Compressor?
Using a BOSTITCH air compressor involves connecting the air hose and tool, adjusting the pressure regulator, and always prioritizing safety.
First, ensure your BOSTITCH air compressor is on a level surface, plug it in, and connect your air hose to the quick coupler before attaching your chosen air tool.
- Get started safely by checking your workspace and wearing eye protection.
- Connect your air hose and tool, then set the air pressure for your task.
- After use, remember to drain the tank to prevent rust and maintain performance.
- Regular checks of air filters and hoses will keep your compressor running smoothly.
- BOSTITCH compressors are known for their reliability and ease of use for many projects.
How To Use BOSTITCH Air Compressor?
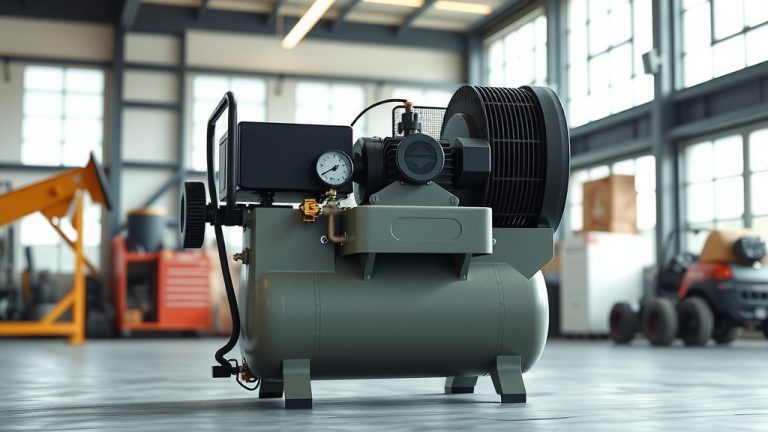
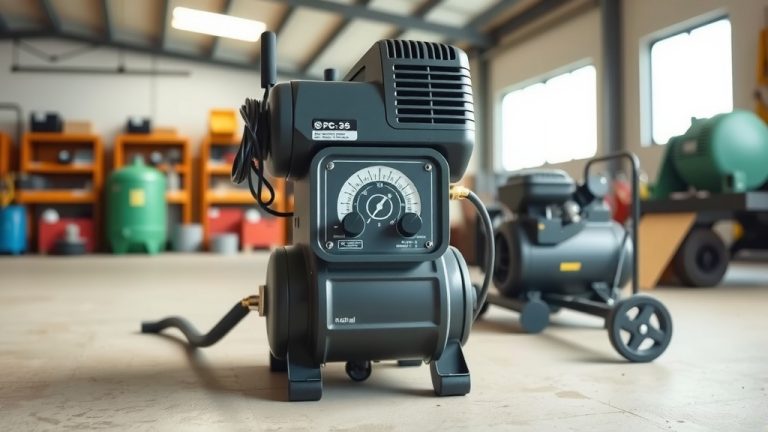
Using your BOSTITCH air compressor effectively means understanding its basic parts and following a few simple steps for setup and operation. You will find that these tools are designed for straightforward use.
Safety First!
Before you even plug in your BOSTITCH air compressor, safety is paramount. We found that personal protective equipment (PPE) is not optional. Always wear safety glasses to protect your eyes from debris.
Also, consider ear protection, especially with louder compressor models. Air compressors can be noisy, and long exposure may affect your hearing (OSHA guidelines often mention this). Make sure your work area is clear and well-ventilated.
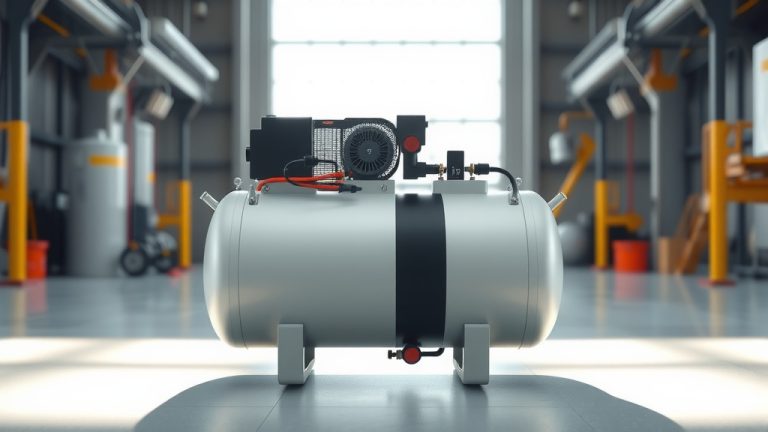
Unboxing and Positioning Your Compressor
When you first get your BOSTITCH unit, take it out of the box carefully. Place it on a firm, level surface. Many experts say this helps prevent tipping and ensures stable operation. Do not place it against a wall; it needs airflow.
Think about where you will be working. An ideal spot keeps the compressor close to your project but far enough to avoid tripping hazards. A clean, dry area is always best for any tool.
Connecting the Air Hose
The air hose is your compressor’s lifeline to your tools. First, connect one end of your air hose to the compressor’s quick-connect coupler. Simply pull back the collar, insert the hose fitting, and release. You should hear a click, indicating it is securely fastened.
Research often highlights that a good connection prevents air leaks. An air leak means less pressure at your tool and wasted energy. Always double-check this connection before starting any work.
Powering Up Your BOSTITCH
Now, it’s time to give your compressor some juice. Plug the power cord into a grounded electrical outlet. Many models require a standard 120V outlet. Turn on the power switch, usually located near the pressure gauges.
You will hear the motor start and the tank begin to fill with air. The pressure gauge will show the PSI (pounds per square inch) increasing. It will stop automatically once it reaches its preset maximum pressure.
Choosing and Attaching Your Air Tool
What are you working on today? Nailing? Spray painting? Tire inflation? Select the correct air tool for your task. Each tool has a specific air pressure requirement.
Attach your chosen air tool to the other end of your air hose, again using the quick-connect coupler. Just like with the hose, listen for that click to confirm a tight, leak-free connection. This prevents any frustrating air loss during your project.
Setting the Right Air Pressure
This step is where precision comes in. Your BOSTITCH air compressor has a regulator knob. Turn this knob to adjust the outgoing air pressure. Look at the regulator gauge to see the current PSI.
You want to match the tool’s recommended operating pressure. Too little pressure, and the tool won’t work right. Too much, and you could damage the tool or your workpiece. A common practice is to start low and gradually increase the pressure until you get the desired performance (tool manuals confirm this).
Time to Get to Work!
With everything connected and pressure set, you are ready. Begin your project, paying attention to the tool’s operation. Many BOSTITCH compressors cycle on and off automatically to maintain tank pressure as you use air. This is a normal function.
When you finish, release any remaining air in the hose and disconnect the tool. Then, turn off the compressor and unplug it. It’s like tidying up after baking; clean up your tools for the next use.
Draining the Tank: A Must-Do Maintenance Step
This is perhaps the most overlooked, yet vital, maintenance step. After every use, or at least regularly, drain the air tank. There’s a drain valve, usually at the bottom of the tank. Open it to release any accumulated moisture.
Why is this important? Because air contains water vapor. When compressed, this vapor condenses into liquid water inside the tank. If left there, it will cause rust and corrosion, shortening your compressor’s life. We found that consistent draining prevents this damage.
BOSTITCH Air Compressor Maintenance Checklist
Keeping your BOSTITCH running smoothly means a little care. Here’s a quick checklist:
- Drain the tank: After every use, remove moisture.
- Check air filter: Clean or replace if dirty.
- Inspect hoses and fittings: Look for cracks or leaks.
- Wipe down the unit: Keep it free of dust and debris.
- Store properly: In a dry, protected environment.
Troubleshooting Common Issues
Sometimes, things don’t go as planned. If your compressor isn’t building pressure, first check if it’s plugged in and switched on. Is the drain valve fully closed? A small leak there can prevent pressure build-up.
If the motor runs but no air comes out, the pressure switch might be faulty, or the check valve could be stuck. Many experts suggest reviewing your compressor’s manual first. It often contains specific troubleshooting tips for your model.
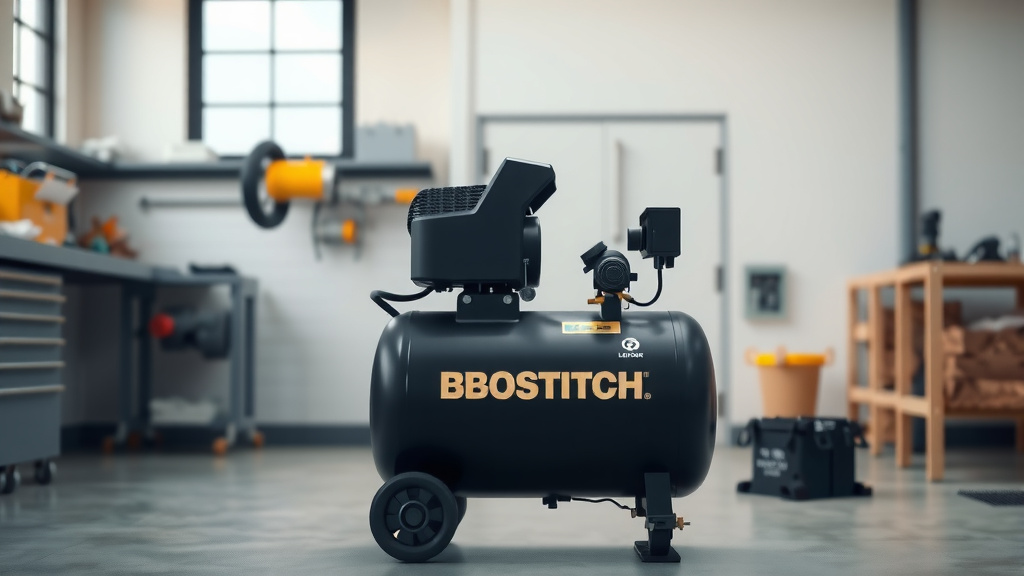
Why BOSTITCH? A Quick Look
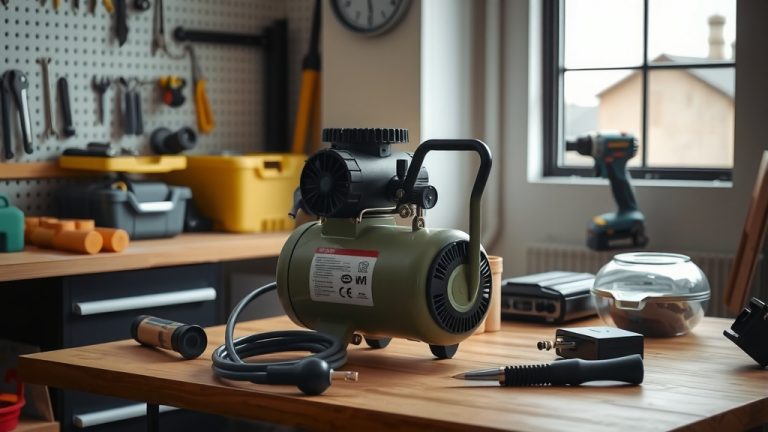
BOSTITCH air compressors are a popular choice for many. Users often praise their durability and portability. We found that they are generally well-suited for a variety of home and workshop tasks. They offer a good balance of power and ease of use.
For example, a pancake compressor like the BOSTITCH BTFP02012 is lightweight and perfect for trim work. Larger models provide more sustained airflow for bigger projects. Many reviews highlight their user-friendly design, making them a solid investment for DIY enthusiasts and professionals alike.
| Feature | Benefit for You |
|---|---|
| Compact Design | Easy to store and transport between job sites or around your garage. |
| Oil-Free Pump | Less maintenance required; no need to check or change oil, cleaner air output. |
| High PSI Output | Delivers enough power for demanding tasks like framing or automotive work. |
| Quick Recovery Time | Compressor refills its tank rapidly, minimizing waiting during continuous use. |
Proper Storage Tips
When you are done for the day, proper storage protects your investment. Always store your BOSTITCH air compressor in a dry, covered area. Extreme temperatures can affect performance over time. Avoid storing it outdoors or in very damp environments.
Wrap up the air hose neatly. You might also want to cover the compressor to keep dust out. Taking these small steps helps ensure your compressor is ready and reliable for its next use. Think of it as putting your tools to bed.
Conclusion
Using your BOSTITCH air compressor is a straightforward process once you understand the basic steps. Prioritizing safety, setting up correctly, and performing routine maintenance are key. These units are built to be user-friendly, offering reliable performance for a range of tasks from inflating tires to driving nails.
By following these guidelines, you will find your BOSTITCH compressor to be a dependable partner in your projects. Remember to always consult your specific model’s manual for detailed instructions and safety information. Happy compressing!
FAQs
How often should I drain my BOSTITCH air compressor’s tank?
You should drain the tank after every use to prevent moisture buildup and rust. If you use it briefly, at least once a week for regular users. This simple step significantly extends the life of your compressor.
Can I use any air hose with my BOSTITCH air compressor?
Most standard air hoses with a 1/4-inch NPT (National Pipe Taper) fitting will work with BOSTITCH compressors. Always ensure the hose and fittings are rated for the pressure your compressor produces. We found that braided rubber or PVC hoses are common and durable choices.
What kind of air tools can I power with a BOSTITCH air compressor?
BOSTITCH compressors can power a wide range of air tools, including nail guns (brad, finish, framing), staplers, paint sprayers, tire inflators, blowguns, and impact wrenches. The specific tools depend on the compressor’s PSI and CFM (Cubic Feet per Minute) ratings.
Why is my BOSTITCH compressor not building enough pressure?
Several factors can cause this. Check if the power supply is stable, the drain valve is fully closed, and there are no leaks in the hose or fittings. A dirty air filter can also restrict airflow, and sometimes a faulty pressure switch or check valve may be the cause. Start with the simplest checks first.
Is it normal for my air compressor to get hot during use?
Yes, it’s normal for air compressors to generate heat during operation, especially around the pump area, as air compression naturally produces heat. However, if it’s excessively hot or emits smoke, shut it off immediately and consult the manual or a service professional.