How To Use Craftsman Air Compressor?
To use your Craftsman air compressor, first ensure it’s on a stable, level surface and plugged into a grounded electrical outlet.
Next, securely connect your air hose and chosen tool, adjust the pressure regulator to your task’s required PSI, then power the unit on and allow it to build pressure before beginning your work.
Here’s a quick overview of what you’ll find:
- Safety is paramount: Always wear eye protection and work in a ventilated area.
- Initial setup involves unboxing, attaching wheels (if any), and adding compressor oil if your model requires it.
- Connect your air hose and tools correctly, ensuring all fittings are secure and leak-free.
- Regulate air pressure carefully for each specific task to prevent damage or inefficient operation.
- Regular maintenance, especially draining condensation from the tank, is key for long-term compressor health.
How To Use Craftsman Air Compressor?
Using your Craftsman air compressor is straightforward once you understand the basic steps. It helps you power many tools for home and workshop projects, making tasks easier and faster. Think of it as having a strong, invisible hand to assist your work.
Safety First: Your Most Important Step
Before you even plug in your compressor, safety always comes first. It’s like checking your car’s tires before a road trip. We found that proper preparation prevents most accidents and keeps you safe.
Always wear safety glasses or goggles to protect your eyes from flying debris. Also, work in a well-ventilated area. Compressors can produce fumes, and the noise can be significant, so hearing protection is also a good idea (Occupational Safety and Health Administration guidelines often recommend this).
Checking Your Workspace
Make sure your compressor sits on a stable, level surface. It should be away from walls or anything that might block its airflow. A clean area keeps you focused on the task, not tripping hazards.
Unboxing and Initial Setup
Got a new Craftsman air compressor? Great! The initial setup is fairly quick. It’s like setting up a new appliance – a few simple steps, then you are ready to go.
Attaching Wheels and Handles
Many Craftsman models come with wheels and handles. This makes moving them around your shop much easier. Follow your manual’s instructions for secure attachment. You’ll thank yourself later when you don’t have to carry it.
Adding Compressor Oil (If Applicable)
Some Craftsman compressors are oil-lubricated. If yours is, adding the correct oil is a critical step. Check your manual for the right type and fill level. Running an oil-lubricated compressor without oil can cause severe damage, much like running your car without oil.
Connecting Your Air Hose and Tools
Now, let’s get things connected. This part is like plugging in your vacuum cleaner attachments – simple, but important to do correctly for peak performance.
Choosing the Right Air Hose
Select an air hose that’s long enough for your task but not excessively long. Too much length can reduce air pressure at your tool. We found that a quality hose resists kinks and lasts longer, saving you frustration.
Attaching Fittings and Couplers
Use quick-connect fittings for easy tool changes. Ensure all connections are tight and leak-free. A leaking connection wastes air and reduces efficiency, like a leaky garden hose just spraying water everywhere.
Powering On Your Craftsman Compressor
With everything connected and secure, it’s time to bring your compressor to life. It’s an exciting moment, hearing that motor kick in!
Plugging into Power
Always plug your compressor into a grounded electrical outlet with the correct voltage. Avoid extension cords if possible. If you must use one, make sure it’s heavy-duty and rated for the compressor’s power needs (National Electrical Code often details these requirements).
Building Tank Pressure
Flip the power switch. The compressor will start running and build pressure in the tank. It will eventually shut off automatically once the maximum pressure is reached. This is normal behavior, a sign it’s doing its job.
Setting the Working Pressure (PSI)
Every tool and task needs a specific amount of air pressure. This is where the regulator comes in handy. It’s your precision control knob, making sure you don’t overdo it.
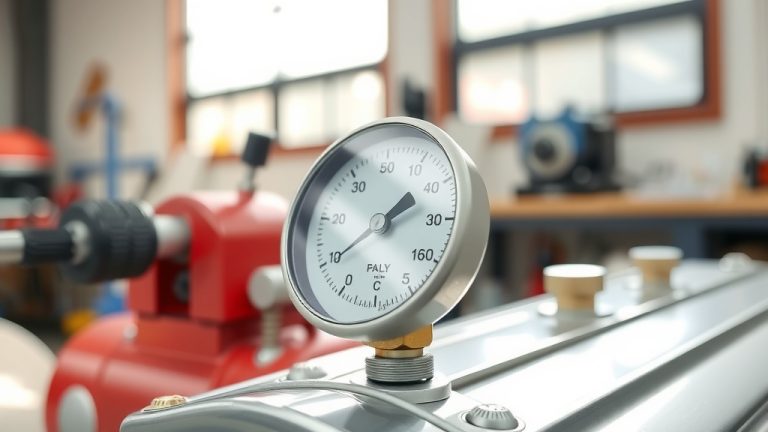
Using the Pressure Regulator
Locate the pressure regulator dial, usually near the gauges. Turn it to adjust the output PSI to your tool’s recommendation. Too much pressure can damage your tool or workpiece; too little, and the tool won’t perform well, like trying to hammer a nail with a feather.
Here’s a quick guide to common pressure settings for various tasks:
| Task | Recommended PSI |
|---|---|
| Tire Inflation | 30-40 PSI |
| Nail Guns / Staplers | 70-120 PSI (check tool) |
| Blow Guns | 40-60 PSI |
| Spray Painting (HVLP) | 10-30 PSI (at gun) |
Operating Your Air Tools
With pressure set, you’re ready to work. It’s satisfying to hear that tool hum into action and perform efficiently!
Starting and Stopping
Engage your air tool as needed. When you finish a section or task, release the tool’s trigger. Your compressor will cycle on and off to maintain tank pressure during use, like your refrigerator kicking on to keep food cold.
Shutting Down Your Compressor Properly
Finishing a project is great, but shutting down correctly is just as important as starting up. It helps keep your equipment safe and ready for next time, much like cooling down after a workout.
Depressurizing the Tank
Turn off the power switch. Then, slowly open the drain valve at the bottom of the tank. This releases any trapped air and condensation. You’ll hear a hiss – that’s normal, just the tank letting out a sigh of relief.
Disconnecting Hoses and Tools
Once all air is released, disconnect your hose and tools. Store them properly, away from direct sunlight or extreme temperatures. Think of it as putting away your toys nicely so they’re ready for the next adventure.
Essential Maintenance for Longevity
Regular care keeps your Craftsman air compressor running smoothly for years. We found that a little maintenance goes a long way, much like changing your car’s oil or watering your plants.
Draining Condensation Regularly
This is arguably the most critical maintenance step. Moisture builds up in the tank. Drain the tank after every use or at least once a day if used frequently. This prevents rust inside the tank, which can cause serious safety issues (many manufacturer guidelines stress this point).
Checking Air Filters
Periodically check and clean or replace the air filter. A dirty filter makes the compressor work harder. It’s like trying to breathe through a clogged nose, not very efficient!
Oil Level Check (Oil-Lubricated Models)
If your model uses oil, check the oil level regularly. Top it off as needed with the recommended compressor oil. This ensures proper lubrication and prevents overheating, keeping all those moving parts happy.
Quick Pre-Use Checklist
Before you power up, a fast check can prevent headaches and ensure a smooth start:
- Are my safety glasses on?
- Is the compressor on a stable, level surface?
- Are all hose connections secure and leak-free?
- Is the tank drain valve fully closed?
- Is the correct oil level maintained (if applicable)?
- Is the power cord in good condition, free from damage?
Troubleshooting Common Issues
Sometimes things don’t go perfectly. Don’t worry, most minor issues have simple fixes, and a little detective work can solve them quickly.
Compressor Not Building Pressure
Check for leaks in your hoses or fittings. Also, ensure the drain valve is fully closed. A loose connection can be a real air hog, letting all that precious pressure escape.
Motor Runs Constantly
This often points to a leak. Listen for hissing sounds around connections or the pressure switch. Also, a prolonged runtime could mean the tank drain is open, letting air escape endlessly.
Conclusion
Using your Craftsman air compressor can greatly simplify a wide range of tasks, from inflating tires to powering impact wrenches. By following these steps—prioritizing safety, understanding the initial setup, mastering pressure control, and committing to regular maintenance—you ensure your compressor operates reliably and efficiently. Remember, a little care and attention mean your trusty Craftsman will be ready for whatever project you throw its way, making your work easier and more enjoyable.
Frequently Asked Questions
How often should I drain the air tank on my Craftsman compressor?
Many experts recommend draining the air tank after every single use, or at least daily if you’re using it frequently. This removes condensed moisture, which can cause rust and shorten the lifespan of your compressor, potentially leading to tank failure.
Can I use any type of oil in my oil-lubricated Craftsman air compressor?
No, you should only use compressor oil specifically designed for air compressors. Using regular motor oil or other lubricants can cause damage to the pump and potentially void your warranty. Always check your owner’s manual for the exact type and viscosity of oil recommended.
My Craftsman air compressor seems very loud. Is this normal?
Air compressors do produce noise, and the level can vary significantly by model and motor type. Piston-driven compressors are generally louder than rotary screw types. However, if you notice an unusually loud noise, clanking, or grinding, it could indicate an issue like loose parts or a motor problem. Always wear hearing protection, regardless of the noise level.
What PSI should I use for blowing dust off my workbench?
For simple tasks like blowing dust, a lower PSI setting of around 40-60 PSI is usually sufficient. There’s no need to blast at maximum pressure, which can create excessive noise and potentially stir up more dust than necessary. Always direct the blow gun away from yourself and others to prevent debris from flying into eyes.
What if my air compressor smells like burning during operation?
A burning smell can be a sign of overheating. This might happen if the compressor is overworked, has insufficient ventilation, or if the oil level is too low (for oil-lubricated models). Immediately shut off the compressor, allow it to cool, check the oil level, and ensure good airflow around the unit. If the smell persists after these checks, professional inspection might be needed.