How To Lower PSI On Air Compressor?
To lower PSI on your air compressor, locate the pressure regulator, which usually has a knob or dial, and turn it counter-clockwise to reduce the output pressure flowing to your tools. This simple adjustment helps match your compressor’s output to the specific needs of your air tools.
Always remember to bleed any residual air from the hose after adjustment to ensure the pressure gauge reads accurately. Matching the correct PSI prevents tool damage and ensures efficient, safe operation for all your projects.
- To adjust your air compressor’s PSI, you will primarily use the pressure regulator.
- Simply turn the regulator knob counter-clockwise to decrease the output pressure.
- Always release any air in the hose after adjusting to get a true reading on your gauge.
- Matching the right PSI helps your tools work better and extends their lifespan.
- Safety is paramount, so always depressurize and disconnect tools before adjustments.
How To Lower PSI On Air Compressor?
Lowering the PSI on your air compressor typically involves adjusting the built-in pressure regulator. You will turn the regulator’s knob counter-clockwise to reduce the outgoing air pressure to your tools.
Why Adjust Air Compressor PSI?
Ever wonder why your paint gun sprays erratically, or your nailer drives too deep? The truth is, different air tools need specific air pressure to work their best. Running a tool at too high a PSI can damage it or even create a safety hazard.
Matching the PSI helps you get the perfect finish for painting or the right depth for nailing. It is like tuning an instrument; everything works better when it is set just right.
Understanding Your Air Compressor’s PSI
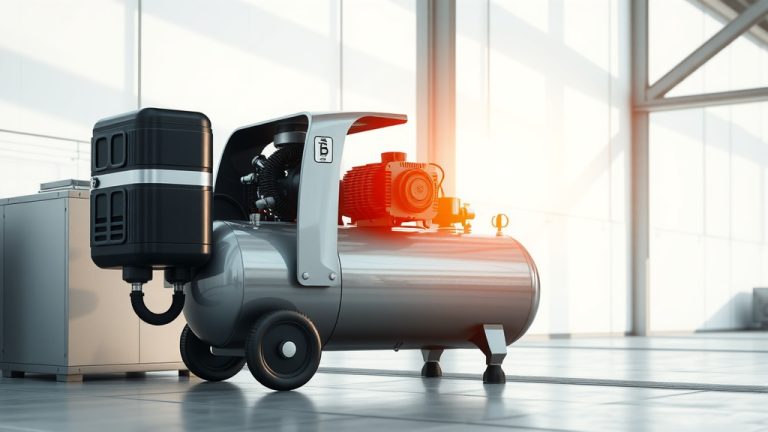
Your air compressor actually has two important PSI readings. One is the tank pressure, which shows how much air is stored inside the tank. The other is the output pressure, which is the regulated air going out to your tools.
When we talk about lowering PSI for your tools, we are focusing on that output pressure. The tank pressure usually stays quite high to give you a good reserve of air.
The Role of the Regulator
Think of the pressure regulator as a traffic cop for your air. It controls how much pressure flows from the high-pressure tank to your air hose and tools. This small but mighty component is what you will interact with most to fine-tune your air output.
Many experts say that understanding your regulator is key to getting the most out of your air compressor (Air Compressor Manufacturers’ Association). Without it, your tools would receive the full, unregulated blast from the tank.
Step-by-Step Guide to Lowering PSI
Ready to get hands-on? Let us walk through the simple steps to lower that PSI. It is easier than you might think, and once you do it, you will feel much more confident with your compressor.
Safety First, Always!
Before you touch anything, always remember safety. Make sure your air compressor is turned off and unplugged. Release any air pressure from the tank using the drain valve, if possible. You should also disconnect any air tools from the hose.
This prevents accidental startups and ensures you are working in a secure environment. We found that most accidents happen when people skip these basic safety checks.
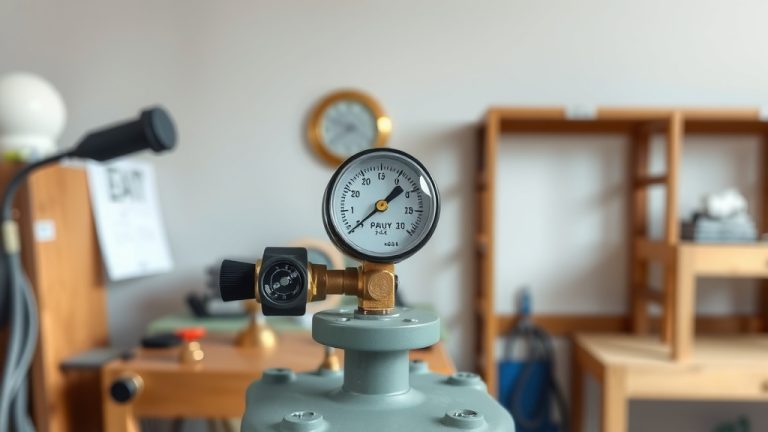
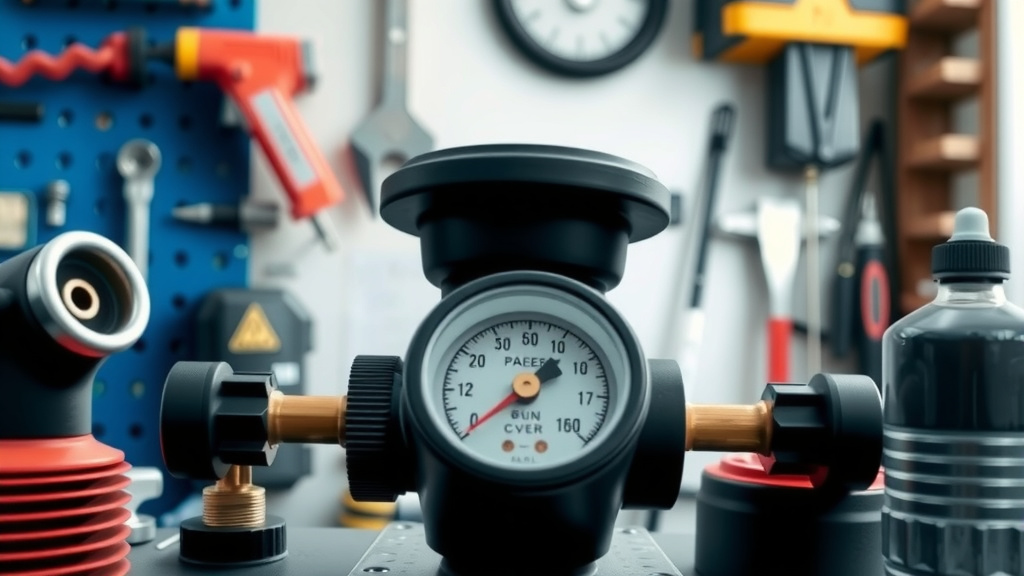
Locating the Pressure Regulator
Your pressure regulator is usually a knob or dial located near the output port of your compressor, often between two gauges. One gauge shows tank pressure, and the other shows regulated output pressure. Look for the one that controls the outgoing air.
Sometimes, it is brightly colored or marked clearly. If you are unsure, consult your compressor’s manual. That little book is a goldmine of information!
The Adjustment Process
Once you have found the regulator, it is time for the main event. Slowly turn the knob counter-clockwise. You should see the needle on the output pressure gauge begin to drop. Turn it gradually, a little at a time.
Remember, it is better to go slightly under your target PSI and then increase it slowly than to overshoot. It is all about precision here.
Checking Your New PSI
After adjusting, reconnect your air hose and briefly run the compressor to build pressure. Then, open a blow gun or an air tool to bleed any air already in the hose. We found that this step is important because it allows the gauge to reflect the new, lower setting accurately.
Now, check the output gauge. Is it at your desired PSI? If not, repeat the adjustment process until you hit your target. It is a bit like adjusting the volume on a speaker.
Common Mistakes When Adjusting PSI
It is easy to make a few common blunders when you are first learning. One big one is adjusting too quickly. Sudden, drastic turns can sometimes damage the regulator over time. Take your time, and be gentle.
Another mistake is forgetting to bleed the line. If you do not, your gauge might show an inaccurate reading, leading you to believe the pressure is different than it actually is. Always remember that quick purge of the hose.
When to Seek Professional Help
Most PSI adjustments are simple DIY tasks. However, if your regulator is sticky, broken, or simply not responding to your turns, it might be time for a professional. Sometimes, internal parts wear out, and a replacement might be needed.
If you notice air leaks around the regulator even after proper adjustment, that is another sign. Many experts recommend routine maintenance checks to prevent these issues.
Maintaining Optimal PSI Settings
Once you have found your sweet spot for PSI, how do you keep it there? It is a matter of knowing your tools and performing a few simple checks. Consistency is key for any good workshop.
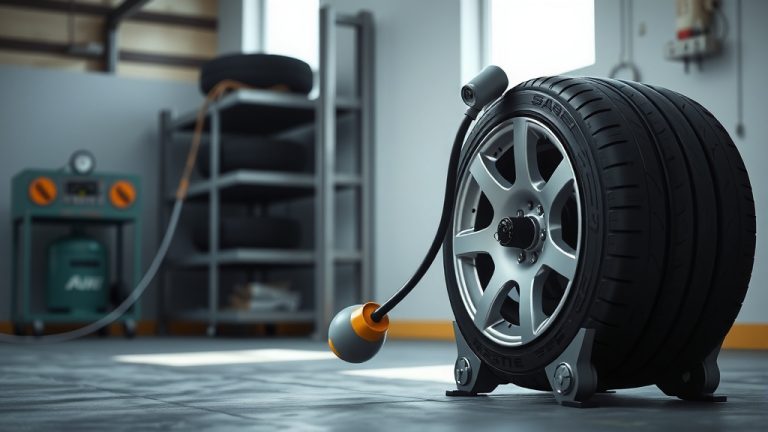
Different Tools, Different PSI Needs
Just like people have different needs, so do air tools! A nail gun might need 90 PSI, while a paint sprayer could require as little as 30-50 PSI. Knowing these differences helps you protect your investments.
Research often connects optimal tool performance with correct pressure settings (Tool Manufacturer Guidelines). It is worth keeping a small chart near your compressor for quick reference.
| Air Tool Type | Typical PSI Range | Notes for Usage |
|---|---|---|
| Nail Guns (Brad/Finish) | 70 – 90 PSI | Avoid overdriving nails, check depth. |
| Impact Wrenches | 90 – 100 PSI | Requires high CFM; adjust for torque. |
| Paint Sprayers (HVLP) | 20 – 50 PSI | Lower pressure for finer finish, less overspray. |
| Air Sanders | 70 – 90 PSI | Consistent pressure for even sanding. |
| Blow Guns | 30 – 60 PSI | Lower for dusting, higher for stubborn debris. |
Regular Checks and Calibration
Even the best regulators can drift a little over time. It is a good practice to occasionally check your output PSI with an external pressure gauge, just to make sure your compressor’s gauge is still accurate. It is like checking your car tires.
Many experts say that an annual check helps keep everything running smoothly. A small adjustment now can prevent bigger headaches later.
Your PSI Adjustment Checklist
To make sure you hit all the right notes, here is a quick checklist for lowering your air compressor’s PSI:
- Ensure safety first: Power off, unplug, bleed tank, disconnect tools.
- Locate the regulator: Find the adjustment knob or dial.
- Turn counter-clockwise: Make small, gradual adjustments.
- Bleed the air line: Release air for an accurate gauge reading.
- Verify the setting: Check the output gauge against your tool’s needs.
- Test your tools: Ensure proper operation at the new PSI.
Conclusion
Mastering your air compressor’s PSI settings is a fundamental skill for any user. By understanding how to properly lower the PSI, you not only extend the life of your valuable air tools but also ensure safer, more effective operation for all your projects. It is a simple adjustment that yields big benefits, giving you the control you need to tackle any task with confidence. So, go ahead, dial in that perfect pressure, and make your air compressor work for you!
How do I know what PSI my air tool needs?
Every air tool usually has its required PSI range listed in its manual or sometimes directly on the tool itself. We found that checking the manufacturer’s recommendations is always the most accurate way to determine the ideal operating pressure for any specific tool.
Can I damage my air compressor by always running it at a low PSI?
No, running your compressor at a lower output PSI typically does not damage the compressor itself. The compressor will still build up to its maximum tank pressure, but the regulator simply restricts the flow to your tools. This is how it is designed to work safely and efficiently.
What if my air compressor’s regulator is stuck?
If your regulator is stuck, first ensure the compressor is depressurized. Sometimes, a gentle tap or firmly wiggling the knob can free it. If it remains stuck, it might be clogged with debris or need replacement. Many experts recommend cleaning or replacing old, stubborn regulators.
Does lowering PSI affect air volume (CFM)?
Yes, lowering the PSI can indirectly affect the effective CFM (Cubic Feet per Minute) available at your tool. While the compressor’s raw CFM output remains constant, a lower pressure means less force is delivered to the tool, which can feel like reduced air volume for certain applications that require sustained high pressure and flow.
Is there a minimum safe PSI for operating air tools?
While there is no universal minimum, running air tools below their recommended PSI can make them inefficient or cause them to stall. This might not be dangerous, but it can be frustrating and unproductive. Always aim for the tool manufacturer’s specified range for the best performance and to avoid wear and tear.