How To Set Air Compressor PSI?
To set your air compressor PSI, you must locate the pressure regulator knob, usually found on the compressor’s front panel, and turn it clockwise to increase pressure or counter-clockwise to decrease it.
Always consult your specific pneumatic tool’s PSI requirements and the air compressor’s maximum safe operating pressure to prevent tool damage and ensure a safe working environment.
- Find the pressure regulator knob on your air compressor, often near the air outlet.
- Connect your air tool and check its recommended PSI, usually listed in its manual or on the tool itself.
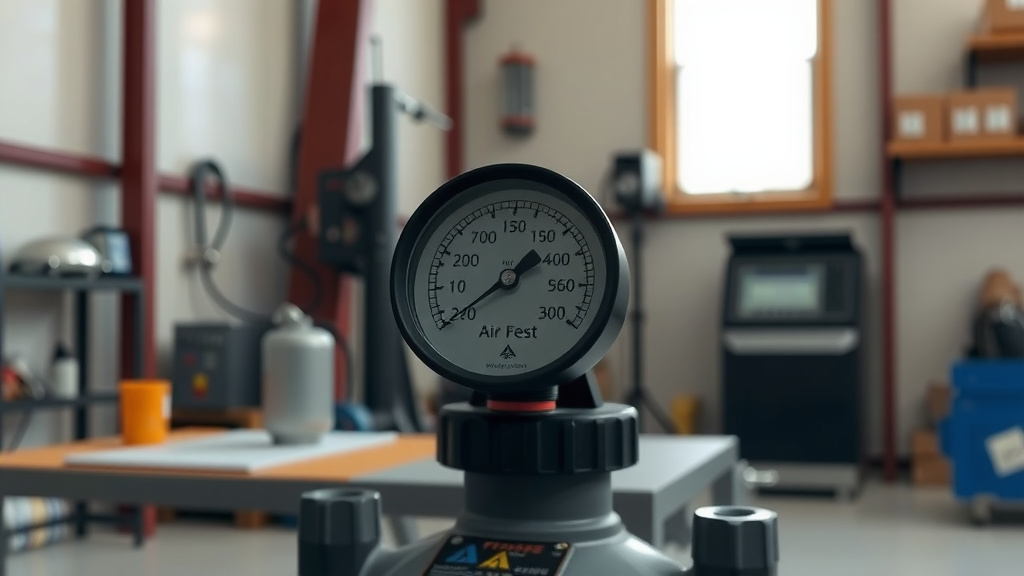
- Turn the regulator knob to match the tool’s PSI, watching the pressure gauge for the current output.
- Test the tool at the adjusted pressure to ensure it performs correctly without strain.
- Prioritize safety by wearing eye protection and checking for leaks before using any air tool.
How To Set Air Compressor PSI?
Setting your air compressor PSI means adjusting its output pressure to match the specific needs of your pneumatic tools. This ensures optimal tool performance and protects both your equipment and your project.
Think of it like tuning an instrument. Each tool needs a particular “note” or pressure level to play its best. Too much, and you might damage the tool or your work. Too little, and the tool simply won’t perform.
Why PSI Matters For Your Air Tools
The right Pounds Per Square Inch (PSI) setting is not just a suggestion; it’s a critical operational factor. It directly impacts your tool’s efficiency, lifespan, and the quality of your work.
Using the correct PSI prevents premature wear and tear on your tools. It also helps avoid costly project mistakes, like over-tightening bolts or under-inflating tires.
Understanding PSI Basics
PSI measures the force of the air coming out of your compressor. Every pneumatic tool is designed to operate within a specific PSI range.
For example, a tire inflator might need lower PSI than an impact wrench. Research consistently shows that exceeding a tool’s recommended PSI can lead to serious damage (OSHA guidelines).
Types of Air Compressor Regulators
Most compressors use a single regulator with a knob you turn. Others might have two gauges: one for tank pressure and one for regulated output pressure.
We found that understanding your specific compressor’s setup makes the adjustment process much smoother. Always check your compressor’s manual if you are unsure.
Your Step-by-Step Guide to PSI Adjustment
Adjusting your air compressor’s PSI is a straightforward process. You will need to take a few simple steps to get it just right for your task.
Don’t worry; it’s less complicated than it sounds. Just follow along, and you’ll be a PSI-setting pro in no time.
Before You Begin: Safety First
Safety is paramount when working with air compressors. Compressed air can be powerful and potentially hazardous if not handled correctly.
Always wear safety glasses. Compressed air can send debris flying. Many experts say hearing protection is also a good idea, especially with louder units.
Clearing Your Workspace
Ensure your work area is free of clutter. This prevents accidental trips or damage to hoses and tools.
A clean space simply makes for a safer and more productive experience.
Checking the Tank
First, make sure your air compressor is turned on and has built up enough pressure in its tank. You will usually see this on the tank pressure gauge.
The tank pressure must be higher than the PSI you want to set for your tool to work correctly.
Locating Your Regulator
Find the pressure regulator. It is often a knob located near the output quick-connect coupler where you attach your air hose.
There will typically be a second gauge next to it, showing the regulated output pressure.
Adjusting the Pressure
Attach your air hose and the pneumatic tool you plan to use. With the compressor running, turn the regulator knob.
Turn it clockwise to increase the PSI. Turn it counter-clockwise to decrease the PSI. Watch the output pressure gauge as you adjust.
Fine-Tuning Your Setting
Match the output PSI to your tool’s recommended setting. If your tool needs 90 PSI, adjust the regulator until the gauge reads 90 PSI.
Once set, activate your tool briefly to ensure the pressure holds steady and the tool performs as expected.
Common PSI Settings for Popular Tools
Knowing typical PSI ranges for various tools can be quite helpful. While manuals are best, this table offers a general guide.
Remember that specific tool models might have slightly different requirements.
| Pneumatic Tool | Typical PSI Range | Common Task |
|---|---|---|
| Nail Gun/Stapler | 70-120 PSI | Framing, trim work, upholstery |
| Tire Inflator | 20-100 PSI | Car, bicycle, sport equipment inflation |
| Impact Wrench | 90-120 PSI | Loosening/tightening bolts |
| Blow Gun | 50-90 PSI | Cleaning dust, drying surfaces |
| Paint Sprayer | 15-50 PSI | Painting small to medium surfaces |
| Air Chisel | 90-120 PSI | Cutting, chipping, scraping |
Troubleshooting Common PSI Issues
Sometimes, your PSI might not behave as expected. Don’t worry, many issues have simple solutions.
We found that most problems stem from either leaks or regulator malfunctions.
Pressure Drops
If your PSI drops significantly during use, you might have an air leak. Check your hose connections, quick couplers, and the tool itself.
Even small leaks can cause a big loss in pressure over time. A soapy water solution can help you spot tiny leaks as it will bubble.
Regulator Malfunctions
If you adjust the knob but the gauge doesn’t change, or the pressure is wildly inconsistent, your regulator might be faulty.
A damaged diaphragm or worn seals inside the regulator are common causes. In such cases, replacing the regulator is often the best solution.
Maintaining Your Air Compressor’s Regulator
Proper maintenance helps keep your regulator working smoothly and accurately. A little care goes a long way.
Here are some quick tips to ensure your regulator performs well:
- Drain the Tank Regularly: Condensation builds up and can cause rust or damage inside the compressor and regulator.
- Check for Leaks: Periodically inspect all connections for air leaks.
- Keep It Clean: Wipe down the regulator and gauges to prevent dirt buildup.
- Store Properly: Store your compressor in a dry, temperate environment.
- Inspect Hoses: Ensure your air hoses are in good condition without cracks or weak spots.
- Consult Manual: Always refer to your compressor’s manual for specific maintenance schedules.
Conclusion
Setting your air compressor PSI correctly is a simple yet crucial skill for anyone using pneumatic tools. It’s the key to efficient work, tool longevity, and personal safety.
By understanding your tools’ needs, following the adjustment steps, and maintaining your equipment, you ensure a smooth and productive experience every time. So go ahead, dial in that perfect pressure, and power up your projects with confidence!
What if my air compressor’s gauge is not working correctly?
If your air compressor’s pressure gauge seems inaccurate or is not responding, it might be faulty. You can test it against a known accurate gauge or consider replacing it. A broken gauge can lead to incorrect PSI settings, potentially damaging tools.
Can I use an air compressor without a pressure regulator?
While some basic inflators may lack a regulator, most pneumatic tools require precise pressure control. Without a regulator, your tools would receive the full tank pressure, which is often too high and dangerous for operation, leading to damage or injury.
How do I know the correct PSI for my specific air tool?
The most reliable way to find the correct PSI for your air tool is to consult its owner’s manual. Most tools also have the recommended operating pressure printed directly on their body. Always follow these guidelines to ensure proper function and safety.
Does the size of my air compressor affect PSI settings?
The size of your air compressor (its tank volume and CFM rating) primarily affects how long it can sustain a certain PSI, not the PSI setting itself. A larger tank simply means more stored air, allowing you to work longer at your desired pressure before the compressor cycles on again.
What is the difference between PSI and CFM for air compressors?
PSI (Pounds Per Square Inch) measures the force or pressure of the air. CFM (Cubic Feet per Minute) measures the volume of air an compressor can deliver. Both are important; PSI ensures the air is strong enough, while CFM ensures there is enough air to keep the tool running continuously.