
Why Does My Air Compressor Lose Pressure Overnight?
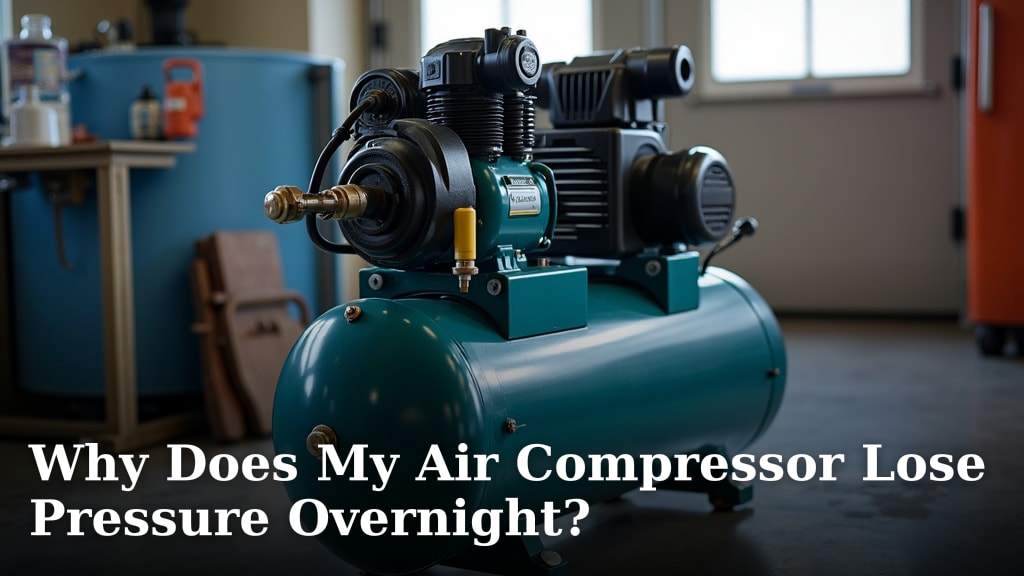
Your air compressor is losing pressure overnight mostly because of leaks. These leaks often happen in fittings, hoses, or even the tank itself. A faulty check valve or pressure switch can also be the problem.
You might wake up to an empty tank, which is super frustrating, right? We found that small leaks can really add up over several hours. This loss means your compressor has to work harder and longer next time you use it.
- Leaks are the top reason for pressure loss.
- Check fittings, hoses, and the tank.
- A bad check valve or pressure switch can be the culprit.
- Overnight loss points to slow, steady leaks.
Let’s walk through why these leaks happen and how you can find and fix them yourself. You’ll be glad you did.
Why Your Air Compressor Loses Pressure While Idle
You’ve charged up your air compressor, feeling good about tackling your next project. You walk away, and the next morning, it’s flat. What gives? We’ve all been there. This common issue points to a slow, steady leak somewhere in the system. It’s not usually a sudden blowout, but a gradual bleed-down of pressure over several hours. Think of it like a tire with a slow leak – you don’t notice it immediately, but by morning, it’s noticeably softer.
The Usual Suspects: Where Pressure Escapes
When your compressor loses pressure overnight, it’s rarely a mystery. We found that most pressure loss comes down to leaks in a few key areas. Pinpointing these spots is half the battle. You’ll be surprised how often a tiny, almost invisible crack can cause big problems. It’s like finding a needle in a haystack, but with a bit of patience, you can do it.
Leaks in Fittings and Connections
These are probably the most common culprits. Every single connection point on your air compressor is a potential leak site. We’re talking about all the threaded joints, quick-connect couplers, and adapters. They might seem tight, but over time, vibrations, temperature changes, and wear can loosen them or degrade their seals. Imagine a garden hose connection that slowly drips – same principle, just with air.
- Threaded Connections: These are everywhere. Think about the connection from the tank to the pressure switch, or from the regulator to the output hose. If the threads aren’t sealed properly with PTFE tape or liquid sealant, air can seep out. We often find that old sealant has dried out or cracked, allowing tiny escapes.
- Quick-Connect Couplers: These are super convenient but can wear out. The internal O-rings or springs can degrade, leading to a poor seal when you connect your air tools. A slight wiggle might reveal the leak, but often, it’s silent and steady. Many experts suggest replacing these every few years if you use your compressor frequently.
- Hose Connections: The points where hoses attach to fittings are also vulnerable. Hoses can harden, crack, or pull away slightly from their clamps, creating a small gap for air to escape.
Hose and Air Line Damage
Your air hoses and lines are critical for delivering compressed air, but they’re also exposed to a lot of abuse. They get dragged, stepped on, and sometimes even run over. This can lead to wear and tear you might not notice right away. A tiny pinhole in a hose can let out a surprising amount of air overnight. Think about how much air a tiny hole in a balloon can release.
- Cracks and Punctures: Look closely at your hoses. Are there any visible cracks, especially where they bend or near fittings? Small punctures from sharp objects can be almost invisible but still significant leakers.
- Abrasions: If your hoses rub against rough surfaces or get repeatedly dragged, the outer layer can wear down, eventually exposing the inner layers and leading to leaks.
- Aging Materials: Over time, rubber and plastic hoses can stiffen and become brittle. This makes them more prone to cracking and losing their seal integrity, particularly in colder weather (National Institute of Standards and Technology).
Tank Leaks
While less common than fitting or hose leaks, a leak in the air tank itself is a serious concern. The tank holds all that pressure, and rust is its archenemy. We found that tank leaks are almost always due to corrosion. This often starts internally, where moisture collects. It’s why draining your tank regularly is so important.
- Rust and Corrosion: Moisture inside the tank, combined with oxygen, creates rust. Over years, this rust can eat through the tank wall, creating pinholes. These usually appear at the bottom of the tank, where water collects.
- Welds: The seams where the tank panels are welded together can sometimes develop tiny cracks over time due to stress or manufacturing defects. These are harder to spot but can be significant leak points.
Internal Component Failures Leading to Pressure Loss
Sometimes, the leak isn’t external at all. The problem lies within the compressor’s internal workings. These failures often allow air to escape back through the pump or motor when the compressor is off. It’s like having a one-way valve that suddenly starts working in two directions.
Faulty Check Valve
This is a big one. The check valve is a one-way valve that sits between the pump and the air tank. Its job is to let air from the pump into the tank but prevent air from flowing back out of the tank into the pump once the compressor shuts off. If this valve fails, air can slowly bleed back through the pump and often escape through the air filter or intake. We often compare it to a faulty door that won’t fully close, letting cold air back in.
- How it Fails: The internal spring or rubber disc in the check valve can get stuck open, become worn, or get clogged with debris. This prevents it from sealing completely.
- Symptoms: You might hear a hissing sound coming from the air intake of the compressor after it cycles off. Or, if you shut the unit down and disconnect the power, the tank pressure drops quickly.
Leaking Pressure Switch or Safety Valve
These components are designed to manage or release pressure, and if they malfunction, they can become leak points. They’re like the safety nets of your compressor, but sometimes, the nets get holes.
- Pressure Switch: This switch monitors tank pressure and tells the motor when to turn on and off. Some pressure switches have a small unloader valve that releases a puff of air when the compressor shuts off, clearing the line between the pump and the tank. If this unloader valve gets stuck open or the switch itself has an internal leak, you’ll lose air. We often find that debris can get caught in these delicate mechanisms.
- Safety Relief Valve: This valve is a critical safety device designed to open and release pressure if the tank pressure gets too high. If it’s faulty, worn out, or has debris under its seat, it can “weep” air even at normal operating pressures. You might hear a constant, faint hiss from this valve. Never tamper with the safety relief valve – replace it if it’s leaking.
Finding the Leaks: Your Leak Detection Toolkit
Now that you know where to look, how do you actually find these sneaky leaks? It’s easier than you might think. We found that a few simple tools and techniques can make you a leak-finding pro. This process is very satisfying once you pinpoint the problem.
The Soapy Water Method
This is the gold standard for leak detection and surprisingly effective. It relies on basic physics – air pushing through a small opening will create bubbles in liquid. It’s inexpensive, safe, and works almost every time. You probably have what you need in your kitchen already.
- What You Need: A spray bottle, dish soap, and water. Mix about one part dish soap to three parts water. You want a good, sudsy solution.
- How to Do It:
- Charge your compressor tank to maximum pressure.
- Turn off the compressor and unplug it for safety.
- Spray your soapy solution liberally over all fittings, connections, hoses, and even around the tank welds.
- Watch for bubbles. Even a tiny leak will produce a stream or growing cluster of bubbles. The bigger the bubbles or the faster they form, the bigger the leak.
- Pro Tip: Be patient and thorough. Some leaks are very small and might take a minute or two for bubbles to appear. Don’t forget the drain valve at the bottom of the tank – it’s a common leak point too.
Listening for Hisses
Sometimes, your ears are your best tool. Air escaping under pressure can make an audible sound, especially in a quiet environment. This method is great for finding larger leaks quickly. It’s like listening for a slow hiss from a bicycle tire.
- What to Do:
- Charge the compressor to full pressure.
- Turn off the compressor and unplug it.
- Go to a very quiet area, or wait until night if your shop or garage is noisy.
- Slowly move around the compressor, putting your ear close to fittings, hoses, and valves.
- Listen for any faint hissing sounds.
- Limitations: This method is less effective for very small leaks, as the sound might be too faint to hear. It’s best used as a first pass before moving to the soapy water.
Preventing Future Overnight Pressure Loss
Once you’ve fixed your current leaks, you’ll want to take steps to prevent them from coming back. Regular maintenance and a bit of vigilance go a long way. Think of it as preventative medicine for your compressor.
Regular Maintenance Checklist
A little care can save you a lot of frustration. We found that owners who follow a simple maintenance routine rarely experience recurring pressure loss issues. These steps are easy and don’t take much time.
- Drain the tank daily or after each use. This removes moisture that causes rust.
- Inspect hoses and fittings regularly. Look for cracks, abrasions, and loose connections.
- Check the check valve periodically. Listen for air backflowing or use soapy water around the intake.
- Ensure the safety relief valve isn’t weeping. A faint hiss from this valve means trouble.
- Use PTFE tape or liquid sealant on threaded connections. Reapply if you’ve disconnected and reconnected parts.
Choosing Quality Components
When you replace parts, don’t just grab the cheapest option. Investing in better quality hoses, fittings, and valves can prevent premature failures. We found that higher-grade components often last significantly longer and maintain a better seal. It’s like choosing quality shoes – they might cost a bit more upfront, but they’ll serve you better in the long run.
| Component | What to Look For | Why it Matters |
|---|---|---|
| Air Hoses | Reinforced rubber or hybrid materials, not just basic PVC. | More flexible, less prone to kinking, cracking, and abrasion. |
| Fittings | Brass or high-quality steel (nickel-plated). | Resists corrosion better, maintains tighter seal, longer lifespan. |
| Check Valves | Heavy-duty brass or stainless steel, serviceable design. | More durable, less likely to stick, some can be cleaned or repaired. |
| PTFE Tape | “Yellow” gas-line tape (thicker) or high-density “white” tape. | Better sealing properties for higher pressures, more resilient. |
By understanding why your air compressor loses pressure overnight, knowing how to find the leaks, and taking steps to prevent them, you’ll ensure your compressor is always ready when you are. No more frustrating mornings with an empty tank. You’ll save time, money, and your sanity, allowing you to focus on the projects you love.
Conclusion
You now understand that most overnight air pressure loss points to leaks in fittings, hoses, or internal components. You’ve learned how critical regular maintenance is, especially draining your tank to prevent rust. Finding these issues is often simple with the soapy water method you can easily do yourself. By being proactive and using quality replacement parts, you can keep your compressor reliable.
Take these steps to address any current leaks and prevent future ones. You’ll ensure your air compressor is always ready, saving you time and frustration for all your projects.
Frequently Asked Questions
Is it normal for an air compressor to lose some pressure overnight?
No, it’s not normal. While a tiny,
