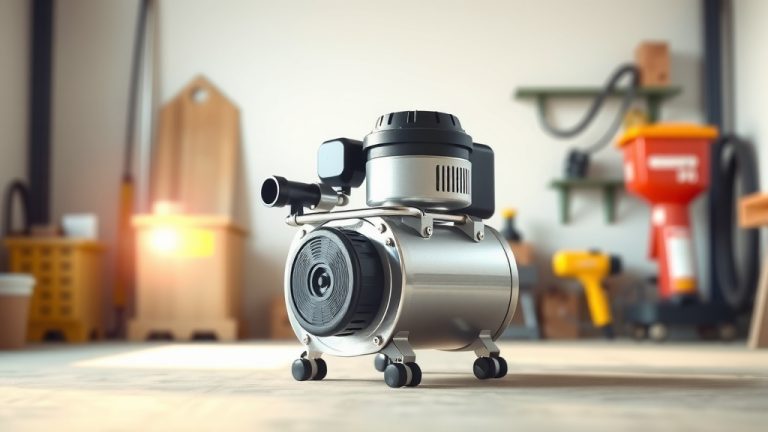
How To Open Air Compressor?
To safely open an air compressor, first ensure it’s completely depowered and the tank is fully depressurized, then use appropriate tools to carefully remove covers and access internal components.
Always prioritize your safety by disconnecting the power source and bleeding all air pressure from the tank before attempting to open an air compressor for inspection or repair.
- For safe access, always depower the unit and drain all air pressure.
- Gather basic hand tools like wrenches, screwdrivers, and possibly sockets.
- Carefully remove outer covers and panels to reach internal parts like the pump or motor.
- Reassembly needs attention to detail, making sure all connections are secure.
- Know when a task is beyond your skill and it’s time to call a professional.
How To Open Air Compressor?
Opening an air compressor involves carefully accessing its internal parts for maintenance, inspection, or repair. You will always start by making sure it’s safe to handle and completely shut down.
Why Would You Open Your Compressor?
You might need to open your compressor for various reasons. Perhaps you’re changing the oil, replacing a worn belt, or inspecting a faulty valve. Sometimes, it’s just about cleaning accumulated dust and debris inside.
Routine check-ups can extend your unit’s life. We find that regular maintenance prevents many common issues before they grow into bigger problems.
Safety First: Your Non-Negotiable Step
Before you even think about grabbing a tool, safety is your top concern. Air compressors store pressurized air, which can be quite dangerous if mishandled.
Imagine trying to change a tire on a moving car – you just wouldn’t. Similarly, working on a powered or pressurized compressor is a big no-go. We found that most accidents happen when these basic steps are skipped (Occupational Safety and Health Administration).
- Disconnect the Power: Unplug the compressor from the wall outlet. If it’s hardwired, turn off the circuit breaker. Don’t just flip a switch.
- Depressurize the Tank: Open the drain valve at the bottom of the tank to release all air. Also, pull the safety relief valve ring to ensure all pressure is gone.
- Wait for Cooling: The motor and pump can get hot during operation. Give it time to cool down before touching anything.
- Wear Safety Gear: Use safety glasses and gloves. Sharp edges and hot parts are common inside.
Gathering Your Tools
Having the right tools makes the job much smoother. You wouldn’t use a spoon to dig a ditch, right?
Most jobs only require basic hand tools. We often see folks needing screwdrivers, wrenches, and sometimes a socket set to get those covers off.
| Tool Type | Common Use |
|---|---|
| Screwdrivers | Removing access panels, securing components |
| Wrenches / Sockets | Loosening or tightening bolts, hose fittings |
| Pliers | Holding small parts, removing clips |
| Oil Drain Pan | Collecting used compressor oil |
| Rag / Shop Towels | Cleaning spills, wiping parts |
General Steps for Opening a Piston Compressor
Most home and small shop compressors are piston-driven. The steps are usually quite similar across many models. Let’s break it down simply.
Depressurizing the Tank
This is your first physical step after ensuring power is off. Locate the drain valve, usually at the bottom of the tank. Turn it slowly to let the air escape.
You should hear a distinct hissing sound. Wait until the pressure gauge reads zero and the hissing stops completely.
Disconnecting Power
We already covered this in safety, but it’s worth a second mention for emphasis. Make absolutely certain the compressor is unplugged.
Just checking the plug makes a big difference. Many experts say this simple check prevents electrical hazards.
Removing Covers and Components
Now, you can start unbolting or unscrewing the outer covers. These are often plastic shrouds or metal panels designed to protect the internal workings.
Keep track of the screws and bolts. A small container or magnetic tray helps a lot, preventing lost parts.
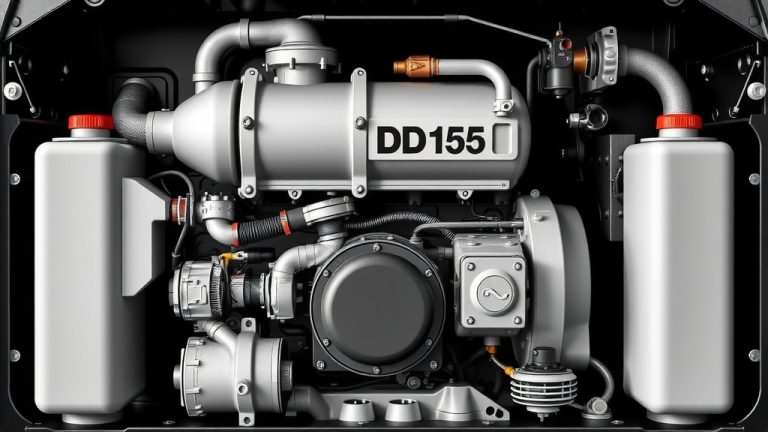
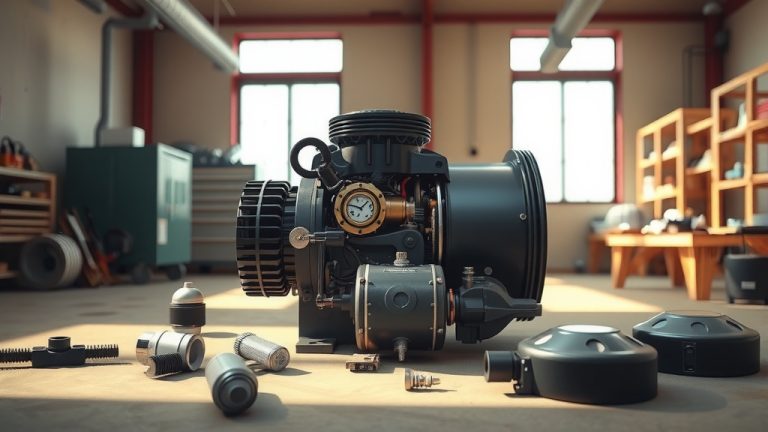
Accessing the Pump Head
If your goal is to inspect the pump, you will likely need to remove the top cover of the pump itself. This usually involves more bolts.
You might see the cylinder and piston assembly here. Be gentle with gaskets and seals; they are delicate.
Draining the Oil (if applicable)
If you’re doing an oil change, locate the oil drain plug, usually at the base of the pump. Place your drain pan underneath before removing it.
Allow all the old oil to drain out completely. Dispose of used oil properly – it’s not something you pour down the sink.
What to Look for Inside
Once you’ve opened your compressor, what should you be looking at? This depends on your reason for opening it.
You might be checking for loose connections, frayed belts, or unusual wear on moving parts. A quick visual inspection often reveals a lot.
Reassembling Your Air Compressor
Putting it all back together is often the reverse of taking it apart. Just remember to be systematic and careful.
Ensure all fasteners are tightened securely, but avoid over-tightening. You do not want to strip threads or crack housings.
Double-check all electrical connections and hose fittings. A loose connection can cause leaks or safety concerns.
When to Call an Expert
Sometimes, a repair or inspection is beyond your comfort level or skill. That’s perfectly okay!
If you face complex electrical issues, a seized pump, or anything that feels too risky, it’s always best to consult a certified technician. Your safety and the compressor’s well-being are worth it.
Conclusion
Opening an air compressor can be a rewarding task, saving you time and money on maintenance. The key to a successful and safe operation is always prioritizing safety first, then working methodically through each step. With the right approach and tools, you can keep your air compressor running smoothly for years. Remember, if in doubt, a professional is always a good resource.
How do I depressurize my air compressor tank safely?
To safely depressurize your air compressor tank, first unplug the unit from its power source. Then, locate the drain valve, usually found at the very bottom of the tank, and slowly open it to release all the stored air. Additionally, pull the ring on the safety relief valve to ensure complete depressurization.
What tools are essential for opening a typical air compressor?
For opening a typical air compressor, essential tools usually include a set of screwdrivers (Phillips and flathead), a wrench set, and possibly a socket set for removing various bolts and fasteners. An oil drain pan is also necessary if you plan on changing the oil.
Is it safe to open an air compressor if I’m not experienced with mechanics?
Basic tasks like changing oil or cleaning filters are often manageable for those with little mechanical experience, provided you follow all safety guidelines. However, if you are unsure about the steps or encounter complex internal components, it’s safer to seek help from an experienced technician.
How often should I open my air compressor for maintenance?
The frequency depends on usage and the manufacturer’s recommendations. For general maintenance like oil changes (on oil-lubricated models) and filter checks, many experts suggest doing it every few months or after a certain number of operating hours, whichever comes first.
What are the common signs that my air compressor needs to be opened for inspection?
Common signs that your air compressor might need internal inspection include reduced air output, unusual noises, visible oil leaks, frequent pressure drops, or the motor running more than usual. These symptoms often point to issues with internal components like valves, seals, or the pump.