
How to Install an Air Compressor in a Garage?
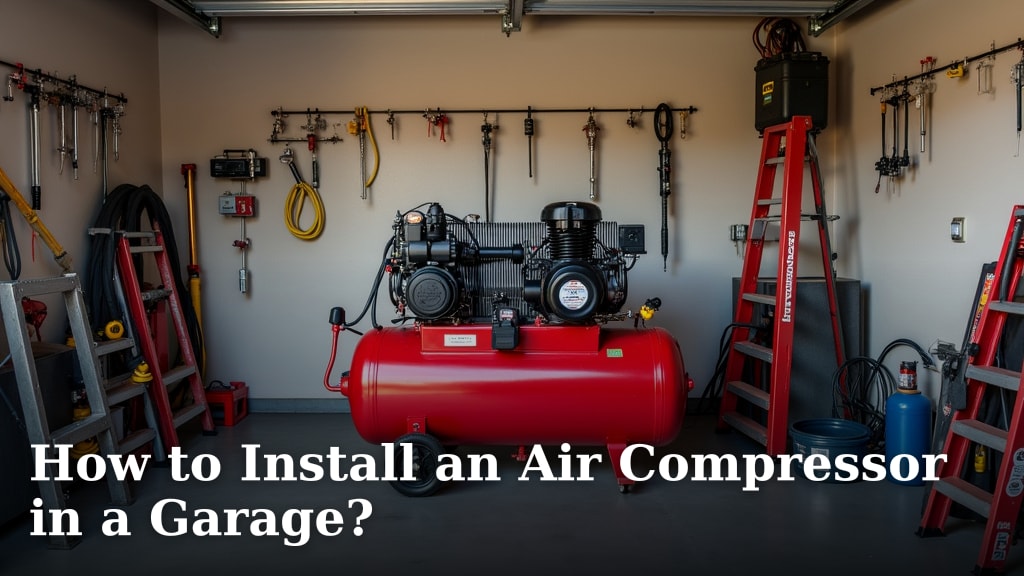
To install an air compressor in a garage, you’ll need to choose the right location, secure the unit, connect it to power, and then run your air lines. It’s a DIY project many homeowners can tackle with some planning and basic tools.
Having an air compressor in your garage really opens up a world of possibilities for home mechanics and DIY enthusiasts. You’ll be able to power impact wrenches, paint sprayers, and even inflate tires with ease, making many tasks much more efficient.
- Pick the best spot for your compressor.
- Make sure you have the correct power supply.
- Anchor the compressor to reduce vibration.
- Install sturdy air piping for a reliable system.
- Test for leaks and ensure everything works safely.
Ready to get started? Let’s walk through exactly how to set up your new garage workhorse step by step.
Setting Up Your Garage Air Compressor
Installing an air compressor in your garage can transform your workspace. This guide will walk you through the entire process, from choosing the perfect spot to running your air lines safely and effectively.
Choosing the Right Location
Where should your air compressor live? This is perhaps the most important first step. The right location ensures safety, efficiency, and comfort.
Noise and Ventilation Considerations
Air compressors can be loud. We found that placing your compressor away from living areas is key. If possible, an exterior wall or a dedicated utility corner is ideal.
Good ventilation is also crucial. Compressors generate heat. A well-ventilated space prevents overheating and prolongs the life of your unit. We often see homeowners place them near a window or an exterior door (OSHA guidelines frequently stress adequate ventilation for machinery).
Power Supply and Accessibility
Your compressor needs appropriate power. Check the electrical requirements of your unit; some need a dedicated 240V circuit. Make sure your chosen spot is within reach of the correct outlet or where one can be safely installed by an electrician.
Also, think about accessibility for maintenance. You’ll need to drain condensation regularly and check oil levels on some models. Can you easily get to all sides of the unit?
Preparing for Installation
Once you’ve settled on a location, it’s time for some groundwork. This prep work ensures a smooth and safe installation.
Electrical Requirements and Safety
Before you even unbox the compressor, confirm your garage’s electrical system can handle it. Overloading circuits is a serious fire hazard. Many larger compressors require a dedicated circuit breaker. If you’re unsure, consulting a licensed electrician is always the safest bet.
Always disconnect power at the breaker before working on any electrical connections. This isn’t just a recommendation; it’s a critical safety rule.
Anchoring Your Compressor
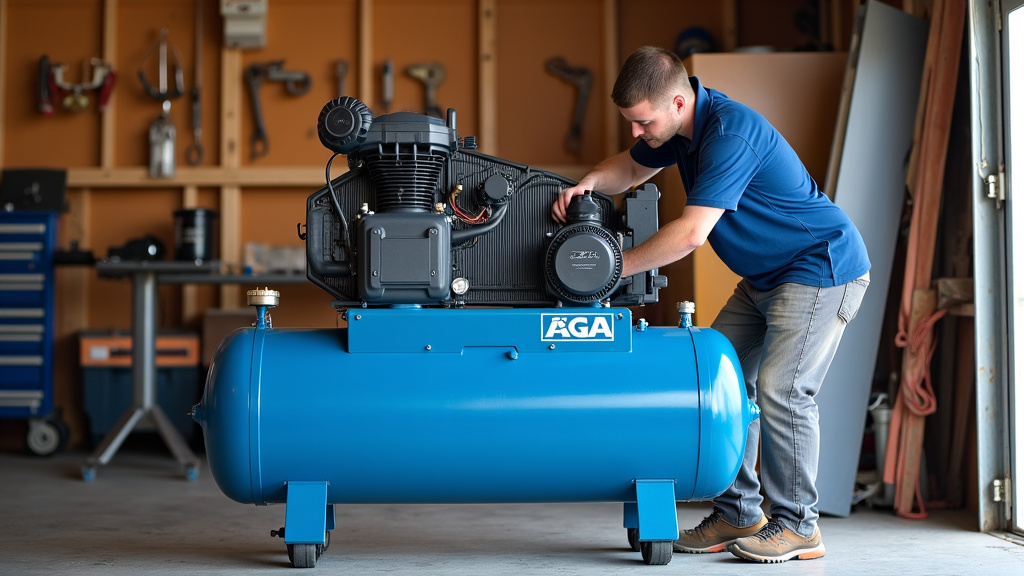
Compressors vibrate. A lot. Anchoring it securely reduces noise, prevents it from “walking” across the floor, and protects your investment. Use rubber isolator pads under the feet to further dampen vibrations and noise.
For larger, stationary units, you’ll likely need to bolt it directly to the concrete floor. Small compressors might just need sturdy rubber feet and a stable surface.
- Choose a level concrete surface.
- Place anti-vibration pads under the compressor feet.
- Mark anchor points if bolting to the floor.
- Drill holes if needed, as per manufacturer instructions.
- Use appropriate concrete anchors or lag bolts.
- Ensure the compressor is stable and won’t wobble.
Connecting Your Air Compressor
With the unit in place, it’s time to make connections. This involves getting power to the unit and preparing your air lines.
Powering Up
Plug in your compressor only after it’s securely in its final position and all air line connections are ready. Double-check that your outlet matches the compressor’s plug type and voltage. Never use extension cords unless specifically rated for heavy-duty compressor use, and even then, make them as short as possible to avoid voltage drop (Electrical Safety Foundation International recommends this).
Installing Your Air Piping System
This is where your air tools get their power. You have choices for air piping materials, each with pros and cons.
| Pipe Material | Advantages | Disadvantages |
|---|---|---|
| Black Iron Pipe | Very durable, excellent air retention. | Heavy, difficult to cut/thread, prone to rust internally. |
| Copper Pipe | Corrosion resistant, easy to work with (soldering). | More expensive, requires specialized tools. |
| PEX Tubing | Flexible, easy to install (push-to-connect), corrosion-free. | Lower pressure rating than metal, needs proper support. |
| PVC Pipe | Inexpensive, easy to work with. | NOT recommended for compressed air; can shatter dangerously. (We found many safety experts strongly advise against this.) |
We recommend PEX tubing or copper pipe for most DIY garage setups due to their ease of installation and corrosion resistance. Black iron is also a solid choice for longevity.
Designing Your Air Line Layout
Plan your runs. Where do you need air? Near the workbench? By the garage door? A typical layout includes a main line running from the compressor, with drop lines to various outlets. Incorporate a slight slope in your main lines to allow for water drainage, as condensed water is inevitable.
Include a water separator/filter at each drop point or at the main line to protect your tools. Many guides suggest putting a drip leg (a short vertical pipe with a drain valve) at the lowest point of your main line to collect moisture.
Testing and Maintenance
Once everything is connected, it’s time for the moment of truth: testing. And then, ongoing maintenance to keep your compressor running smoothly.
Checking for Leaks
Leaks waste air and make your compressor work harder. After connecting all piping and fittings, pressurize the system. Then, grab a spray bottle mixed with soapy water.
Spray all connections generously. Look for bubbles forming—they indicate a leak. Tighten fittings or re-seal threaded connections as needed. Don’t skip this step; even small leaks add up.
Initial Run and Adjustments
With no leaks, run your compressor through a full cycle. Watch the pressure gauge. Does it build pressure to the cut-off point? Does it cut back on when pressure drops? Listen for any unusual noises.
Adjust the pressure regulator to your desired working pressure for your tools. Most tools operate efficiently between 90-100 PSI.
Ongoing Maintenance Essentials
A little routine care goes a long way in extending your compressor’s life. Many manufacturers, we found, mention these key tasks:
- Drain the tank daily or after each use: This removes condensed water, preventing rust inside the tank.
- Check oil levels (if applicable): Some compressors are oil-free, but lubricated models need regular oil checks and changes.
- Clean air filters: A dirty filter reduces efficiency.
- Inspect hoses and fittings: Look for cracks, wear, or loose connections.
- Periodically test safety valve: Consult your owner’s manual for proper procedure.
Keeping up with these simple tasks ensures your air compressor is always ready for your next project. It’s like giving your trusty workhorse a consistent meal and a brush-down.
Conclusion
You’ve now got a solid roadmap for installing an air compressor in your garage. By choosing the right spot, ensuring proper power, anchoring it securely, and setting up smart air lines, you’re building a versatile workspace.
Remember to test all connections for leaks and keep up with routine maintenance like draining the tank. Taking these steps seriously ensures your system is safe, efficient, and ready for years of projects. Get ready to tackle those tasks with newfound power and convenience!
Frequently Asked Questions
How far can an air compressor be from the power source?
Ideally, your compressor should be as close as possible to a dedicated outlet. Long extension cords cause voltage drop, reducing efficiency and potentially damaging the motor. If you need distance, ensure any extension cord is heavy-duty and rated for compressor use.
Can I install an air compressor outside?
Yes, some compressors are designed for outdoor use, but most residential models are not. If placing yours outside, it must be protected from direct weather, extreme temperatures, and moisture. Ensure good ventilation and security from theft too.
What size air compressor do I need for a home garage?
It depends on your tools, but many DIYers find a 20-30 gallon tank with at least 4-6 CFM (cubic feet per minute) at 90 PSI to be a good starting point. This handles impact wrenches, spray guns, and general inflation tasks effectively.
Is it OK to use PVC pipe for compressed air?
No, we strongly advise against using PVC pipe for compressed air. It’s not designed to handle the pressure and can become brittle over time. If it shatters, it creates sharp, dangerous projectiles. Always use approved materials like PEX, copper, or black iron pipe.
How often should I drain my air compressor tank?
You should drain your air compressor tank daily or after every use. This prevents rust and corrosion from forming inside the tank due to condensed moisture. Regular draining significantly extends the life and safety of your compressor.
