
How to Troubleshoot Low Air Pressure Output?
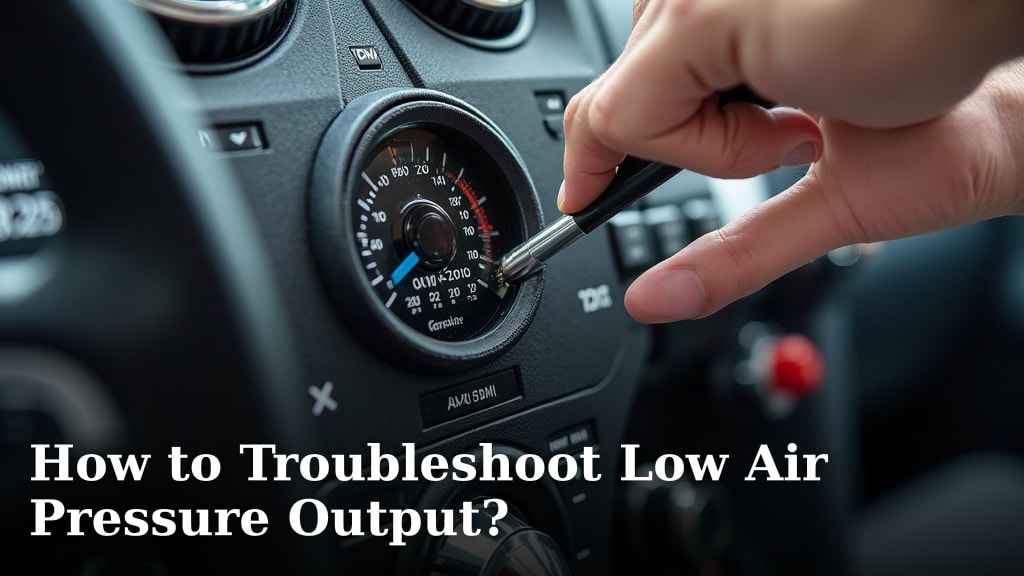
To troubleshoot low air pressure output, start by checking your air compressor’s filter, regulator, and hose connections. Often, a simple clog or a loose fitting is the culprit behind reduced airflow. We found that most issues causing low air pressure output can be resolved with a few straightforward checks.
Low air pressure can grind your projects to a halt, leaving you frustrated and behind schedule. Whether it’s your impact wrench struggling or your paint gun sputtering, consistent air pressure is essential. It’s not just about getting the job done; it’s about getting it done efficiently and safely. A quick diagnosis helps you avoid bigger problems down the line.
- Check your air filter for clogs.
- Inspect the air regulator settings.
- Examine hose connections for leaks.
- Look for kinks in your air lines.
- Consider compressor wear if other steps fail.
Ready to get your air pressure back on track? Let’s walk through exactly how to pinpoint and fix these common issues step by step.
Addressing Low Air Pressure Output from Your Compressor
Low air pressure often means your tools won’t work right. It can slow down your projects and even damage equipment. We’ll show you how to find and fix the problem.
Start with Your Air Compressor’s Basics
Before diving into complex issues, let’s check the easy stuff. Many air pressure problems come from simple oversights. You’d be surprised how often a quick check solves everything.
Check Your Air Filter
Is your air filter clogged? A dirty filter is like trying to breathe with a pillow over your face. It restricts airflow, directly impacting your compressor’s output pressure. We found that this is one of the most common culprits (Compressed Air & Gas Institute).
- Visually inspect the filter. Does it look dirty or discolored?
- If it’s a paper filter, try gently tapping it to remove loose dust.
- For foam filters, you might be able to wash and dry them according to your manual.
- When in doubt, replace the filter. They are inexpensive and essential for clean, strong air.
Verify Regulator Settings
Your air regulator sets the working pressure for your tools. Has it been bumped or adjusted accidentally? This is a very common oversight.
- Locate your compressor’s pressure regulator. It usually has a knob or dial.
- Turn the knob clockwise to increase pressure. Watch the output gauge.
- Set it to the recommended pressure for the tool you’re using. Don’t go too high!
- Ensure the regulator itself isn’t faulty. If adjusting it does nothing, it might need replacement.
Inspect Your Air Hoses and Connections
Even the strongest compressor can’t deliver good pressure through bad hoses. Think of it like a leaky garden hose – you lose water pressure. Air leaks are just as bad, or worse. For a comprehensive guide on finding and fixing leaks, consult our article on why your air compressor leaking air.
Look for Leaks in Hoses and Fittings
Air leaks are sneaky. They can be hard to hear, especially in a noisy workshop. Even a small leak can significantly drop your pressure.
- Listen carefully for hissing sounds around all connections and along the hose.
- Use a spray bottle with soapy water. Spray it on fittings, quick-connects, and hose sections.
- If you see bubbles forming, you have a leak. Tighten the connection or replace the faulty part.
- Don’t forget to check the O-rings and seals inside quick-connect fittings. They wear out over time.
Check for Kinks or Damage to Hoses
A kinked hose is like a pinched artery. Air simply can’t flow through. Hoses can also suffer damage from being run over or stored improperly.
- Unroll your entire hose. Look for any bends or sharp turns.
- Smooth out any kinks you find.
- Examine the hose for visible cuts, abrasions, or bulges.
- If a hose is heavily damaged, it’s best to replace it immediately. A burst hose can be dangerous.
Evaluate Your Air Tools and Accessories
Sometimes the compressor is fine, but the problem lies with what’s attached to it. Your tools themselves can be the source of low pressure issues.
Test Different Air Tools
Is the low pressure happening with every tool or just one? This helps narrow down the problem quickly. We recommend having a known good tool for testing.
- Connect a different air tool to your compressor.
- If the new tool works perfectly, the original tool is likely the problem.
- If pressure remains low, the issue is probably with your compressor or air lines.
Examine Tool Connectors and Nipples
The quick-connect fittings on your tools can wear out. They might not be forming a tight seal with the hose coupler.
- Inspect the male nipple on your air tool. Is it scratched or damaged?
- Check the female coupler on your air hose. Does it seem loose or worn inside?
- Replacing worn fittings is a simple and cheap fix for many pressure woes.
Consider Compressor System Components
If basic checks don’t fix it, we need to look deeper into the compressor itself. These issues are less common but still solvable.
Check for Compressor Tank Leaks
A tiny pinhole leak in your air tank can drain your pressure slowly. You might not notice it until your compressor cycles on too often.
- With the compressor off and the tank pressurized, spray soapy water over the entire tank surface.
- Pay close attention to welds and drain valves.
- Bubbles indicate a leak. A professional might be needed for tank repairs.
Inspect the Pressure Switch
The pressure switch tells your compressor when to turn on and off. If it’s faulty, it might not be letting the tank fill to full capacity.
This is a more technical check. We recommend consulting your compressor’s manual or a professional if you’re unsure. A faulty switch can cause the compressor to short cycle, leading to lower-than-expected pressure (Popular Mechanics). If your compressor is also short cycling, our guide on why your compressor keep cycling on and off can provide additional insights.
When to Consider Compressor Wear and Tear
If all else fails, your compressor itself might be showing its age. Like any mechanical device, components wear out over time, leading to reduced efficiency.
Piston and Cylinder Wear
In piston-driven compressors, the piston rings and cylinder walls can wear down. This allows air to escape past the piston, reducing compression efficiency.
You might notice your compressor takes longer to build pressure or runs almost continuously. This is often a job for a qualified technician to assess and repair.
Valve Issues
The intake and exhaust valves control air movement in the compressor pump. If they are sticking, broken, or dirty, they can’t seal properly. This means air escapes, leading to low output pressure.
You might hear unusual noises, like a clicking or knocking sound, if valves are failing. Valve replacement is a common repair for older units.
Troubleshooting Checklist for Low Air Pressure
Here’s a quick checklist to help you systematically work through the common issues:
- ____ Is the air filter clean or recently replaced?
- ____ Is the air regulator set to the correct pressure?
- ____ Have you checked all hose connections for leaks with soapy water?
- ____ Are there any kinks or damage in your air hoses?
- ____ Does the low pressure occur with all your air tools or just one?
- ____ Is your compressor tank free of leaks, especially at the drain valve?
| Problem Area | Common Symptoms | Quick Fix |
|---|---|---|
| Air Filter | Compressor strains, slow pressure build-up | Clean or replace filter |
| Regulator | Gauge shows low pressure despite full tank | Adjust or replace regulator |
| Hoses/Fittings | Hissing sounds, bubbles with soapy water | Tighten, seal, or replace parts |
| Air Tools | Only one tool performs poorly | Inspect tool’s connector or internal parts |
| Compressor Pump | Slow pressure build, constant running (older units) | Professional assessment for wear |
Conclusion
You’ve seen that addressing low air pressure doesn’t have to be a major headache. By systematically checking your filter, regulator, hoses, and tools, you can pinpoint most problems quickly. We’ve found that patience and a step-by-step approach save you time and frustration.
Don’t let a simple issue keep you from your work. Take these troubleshooting steps and get your air system running efficiently again. You’ll enjoy consistent power and longer tool life. If you’ve tried everything, consider consulting a professional for those deeper compressor issues.
Frequently Asked Questions
Why is my air compressor running constantly but not building pressure?
This often points to a significant leak or a worn-out pump. Check all connections and the tank for leaks first. If no leaks are found, the internal pump components like piston rings or valves might be failing and require professional service.
How do I know if my air regulator is bad?
A bad regulator won’t allow you to adjust the output pressure, or the pressure will fluctuate wildly even when the tank pressure is stable. If you turn the knob and see no change on the output gauge, or if air leaks from the regulator itself, it likely needs replacement.
Can extension cords affect my air compressor’s performance?
Yes, using an undersized or excessively long extension cord can reduce the voltage reaching your compressor’s motor. This can cause the motor to run less efficiently, build pressure slower, or even overheat. Always use a heavy-gauge, short extension cord if one is necessary.
How often should I drain my air compressor tank?
You should drain your air compressor tank after every use, or at least daily if it’s used frequently. Moisture accumulates inside the tank from compressed air, which can lead to rust, reduced tank capacity, and eventually leaks if not drained regularly.
Is it normal for a new air compressor to have low pressure initially?
A new air compressor should build pressure as specified. If it immediately shows low output, double-check that all factory plugs are removed, the drain valve is closed, and the regulator is set correctly. If problems persist, it might be a manufacturing defect, and you should contact the seller or manufacturer.
