How To Unfreeze An Air Compressor?
To unfreeze an air compressor, move it to a warmer location to allow it to thaw naturally and slowly. This gentle process helps prevent damage to internal components.
Once thawed, ensure you carefully drain all accumulated water and ice slush from the tank and air lines to prevent re-freezing and corrosion.
- Move your compressor to a warm spot like a garage or shed.
- Allow several hours for natural thawing, or use gentle, indirect heat.
- Once thawed, open the drain valve and remove all water and slush.
- Inspect all hoses and connections for any damage from the ice.
- Implement preventive measures like daily draining to avoid future freezes.
How To Unfreeze An Air Compressor?
Unfreezing an air compressor requires a patient and careful approach. You need to thaw the frozen components safely, then drain all the moisture completely.
This process usually involves moving the unit to a heated area and letting nature take its course, protecting your equipment.
Why Did Your Air Compressor Freeze?
You might wonder, why did my compressor freeze? The main culprit is condensation inside the tank and air lines. Air compressors pull in ambient air, which contains water vapor.
As this air is compressed, it heats up. Then, as it cools in the tank, this water vapor turns into liquid water. In cold temperatures, this liquid water turns to ice, causing blockages.
We found that leaving even a small amount of water in the tank during winter is a common reason for freezing (industry research).
Safety First: Before You Begin
Before you even think about unfreezing your compressor, safety is paramount. You are dealing with pressure and electricity, so caution is key.
Always start by disconnecting the power supply to the unit. This prevents accidental startups while you work. Next, ensure any residual air pressure in the tank is released safely through a valve.
Wearing protective gloves and eyewear is also a good idea. This protects you from potential splashes or flying debris, however unlikely.
Initial Steps to Thaw Your Compressor
Once you have ensured safety, you can begin the thawing process. The goal is to warm the compressor gradually without causing harm.
Move to a Warmer Location
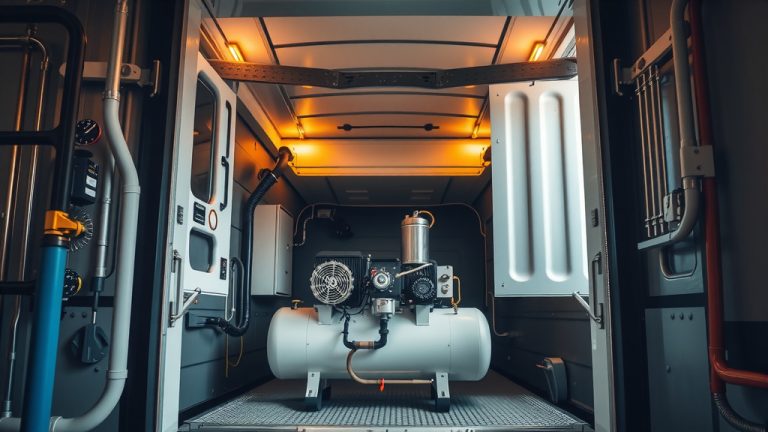
The simplest and often safest method for thawing is relocation. If possible, move your air compressor indoors.
A heated garage, a workshop, or even your home’s utility room can provide the warmth needed. Allow it to sit for several hours, or even overnight, for a natural thaw.
Gentle Heat Application
If moving the compressor isn’t an option, or you need to speed things up, use gentle, indirect heat. Never use an open flame near your compressor; this is extremely dangerous and can cause explosions.
Many experts warn against direct, intense heat sources, which can damage seals, hoses, and other components. Instead, a small space heater placed a few feet away can help circulate warm air. You could also try placing warm, damp towels on the frozen parts, changing them as they cool (industry best practices).
Avoid hot water directly on components, as sudden temperature changes can crack metal or plastic. The key here is gradual warming.
Draining the Moisture Properly
After the compressor has thawed, or is well on its way, the next critical step is to drain the trapped moisture. This prevents re-freezing and corrosion.
The Drain Valve is Key
Locate the drain valve, usually at the bottom of the air tank. Slowly open this valve.
You should see a mix of water, rust, and potentially slushy ice coming out. Let it drain completely until only air escapes. This ensures all the melted ice is removed.
Check Air Lines and Hoses
Don’t forget the air lines and hoses connected to your compressor. These can also freeze, causing blockages. Gently flex the hoses to help break up any remaining ice inside them.
Ensure all quick-connect fittings and accessory hoses are clear. Some people blow low-pressure air through them to verify patency, but only once the main unit is completely thawed (we found).
Thawing Methods Comparison
Choosing the right thawing method depends on your situation. Here’s a quick look at common approaches:
| Method | Pros | Cons |
|---|---|---|
| Natural Warming | Safest, no component damage risk | Takes longest, requires warm space |
| Space Heater (Indirect) | Faster than natural, relatively safe | Electricity use, must monitor distance |
| Warm Towels | Targeted, quick for small areas | Frequent re-warming, can be messy |
Testing Your Compressor After Thaw
Once you are confident everything is thawed and drained, it is time to test your compressor. Reconnect the power supply safely. Turn on the unit and listen carefully for any unusual noises, like grinding or clunking.
Allow the compressor to build up to its full pressure. Check all connections and the drain valve for any leaks. If everything seems normal, you should be good to go. If not, it’s time to investigate further.
Preventing Future Air Compressor Freezes
Prevention is often the best defense against freezing (research shows this). Taking a few simple steps can save you time and hassle next winter.
Regular Moisture Drainage
The most important step is to drain your air tank after every use, especially in colder weather. Condensation builds up quickly, so don’t skip this step. This simple action eliminates the water source for ice.
Consider a Warm Storage Spot
If possible, store your air compressor in an area that stays above freezing temperatures. A heated garage or insulated shed is ideal. If not, a small cabinet heater or an old blanket can provide some protection.
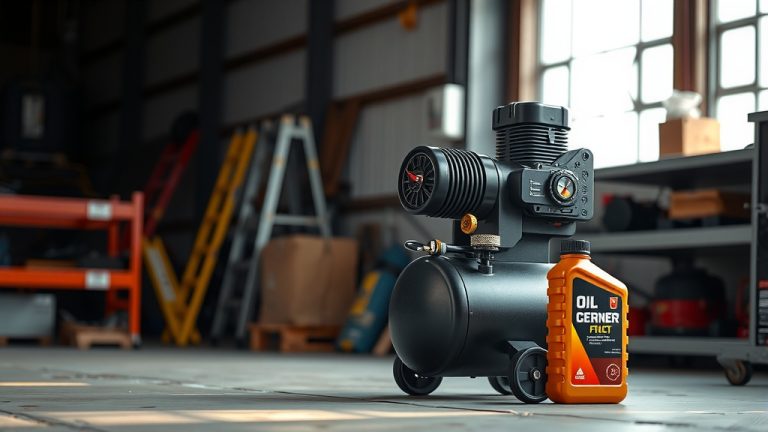
Use Air Line Antifreeze (for specific tools)
Some pneumatic tools, particularly those used in very cold conditions, can benefit from air line antifreeze. This product is designed to prevent moisture from freezing within the tool. Always check your tool’s manual first, as it’s not suitable for all applications.
Install an Air Dryer
For professional settings or frequent use in cold climates, an air dryer can be a worthy investment. These devices remove moisture from the compressed air before it even enters the tank or lines. A desiccant or refrigerated dryer is highly effective, although a larger initial cost.
When to Call a Professional
While unfreezing an air compressor is often a DIY task, there are times when you should call a professional. If you suspect internal damage, such as a cracked tank or broken motor components, seek expert help.
If the compressor won’t start after thawing, or it fails to build pressure, a technician can diagnose the issue. Visible leaks that persist after your efforts are also a sign to get professional assistance. Your safety, and the longevity of your equipment, are worth the investment.
Checklist for Preventing Freezing
- Drain the air tank daily after use.
- Store the compressor in a consistently warm area.
- Regularly inspect air lines and hoses for damage.
- Consider installing an air dryer for heavy use.
- Use tool-specific antifreeze if recommended.
Conclusion
Unfreezing your air compressor can seem daunting, but by following these steps, you can safely get your equipment back in action. Remember, patience and gentle warming are your best tools. The core steps involve thawing slowly, completely draining all moisture, and then testing the unit.
More importantly, establishing a routine of draining your tank after each use and providing a warm storage environment will significantly reduce the risk of future freezing. These simple preventive measures are the key to a reliable, long-lasting air compressor, especially in the colder months.
Can a frozen air compressor be damaged?
Yes, a frozen air compressor can absolutely be damaged. The expansion of ice inside the tank, lines, or valves can cause cracks in metal components, burst hoses, or damage delicate seals and fittings. This is why a slow, gentle thawing process is crucial to minimize stress on the materials.
How long does it take to unfreeze an air compressor?
The time it takes to unfreeze an air compressor varies greatly. If you move it to a warm indoor space, it might take anywhere from a few hours to a full day for natural thawing. Using gentle, indirect heat can speed up the process, but patience is always recommended to ensure a complete and safe thaw.
What is the main cause of ice in compressor lines?
The main cause of ice in compressor lines is water vapor in the air that condenses into liquid water during compression and then freezes in cold temperatures. This happens because compressed air contains a higher concentration of moisture, which quickly turns to ice when temperatures drop, especially if not drained regularly.
Should I use boiling water to unfreeze my compressor?
No, you should never use boiling water directly on your air compressor to unfreeze it. The sudden and extreme temperature change can cause thermal shock, leading to cracks in metal parts or damage to seals. Stick to gradual, gentle warming methods to protect your equipment.
Does humidity affect compressor freezing?
Yes, humidity significantly affects compressor freezing. Higher humidity in the ambient air means more water vapor is drawn into the compressor. This results in more condensation forming inside the tank and lines, increasing the likelihood of freezing when temperatures drop. Draining the tank becomes even more critical in humid conditions.